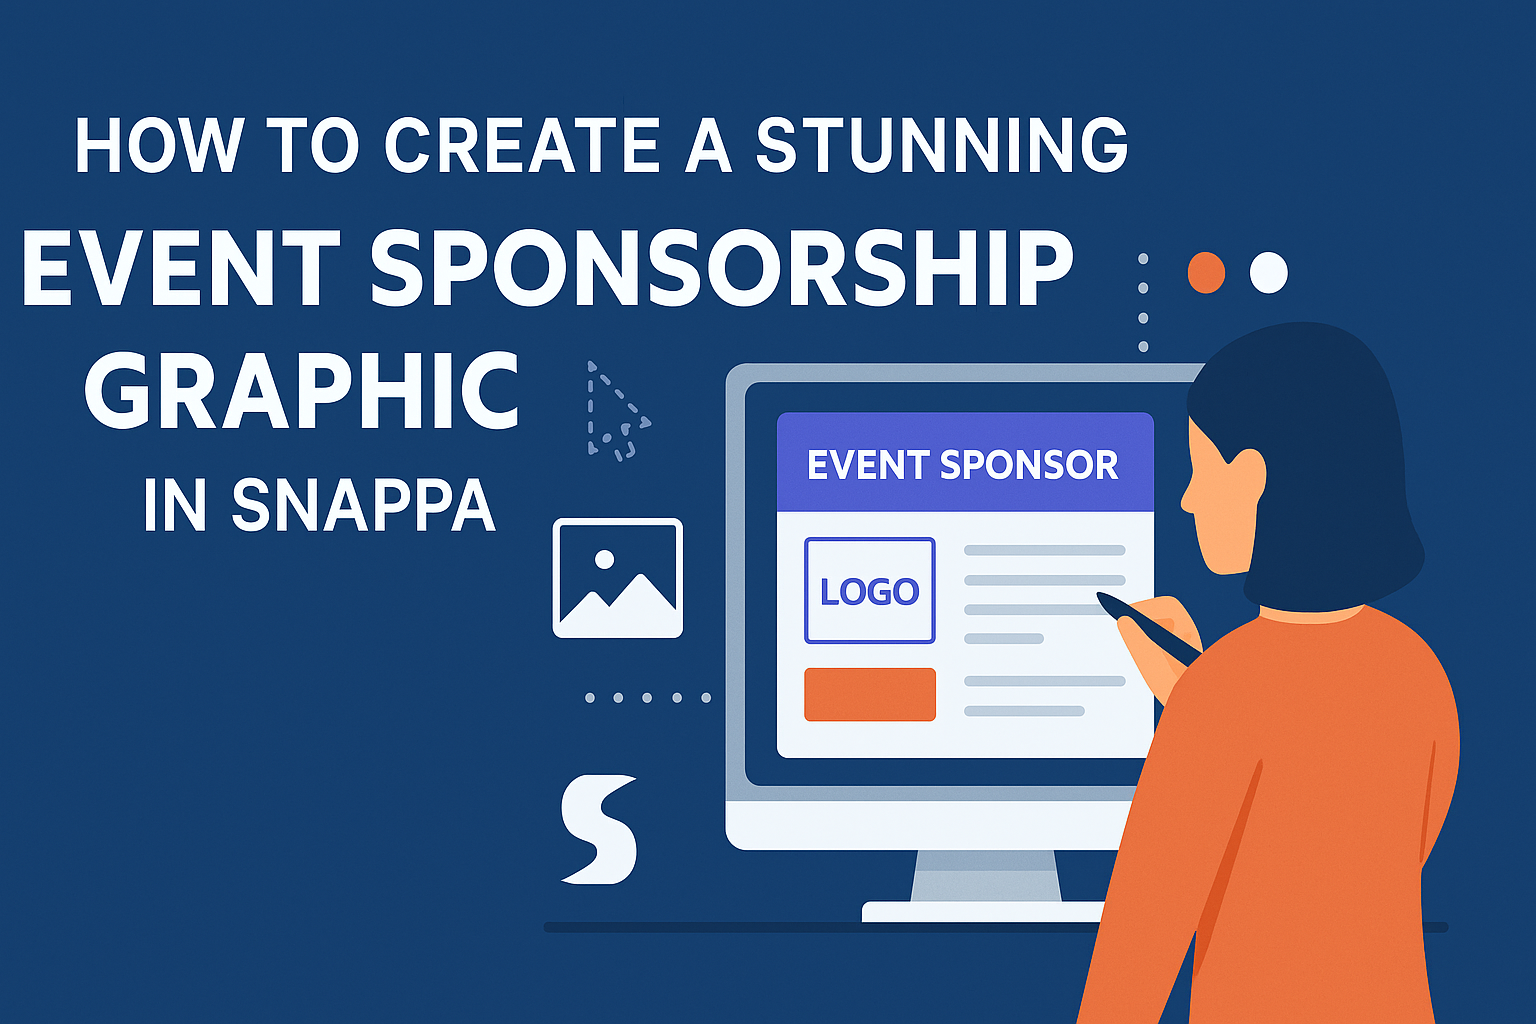
Creating an eye-catching graphic for event sponsorship can make a big difference in how the event is perceived.
With Snappa, anyone can design stunning visuals that grab attention and communicate the right message effectively. This easy-to-use tool is perfect for both beginners and experienced designers looking to elevate their promotional efforts.
In just a few clicks, users can access thousands of templates and stock photos that fit their event’s theme.
Whether promoting a local charity event or a large corporate function, Snappa offers the resources needed to capture the essence of the occasion.
By focusing on the important elements like branding and key information, anyone can create a graphic that stands out. Engaging visuals not only attract attention but also leave a lasting impression on potential sponsors and attendees alike.
Understanding Snappa and Its Features
Snappa is an intuitive graphic design tool that simplifies the creation of visuals.
Users can easily harness its features to design event sponsorship graphics that stand out. The following subsections delve into what Snappa is and highlight key features useful for creating event graphics.
What Is Snappa?
Snappa is an online graphic design platform designed for non-designers. It allows anyone to create professional-quality graphics quickly.
Users can choose from thousands of templates that cater to various needs, including social media posts and event materials.
The interface is user-friendly, making it accessible for beginners. With drag-and-drop functionality, users can add images, text, and shapes without hassle.
Snappa also offers a library filled with stock photos and graphics, ensuring that users have plenty of resources to work with. This makes it a great fit for event planners seeking to make a visual impact.
Key Features for Event Graphics
Snappa boasts several features that are particularly useful for developing event sponsorship graphics. Key among them are customizable templates, which save time and effort while ensuring professional results.
Users can also access a vast collection of stock images and graphics to enhance their designs. Text editing is straightforward, allowing adjustments in font, size, color, and alignment.
Another highlight is the ability to resize graphics instantly for different platforms. This is crucial for maintaining a consistent look across social media and print. With Snappa, event planners can ensure their sponsorship graphics effectively catch attention and convey their message clearly.
Design Principles for Effective Sponsorship Graphics
Creating stunning sponsorship graphics involves key design principles that enhance visual appeal and communicate the right messages. Focusing on incorporating sponsor logos, choosing the right color schemes, and establishing a solid layout can make a significant difference.
Incorporating Sponsor Logos
When designing sponsorship graphics, placing sponsor logos prominently is crucial. Logos should be clear and recognizable, reflecting the brand’s identity.
It’s important to maintain a hierarchy, where larger logos denote primary sponsors. All logos should be consistently aligned for a polished look.
Also, avoid clutter by leaving enough space around each logo, which boosts readability and impact. This helps attendees quickly identify sponsors and builds trust in the event.
Color Schemes and Branding
Choosing the right color scheme is vital for effective sponsorship graphics. Colors can evoke emotions and can be tied to brand recognition.
Using colors that align with the sponsors’ branding enhances the overall aesthetic. It is recommended to use no more than three primary colors to maintain clarity.
Contrasting colors for text and background help ensure key information is easily readable. Keep in mind that colors should be suitable for the event’s theme while making sponsors stand out.
Layout and Visual Hierarchy
A well-organized layout guides viewers through the information at a glance. Effective use of space creates a visual hierarchy that leads to the most important elements first.
Positioning headlines at the top or using larger fonts for essential information draws attention effectively. Bullet points can help break down complex details into simpler parts.
Ensure that images and text have balanced spacing to avoid a crowded look. This clarity keeps the focus on the sponsors, helping recognize their contribution to the event.
Creating Your Graphic in Snappa
Creating a graphic in Snappa is simple and enjoyable. The platform offers a range of tools that make designing easy, even for beginners. Users can choose the right template, customize it, and add personal touches to make their graphics stand out.
Selecting the Right Template
Choosing a template is the first step in designing. Snappa offers many options tailored for different events and purposes.
To find the perfect template:
- Browse the Categories: Users can explore categories like social media, ads, or flyers.
- Use the Search Function: Enter keywords related to the event.
- Consider Dimensions: Ensure the template fits the platform it will be used on, like Facebook or Instagram.
Once a choice is made, the template can be easily edited to fit the specific needs of the sponsorship graphic.
Customizing with Drag-and-Drop Tools
Snappa’s drag-and-drop tools make it user-friendly. Users can easily move and place elements to design their graphic.
Here’s how to customize:
- Add Images: Users can upload personal images or choose from a vast library of free photos.
- Use Shapes and Icons: These can enhance the visual appeal and highlight important information.
- Adjust Colors: By changing colors, individuals can align the graphic with brand colors or event themes.
This hands-on approach helps create a unique and personal sponsorship graphic without needing design skills.
Adding and Editing Text
Text is crucial for conveying information effectively in sponsorship graphics. Snappa offers a variety of fonts and text styles that enhance readability.
To add text:
- Insert Text Boxes: Users can drag text boxes onto the canvas.
- Choose Fonts: Picking the right font is essential for grabbing attention. Snappa has many font options to fit any tone.
- Adjust Size and Color: Users can change size and color to ensure text stands out against the background.
It’s important to keep text concise to ensure clarity and impact.
Finalizing and Exporting Your Design
After finishing the design, it’s time to finalize it. Snappa provides options to ensure the graphic looks good in its final form.
To export:
- Preview the Design: Ensure everything is in place before saving.
- Select File Type: Users can choose formats like PNG or JPG based on their needs.
- Download Options: Snappa allows users to save directly to their devices or share on social media.