Creating eye-catching social media ads can boost engagement and draw attention to any brand.
Gravit Designer makes the design process easy and enjoyable, allowing users to craft stunning ads quickly and effectively.
Whether one is a beginner or has prior experience, he or she can create professional-quality advertisements using the versatile tools available in Gravit Designer.
With a user-friendly interface, Gravit Designer helps users navigate through various design elements seamlessly. From selecting the right images to customizing text, it provides all the necessary features to produce effective ads.
This blog post will guide readers step-by-step on how to make ads that stand out on platforms like Facebook and Instagram.
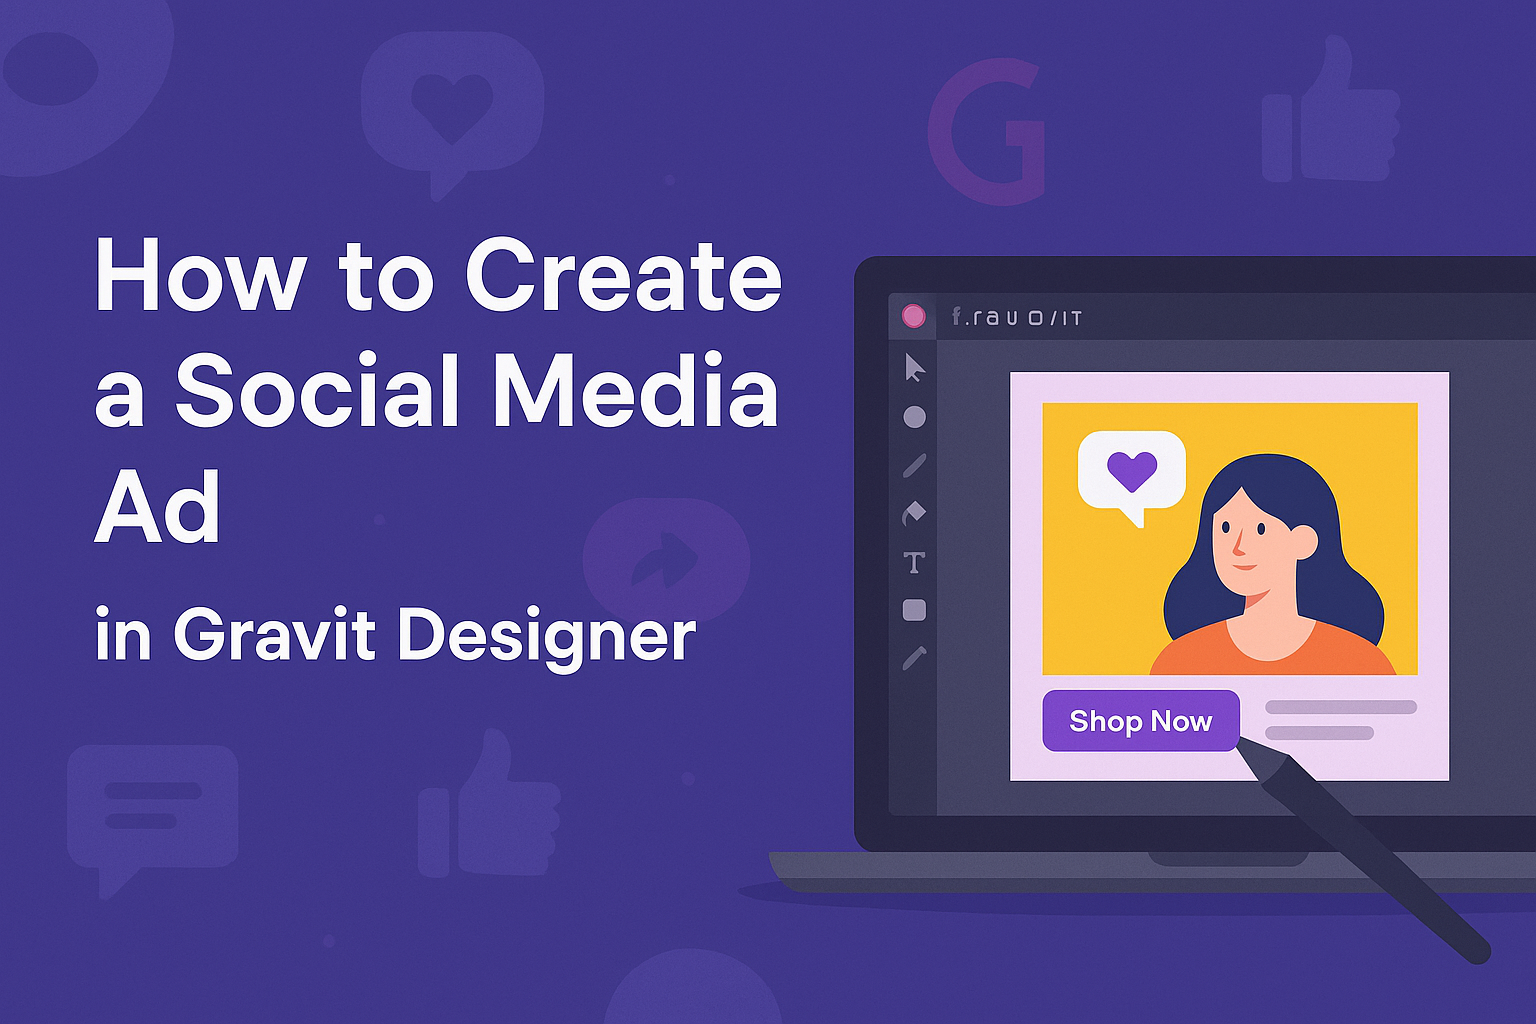
Getting Started with Gravit Designer
Gravit Designer is a powerful graphic design tool that is user-friendly and accessible. It allows users to create stunning designs for various purposes, including social media ads, with ease. Understanding the basics will help you make the most of this software.
Overview of Gravit Designer
Gravit Designer is a vector graphic design application. It provides a wide range of features, including drawing tools, text options, and design templates. Users can create responsive designs that work well on different devices.
The software is available on multiple platforms, including web, Windows, macOS, and Linux. This flexibility allows designers to work from anywhere. With Gravit Designer, it is easy to export designs in various formats, such as PNG and SVG.
Setting Up Your Account
Getting started with Gravit Designer requires an account setup.
Users can visit the Gravit Designer website to sign up for a free account. They can also choose a paid plan for additional features.
Once the account is created, users can log in to access their workspace. The setup process is straightforward, and the interface is intuitive. After logging in, users will find a dashboard that allows them to start new projects or access previous designs.
Navigating the Interface
Navigating the Gravit Designer interface is simple. The workspace features several key areas: the toolbar, the canvas, and the inspector panel.
- Toolbar: Located at the top, it contains essential tools like shape, text, and export options.
- Canvas: This is where users create and edit designs.
- Inspector Panel: On the right side, it provides options for adjusting properties, such as colors and sizes.
Familiarizing oneself with these areas will speed up the design process. Users can customize their workspace layout to fit their needs, making design more efficient.
Designing Your Ad
Creating a compelling social media ad involves multiple steps to ensure it catches the audience’s attention. Each step focuses on essential elements such as canvas size, templates, layers, typography, and images. Here’s how to get started.
Choosing the Right Canvas Size
Selecting the correct canvas size is crucial for effective ad design. Different social media platforms have specific dimensions that enhance visibility and engagement.
For instance, a Facebook ad typically works well with dimensions of 1200 x 628 pixels. Instagram stories, on the other hand, look best at 1080 x 1920 pixels.
To set the canvas size in Gravit Designer, go to the “File” menu and choose “New.” Enter the dimensions for the platform you’re targeting, making sure to account for any extra space needed for text or logos.
Selecting a Template
Using a template can save time and provide professional design ideas. Gravit Designer offers a variety of templates suitable for different purposes.
To find a suitable template, navigate to the “Templates” section in the software. Here, users can select a template that aligns with their ad’s message or theme.
Ad templates can be customized further by altering colors, images, and text to better fit the brand identity. It’s a great way to ensure the ad looks polished without starting from scratch.
Working with Layers and Shapes
Understanding layers and shapes is key to mastering Gravit Designer. Layers help organize elements, allowing for easier editing.
When creating an ad, users can add new layers for text, images, and backgrounds. Each layer can be moved and adjusted individually, which helps in refining the design.
Shapes can be used to create backgrounds or highlight important information. For example, using rounded rectangles for buttons can make them stand out, guiding viewers on what action to take next.
Adding Text and Typography
Text is a vital part of any ad. It conveys the message and engages the audience. Choosing the right font and size is essential.
In Gravit Designer, users can explore various fonts that fit the brand’s personality. A clean, readable font works best, while bold options can catch the eye.
The hierarchy of text is also important. Headlines should be larger and more prominent than body text. Consider using contrasting colors for emphasis to draw attention to key messages.
Incorporating Images and Logos
Images and logos are essential for brand recognition and appeal. Quality visuals can enhance the ad’s overall impact.
When adding images, it’s important to use high-resolution files to prevent pixelation. Gravit Designer allows users to import pictures easily.
Logos should be strategically placed, often in a corner or aligned with the main message. Ensure the logo is clear and does not overpower the text but supports brand visibility.
Customizing Your Design
When creating a social media ad in Gravit Designer, customizing the design is crucial to make an ad stand out. By focusing on specific elements like color schemes, effects, and design principles, a designer can enhance the overall appeal and effectiveness of their advertisement.
Using Color Schemes
Selecting the right color scheme can dramatically impact the look of an ad. Colors convey emotions and attract attention, so it’s important to choose hues that align with the brand identity.
He or she can use tools within Gravit to create a harmonious palette. For instance, using complementary colors can make text pop against a background. An easy approach is to apply analogous colors, which sit next to each other on the color wheel, for a cohesive feel.
Try experimenting with different combinations. Save multiple palettes to test which one resonates best with the target audience.
Applying Effects and Filters
Effects and filters can add depth and interest to an ad. Gravit Designer offers various options like shadows, glows, and blurs that can enhance images and text.
For pictures, applying a subtle blur can create a focus on important elements. Text can benefit from drop shadows to make it more readable against backgrounds.
Designers should avoid overdoing effects; subtlety is key. A few well-placed effects can bring out the best in the design without overwhelming the viewer.
Utilizing Design Principles
Applying fundamental design principles can greatly improve an ad’s effectiveness. Balance, contrast, and alignment are essential for creating a clean and professional look.
Using balance, they can ensure that elements are evenly distributed, creating a sense of stability. Contrast can help important elements stand out, making the message clear.
Alignment builds a structured layout that guides the viewer’s eye naturally across the ad. Simple grids can help maintain perfect alignment and overall coherence in the design.
Finalizing and Exporting
Before sharing a social media ad, it’s important to preview and export it correctly. This ensures that the design looks its best on all platforms.
Previewing Your Ad
Previewing the ad helps catch any last-minute mistakes. Gravit Designer allows users to view their work before exporting. To preview, go to the View menu and select Presentation Mode. This will display the ad without any editing tools.
Users should check for alignment, color consistency, and text readability. It’s also wise to view the design on different screen sizes. This ensures it looks great, whether on a phone or a tablet. A clear preview can save time and effort later on.
Export Options for Social Media
When exporting, users need the right format. For most social media platforms, JPEG or PNG files work well. JPEG is best for photos, while PNG is great for graphics with transparency.
To export, go to File and select Export. A dialog box appears with options. Users can adjust the size and quality settings here. For instance, setting the quality to 90% is often sufficient, keeping file sizes manageable.
Be sure to select the correct size for the specific platform. Different platforms have different size requirements. Following these will enhance the ad’s visibility.
Saving and Sharing Your Design
After exporting, saving the design properly ensures easy access later.
Users can save their project by clicking File and then Save As. This allows them to name the file and choose the format.
Sharing can be done directly from Gravit Designer.
Clicking the share button provides options to send via email or link. This feature allows for quick collaboration with others or instant posting on social media.
It’s important to maintain backups of the project files.
Keeping both the export and original files ensures that changes can be made in the future. This approach can save a lot of time in editing later on.