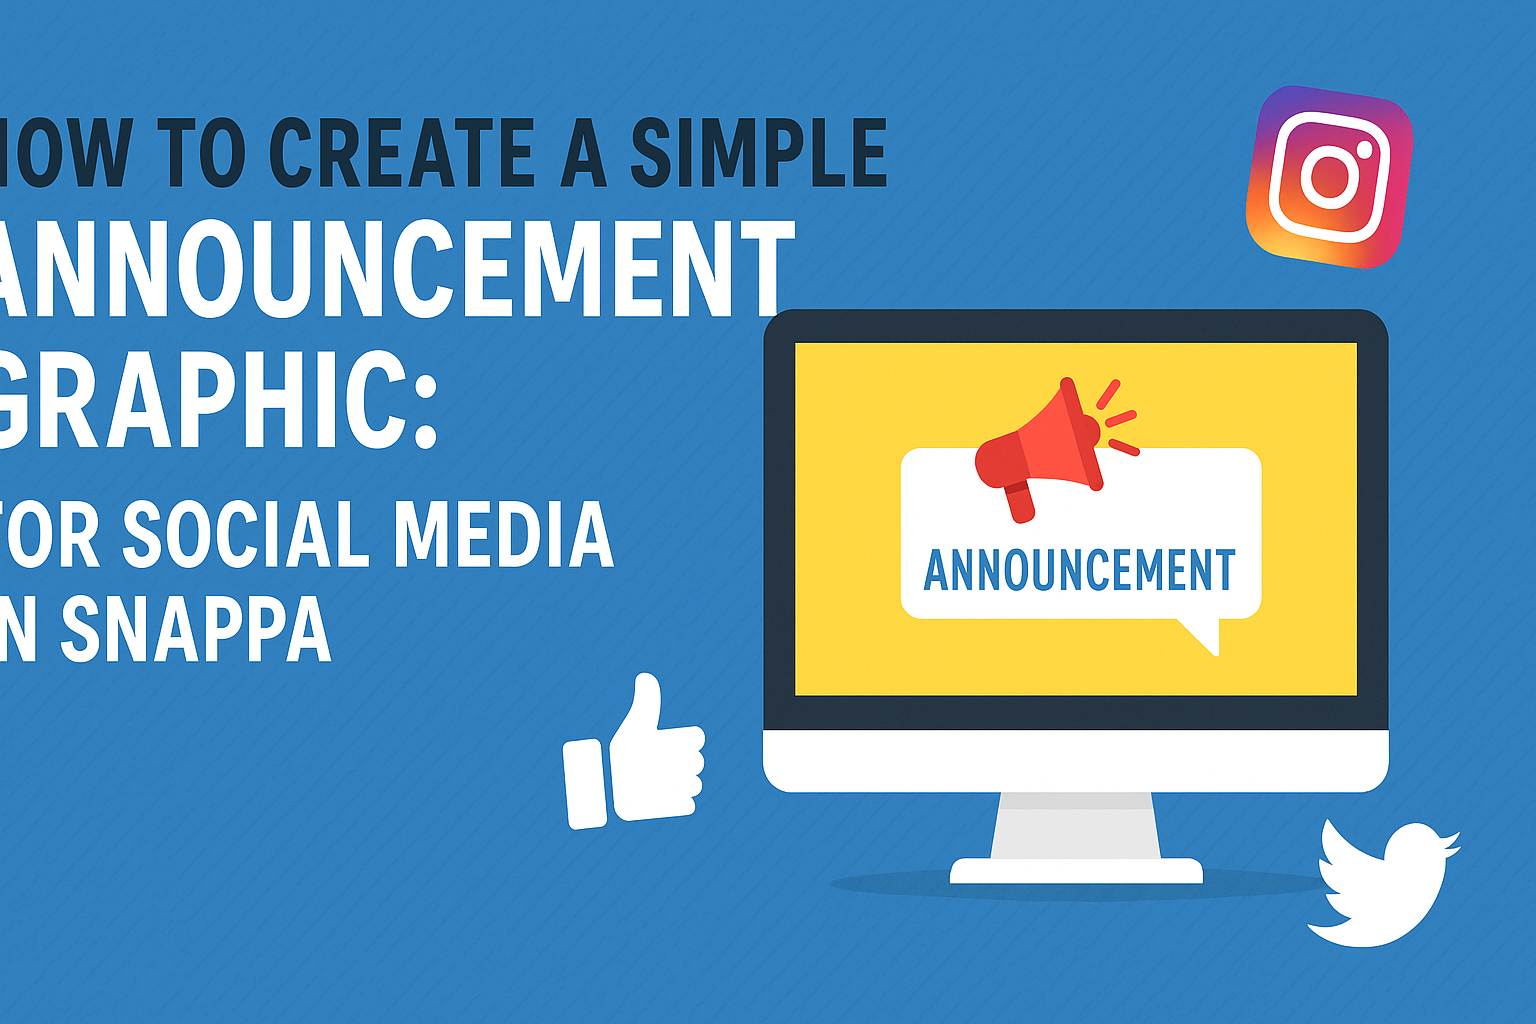
Creating an eye-catching announcement graphic for social media doesn’t have to be difficult. With Snappa, anyone can design stunning images in just a few clicks.
Using ready-made templates and intuitive tools, he or she can quickly make beautiful graphics that grab attention and convey the message effectively.
No design experience is needed to start. Snappa offers a variety of professional templates tailored for social media formats, making it easy to customize announcements for any occasion.
By choosing vibrant colors and engaging images, users can create graphics that stand out in crowded feeds.
Whether promoting an event or sharing important news, a simple graphic can make a big impact. This guide will walk through the steps to create an appealing announcement graphic in Snappa, ensuring anyone can do it effortlessly.
Getting Started with Snappa
Snappa is a user-friendly graphic design tool that makes it easy to create stunning social media graphics. To get started, users will first need to create an account and then familiarize themselves with the Snappa interface for a smooth design experience.
Creating Your Account
To begin using Snappa, users must create an account. They can visit the Snappa website and click on the “Get Started Free” button.
This process involves entering a valid email address and choosing a password.
After signing up, users will receive a confirmation email. Clicking the link provided will activate the account.
Snappa offers both a free plan and paid options. The free plan provides access to many features, while paid options unlock additional templates and resources.
Overview of Snappa Interface
Once users log in, they will see the Snappa dashboard. The dashboard is clean and intuitive, making navigation easy.
On the left side, users will find the template options categorized by type, such as social media posts, blogs, and ads. Selecting a template opens it in the main editor.
The editor includes various tools for customization. Users can add text, images, and shapes using drag-and-drop features.
The right side of the editor displays options to adjust colors, fonts, and other design elements.
This layout allows users to create visually appealing graphics quickly and efficiently.
Getting familiar with these tools will enhance the design process and lead to better results.
Designing Your Announcement Graphic
Creating an appealing announcement graphic requires careful consideration of the template, text, and visual elements. Each choice impacts how the message is received by the audience.
Selecting the Right Template
Choosing the right template is a crucial first step. Snappa offers a variety of templates tailored for different occasions, such as announcements for events, sales, or milestones.
Users should look for a template that fits their message and brand style. Consider what colors, shapes, and themes resonate with the target audience.
It’s helpful to start with a layout that emphasizes the main message. This can include text placement and any images that need to stand out.
Customizing Text and Fonts
Text is key to conveying the announcement clearly. Choosing the right font can enhance readability and attract attention.
Select a bold, easy-to-read font for the main message. For secondary information, a simpler font can provide contrast.
Adjusting font size, color, and spacing can make important details pop. Snappa allows users to play around with these elements until the text looks just right.
Don’t forget to proofread the text before finalizing the design. Spelling errors can distract from an otherwise professional graphic.
Adding Visual Elements
Visual elements like images, icons, and shapes can greatly enhance the message. Snappa provides extensive libraries of graphics.
Incorporating relevant images can draw attention and add emotional impact. For instance, using a bubbly balloon or celebratory confetti can be perfect for a party announcement.
It’s important to maintain balance when adding visual elements. Too many graphics can clutter the design and confuse the message. Stick to a few key visuals that support the text.
Finalizing Your Graphic
Before wrapping up a graphic, it’s essential to ensure that the layout looks balanced and that any effects enhance its visual appeal. Attention to detail can make a significant difference in the overall quality of the announcement graphic.
Adjusting Layout and Spacing
In Snappa, adjusting the layout and spacing is key to creating a polished graphic.
Start by ensuring that elements are aligned properly. Use the grid tools to help position text and images symmetrically.
Next, pay attention to the spacing between different elements like text boxes and images. This can improve readability and overall design.
A good rule is to maintain consistent margins, which can be set through the design settings.
Finally, zooming in on your graphic helps catch any misalignments or awkward gaps. It’s a simple step that can make a big impact. Take time to move elements around until it feels just right.
Applying Filters and Effects
Applying filters and effects can add a professional touch to the graphic. Snappa offers various options like shadows, blurs, and color filters.
Selecting the right effect can enhance the mood of the announcement.
Start by considering the message. For a casual announcement, lighter filters can create a friendly tone. In contrast, darker filters might suit more serious messages.
Experiment with opacity levels to blend images without overpowering the text. Always preview changes to see how they impact the overall look.
Using filters thoughtfully ensures that it highlights rather than distracts from the message. This careful adjustment is crucial for a striking final product.
Sharing Your Graphic on Social Media
After creating a simple announcement graphic in Snappa, sharing it effectively is key. This section covers how to export the design and presents best practices for posting to maximize visibility and engagement.
Exporting Your Design
Snappa makes exporting your graphic straightforward. Once the design is complete, click the “Download” button.
Users can choose their preferred file format, such as PNG or JPG.
Make sure to select the right size for the platform. For example, Instagram prefers square images, while Twitter favors landscape.
After downloading, the graphic can be easily shared via various social media accounts.
Snappa also allows users to connect their Buffer account, letting them schedule posts ahead of time. This feature ensures timely sharing without the hassle of manual posting.
Best Practices for Posting
Posting effectively can boost engagement significantly.
First, choose the right time. Research suggests that early mornings or late evenings are ideal for many platforms.
Next, pair the graphic with engaging captions.
Captions should be clear and encourage interaction. Use hashtags relevant to the content to reach a wider audience.
Visuals should be placed prominently in posts. They catch attention quickly.
Also, encourage followers to share the content, helping to expand reach.
Finally, monitor engagement through comments and likes.
Learning from these metrics can help improve future posts. This feedback loop is essential for ongoing success on social media.