Creating a pricing table might seem challenging, but it can be simple and effective with the right tools. Using Vectr allows users to design a clean and straightforward pricing table that clearly showcases their services and prices.
This blog post guides readers step-by-step through the process, making it easy for anyone to follow along.
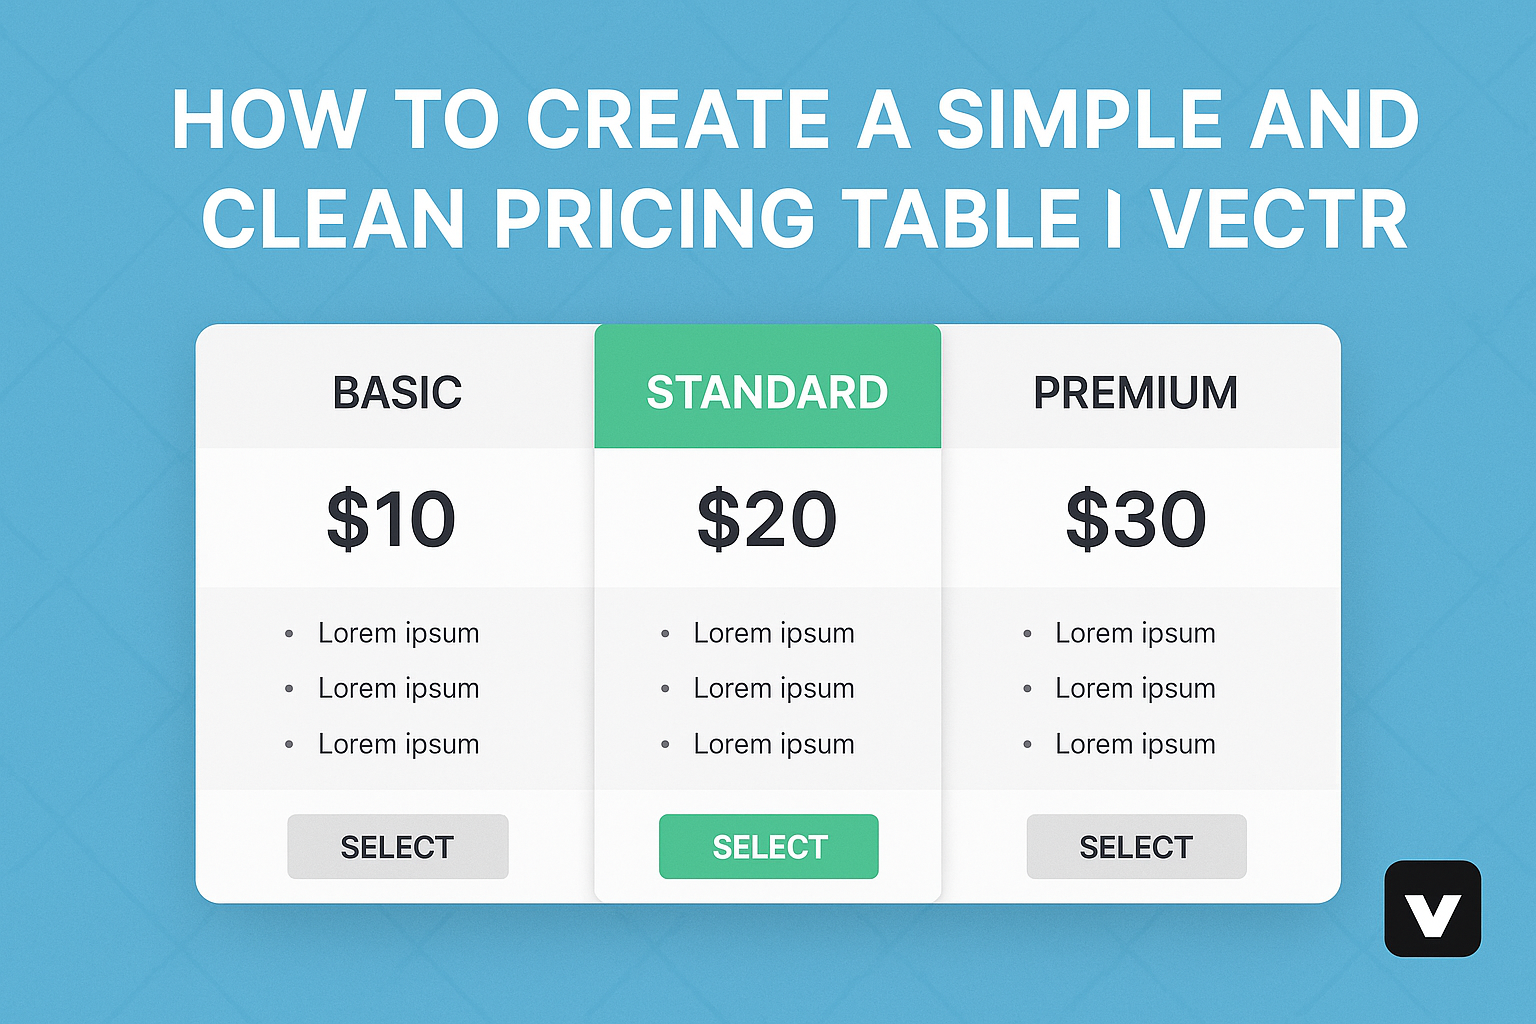
A well-designed pricing table is crucial for helping customers make informed decisions. It highlights important information in a visual format, which can lead to better conversions. By the end of this article, readers will feel confident in their ability to create an appealing pricing table in Vectr.
Whether for a business presentation or an online store, a clear pricing table can significantly impact sales. The combination of simplicity and clarity can draw customers in and help them choose the best option.
Readers will discover practical tips and techniques to make their pricing table stand out using Vectr’s features.
Getting Started with Vectr
To begin using Vectr, one needs to create an account and understand the layout of the platform. This section covers the sign-up process and provides an overview of the user interface.
Signing Up and Initial Setup
Creating an account on Vectr is straightforward. Users can visit the Vectr website and click on “Sign Up.” There are options to register using an email address or through Google for quick access.
Once signed in, the user will see a welcoming dashboard. This dashboard features a menu bar at the top, a sidebar on the left, and a large workspace in the center for design activities.
It is essential to familiarize oneself with this setup for a better design experience.
After signing up, it might be helpful for users to explore the help resources available, such as tutorials and FAQs, to get a good start.
Understanding the Vectr Interface
Vectr’s interface is designed to be user-friendly and intuitive. The menu bar provides access to essential functions like saving, exporting, and undoing actions.
The sidebar offers tools for shapes, text, and images, making it easy to add elements to the design.
Users can select from different shape options, like rectangles, circles, and polygons.
In the workspace, users can drag and drop elements and easily adjust sizes and positions. Zoom controls are available to help focus on specific parts of the design.
Becoming comfortable with the interface will make the design process smoother and more efficient.
Designing the Pricing Table
Creating a clean and functional pricing table in Vectr involves several key steps. Each step focuses on specific design aspects, ensuring that the table is both attractive and easy to read.
Creating a New Project
To begin, he needs to launch Vectr and start a new project. He can do this by clicking on “File” and selecting “New.”
It’s important to choose an appropriate size for the canvas, typically a width of around 800 pixels and a height of 600 pixels. This size is ideal for showcasing pricing options clearly.
Once the project is open, he should name it something like “Pricing Table.” This helps in organizing his work.
After naming, he can add a background color or image to differentiate the pricing table from the rest of the design.
Adding and Editing Text Elements
Next, he will add text elements for the table. Using the text tool, he can click on the canvas and type in the pricing information. This includes headings like “Plan Name,” “Price,” and “Features.”
To maintain clarity, he should keep each text block concise.
After adding the text, it’s crucial to edit the font style and size.
He can select a font that aligns with the branding. A size between 24px and 32px works well for headings, while 14px to 18px is suitable for details.
Adjusting the alignment to center can also help in enhancing the look.
Customizing Colors and Fonts
Color choices play a significant role in design. He should choose a color scheme that matches the website’s overall theme. For instance, using contrasting colors can make the price stand out. A bold color for the price, like blue or green, can attract attention while keeping other text in neutral shades.
Font styles can significantly affect readability. He should select a clean, sans-serif font for the best effect.
By sticking to no more than two font types, the pricing table will look more cohesive. Using bold for important details can help to emphasize key information.
Adjusting Layout and Spacing
Finally, adjusting layout and spacing is key to achieving a balanced look. He should group similar elements together and ensure there is enough white space between them. This makes it easier for users to read and compare different pricing options.
He can use the alignment tools in Vectr to center or distribute elements evenly. It’s also beneficial to check the padding around each section.
Proper spacing ensures that the table doesn’t look cluttered, providing a clean and professional appearance.
Adding Details and Enhancements
Enhancing a pricing table in Vectr can significantly improve its appeal and functionality. By incorporating icons, images, shadows, and borders, the table not only becomes visually striking but also easier to navigate for users.
Incorporating Icons and Images
Using icons and images can make a pricing table more engaging. Icons help to represent features or services clearly, allowing users to quickly identify what they are getting.
When selecting icons, choose those that match the overall design. For instance, if a pricing plan includes a “Free Trial,” an icon of a gift box can work well. It adds personality and clarity.
Images can also support the table’s content. Adding a product image next to the pricing details can attract attention and assist buyers in making informed choices. Ensure that images are high-quality and relevant.
Applying Shadows and Borders
Shadows and borders can add depth to a pricing table, making it stand out on the page. Soft shadows beneath the table elements can create a floating effect, which draws the eye.
Using borders helps to separate different pricing plans. A solid or dashed line can clearly define each section, enhancing readability.
Colors for shadows and borders should be subtle, complementing the overall color scheme. For example, a light gray shadow can provide contrast without being overwhelming.
These enhancements lead to a cleaner, more professional design that improves user experience.
Finalizing and Exporting
Before finishing up, it’s important to check the design and prepare the file for use. This section will discuss how to effectively preview the design and export the pricing table in Vectr.
Previewing Your Work
To ensure everything looks just right, previewing the pricing table is essential. Vectr provides a simple way to do this. Users can click the Preview button at the top right corner of the interface.
This will open a new window showing the table as it will appear to viewers. It’s a great chance to spot any design flaws or alignment issues.
Check the font sizes, colors, and spacing. Are they consistent? Is the information clear?
Taking a moment to adjust anything needed will make the final product professional. Once satisfied, the next step is exporting.
Exporting the Pricing Table
Exporting the pricing table is straightforward in Vectr. Users need to click on the File menu and select Export.
Then, they should choose the desired format, like PNG or SVG, based on where the table will be used.
For a web page, PNG is often the best choice. It maintains quality and transparency.
On the other hand, SVG is suitable for responsive designs since it scales without losing clarity.
After selecting the format, users can set the export options, such as dimensions and quality.
Finally, clicking the Download button will save the file to the computer.