Creating an event invitation can be a fun and rewarding task. For those looking to keep things simple yet elegant, mastering a minimalist style is key.
Designing a minimalist event invitation in Affinity Designer is a straightforward process that combines clean lines and balanced layouts to convey the message beautifully.
With Affinity Designer’s user-friendly tools, even beginners can produce stunning invitations. This design approach focuses on essential elements, eliminating clutter to ensure the invitation stands out.
Readers will discover step-by-step techniques to craft their own unique designs that reflect their personal style or event theme.
Whether planning a wedding, birthday party, or any special gathering, an attractive invitation sets the tone for the event. By focusing on minimalism, they can create an inviting atmosphere from the very start.
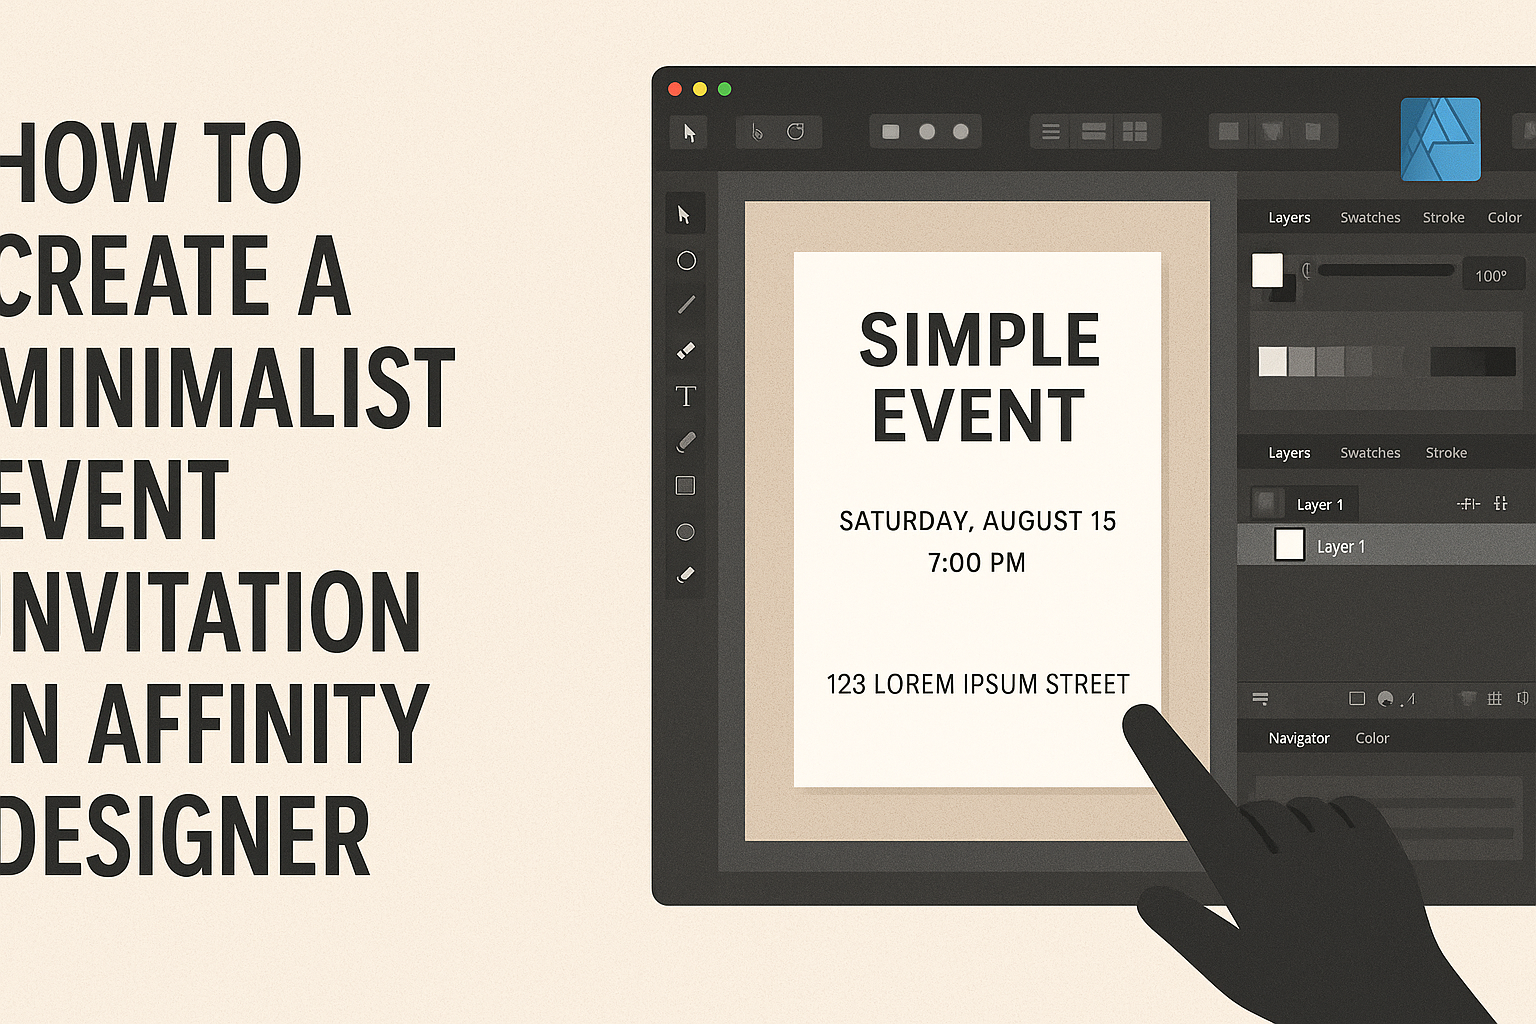
Getting Started with Affinity Designer
Starting with Affinity Designer can be exciting. It offers a variety of tools for creating stunning designs.
Understanding the interface, setting up a document, and choosing a color palette are essential steps to get the best results.
Understanding the Interface
Affinity Designer has a user-friendly interface. It features several panels like the Tools, Layers, and Color panels. Users can customize their workspace by rearranging or hiding panels to fit their workflow.
The Toolbar at the top provides quick access to drawing tools like the Pen, Rectangle, and Text tools.
The Canvas is where the artwork comes to life. Users can zoom in and out using keyboard shortcuts for detailed work. Overall, familiarizing oneself with these elements helps streamline the design process.
Setting Up Your Document
Before starting a project, setting up a document properly is crucial. Users should select File > New to open the creation menu.
There, they can choose Document Type, such as Print or Web, depending on the intended use.
Entering the dimensions, resolution, and orientation is essential. For invitations, common sizes include 5×7 inches or 4×6 inches. Make sure to set the resolution to 300 DPI for high-quality print.
Checking the Color Format (RGB for web, CMYK for print) is also important. This ensures that colors appear correctly in the final output.
Choosing a Color Palette
A suitable color palette sets the tone for any event invitation. It’s great to start by selecting a few base colors that reflect the occasion.
Using the Color wheel in Affinity Designer, users can explore harmonious color combinations easily.
Many designers follow a 60-30-10 rule for balance: 60% primary color, 30% secondary, and 10% accent colors.
Creating a mood board can help visualize how colors work together. Users can also utilize tools like Coolors to generate color schemes that inspire creativity.
With a well-defined palette, the design will be cohesive and visually appealing.
Designing the Invitation
Creating a minimalist event invitation requires careful attention to fonts, design elements, and focal points. Each aspect plays a significant role in achieving a clean and elegant look.
Selecting Fonts and Typography
Choosing the right fonts is crucial for a minimalist invitation. It’s best to stick to two or three fonts to maintain clarity. The main font should be legible and stylish, such as a sans-serif for a modern feel.
Pair this with a secondary font for details. For example, using a serif font can add a touch of elegance. Keep font sizes consistent: titles should be larger (about 24-30 pt), while details can be smaller (10-12 pt).
Consider using bold for emphasis on important information. Using italics can add a refined touch but should be used sparingly. Avoid overly decorative fonts, as they can distract from the invitation’s message.
Adding Design Elements
Simple design elements enhance the invitation without overwhelming it. Options like thin lines, shapes, or subtle backgrounds can add visual interest. He or she can choose a color scheme that matches the event theme—think muted colors for a classic feel.
Using white space effectively is just as important. It prevents clutter and helps each element stand out. Less is often more, so prioritize key details like the event name and date.
Icons or small graphics can complement the text. For instance, a small flower or decorative line can add elegance without being too busy. Focus on balance to ensure a harmonious look that invites attention.
Creating a Focal Point
A strong focal point draws the eye to the most important section of the invitation. This could be the event title or date. To achieve this, increase the font size and use contrasting colors.
Additionally, placing the focal point centrally can naturally guide the viewer’s attention. He or she can also incorporate a unique design element, like a border or large icon, around this area.
Using layers can enhance depth, making the focal point pop. It is essential to ensure the focal point aligns with the invitation’s overall design. Simplicity and clarity will enhance the invitation’s effectiveness while keeping it visually appealing.
Finalizing the Invitation
In the final steps of creating a minimalist event invitation, attention to detail is key. This section focuses on ensuring proper alignment for a balanced look and how to export the design effectively for various uses.
Alignment and Composition
Achieving proper alignment is crucial for a polished invitation. The designer should start by using guidelines or grids available in Affinity Designer. This will help keep elements like text and images organized.
To create a sense of balance, space out different sections evenly. Use the rule of thirds to position key elements, making them easy to read and visually appealing.
Additionally, ensure that fonts are legible and appropriately sized. A minimalist design works best with a maximum of two fonts. This keeps the invitation clean and straightforward.
Exporting Your Design
Once the design looks perfect, it’s time to export it.
Affinity Designer allows exporting in various formats like PNG, JPEG, or PDF. Each format has its own purpose, so choosing the right one is important.
For print invitations, exporting as a PDF is ideal. It maintains quality and format.
Meanwhile, for digital shares, a PNG or JPEG works well.
Before exporting, check the resolution and dimensions. Aim for at least 300 DPI (dots per inch) for print quality.
Finally, save a copy of the original file for any future edits.