Creating a high-impact YouTube thumbnail can make a significant difference in attracting viewers.
Thumbnails serve as the first impression of a video, and an eye-catching design can increase click-through rates.
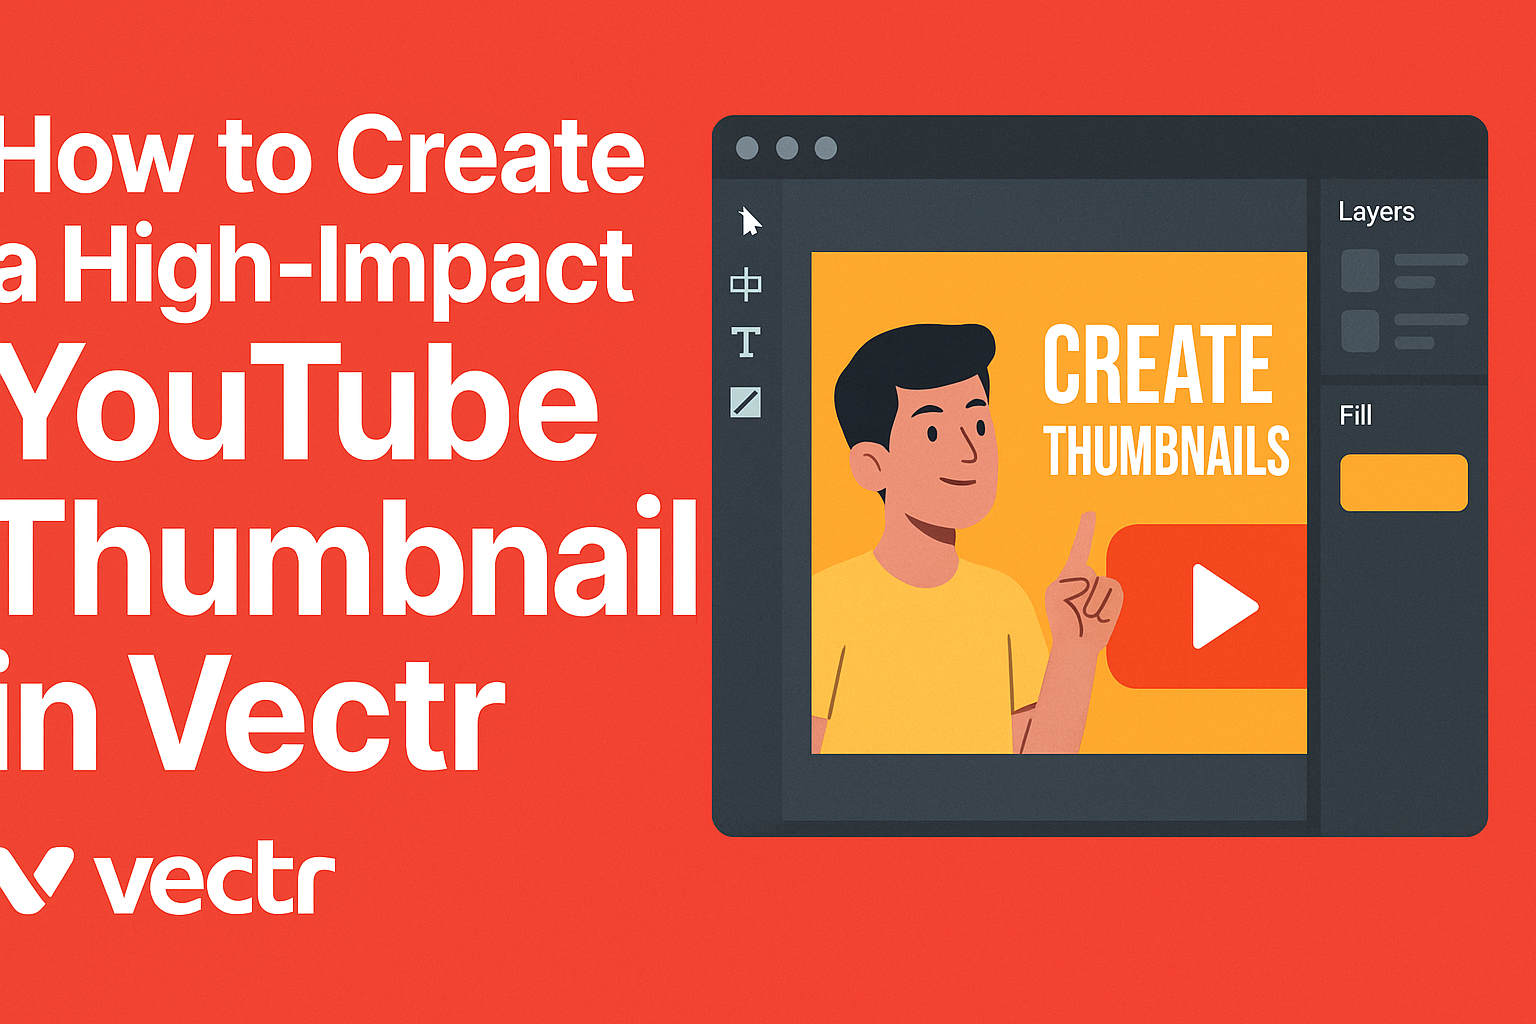
Using Vectr, anyone can design professional-looking thumbnails for free, making it accessible for all content creators.
With Vectr’s user-friendly interface, he can easily manipulate images, text, and colors to create a thumbnail that stands out.
Whether a beginner or an experienced designer, they will find useful tools to customize their graphics.
By following simple steps, anyone can learn to craft a thumbnail that complements their video and engages an audience.
Many successful YouTubers emphasize the importance of thumbnails in driving views. This blog post will guide the reader through the process, sharing tips and tricks to maximize impact.
With the right techniques, anyone can create compelling thumbnails that capture attention and enhance their channel’s appeal.
Getting Started with Vectr
Vectr is a free and user-friendly tool that helps users create stunning graphics.
With its simple setup and intuitive design, anyone can start making graphics right away.
Setting Up Your Vectr Account
To begin using Vectr, the first step is to create an account.
Users can sign up on the Vectr website by entering their email address and choosing a password. This registration allows them to save their work and access it from any device.
After signing up, a confirmation email usually arrives in the inbox. Clicking on the confirmation link activates the account.
Once activated, users can log in and start designing. Vectr is also available as a desktop app for Windows, Mac, and Linux, allowing for even more flexibility.
Understanding the Vectr Interface
Once logged in, it’s essential to get familiar with the Vectr interface.
The main workspace features several key areas like the canvas, toolbox, and properties panel.
- The canvas is where the design takes shape.
- The toolbox offers various tools such as shapes, text, and pen tools for drawing.
- The properties panel allows users to modify color, size, and other features of the selected object.
Navigating through these areas is straightforward. The layout makes it easy to find the tools needed to start creating appealing thumbnails.
Users can also access helpful tutorials directly within the platform. This supports learning as they design.
Designing Your YouTube Thumbnail
Creating a high-impact YouTube thumbnail involves key design elements that capture attention.
By focusing on dimensions, layers, shapes, and text placement, a thumbnail can effectively attract viewers and convey the video’s message.
Choosing the Right Dimensions
The recommended size for YouTube thumbnails is 1280 x 720 pixels. This ensures that the thumbnail displays clearly on all devices.
Using an aspect ratio of 16:9 is ideal for maintaining a quality image. Thumbnails need to be under 2 MB and saved in formats like JPG, GIF, or PNG. Keeping these specifications helps maintain quality while ensuring the thumbnail loads quickly.
Before starting, it’s wise to use a template or grid layout in Vectr to visualize the composition. This way, the design can stay balanced and eye-catching.
Proper dimensions create a strong first impression, drawing viewers into the content.
Working with Layers and Shapes
Layers are essential in creating a polished thumbnail. Vectr allows easy manipulation of these layers, making it simple to position elements effectively.
Users can add shapes to the background or foreground to enhance visuals.
Using contrasting colors in shapes can highlight important areas. For instance, a vibrant circle or rectangle can frame the main image or text. This is a great way to direct viewers’ attention to the most vital parts of the thumbnail.
Keep shapes simple and avoid clutter. A clean design maximizes impact and ensures quick understanding of the content.
Proper layering also helps in arranging elements without overlapping confusion, allowing each part to stand out distinctly.
Adding Text to Your Thumbnail
Text is a crucial element in a thumbnail. It should be readable at small sizes, so using bold fonts is recommended.
Key phrases should convey the video’s main idea and create curiosity.
Keep the text short, ideally under six words, as this helps maintain clarity. Placement is important; consider positioning text outside busy areas to ensure it stands out.
Utilizing contrasting colors for text against the background enhances readability. Shadows and outlines can also be beneficial, making the words pop more.
Remember, a well-placed text can summarize the video’s theme, encouraging viewers to click and watch.
Enhancing Your Thumbnail
Improving a thumbnail involves making careful edits and adjustments to catch viewers’ attention. Simple steps like importing images and applying filters can significantly enhance visual appeal.
Importing Images
The first step to enhancing a thumbnail is to import high-quality images. This ensures that the thumbnail looks sharp and professional.
To import images in Vectr, a user can drag and drop the desired image file directly onto the canvas. Alternatively, they can click on the “Import” button to select files from their computer.
Using images that relate to the video’s content is key. This relevance helps attract the right audience.
For best results, he or she should choose images with bright colors and clear subjects.
Applying Filters and Adjustments
After importing images, applying filters and adjustments is essential.
Filters can change the tone and mood of the thumbnail, making it more appealing.
In Vectr, users can find various filter options under the editing tools. Adjusting brightness, contrast, and saturation can make colors pop.
It’s also useful to focus on text readability. Ensuring that any text overlays remain clear against the background is crucial. A slight blur or shadow effect can enhance text visibility.
Lastly, testing different filter combinations allows creators to see which ones attract more clicks. Small changes can make a big difference in grabbing viewer interest.
Exporting and Uploading
After creating a captivating thumbnail in Vectr, the next steps are to export the design and upload it to YouTube. Both processes are straightforward and essential for making the thumbnail visible to viewers.
Saving Your Design in Vectr
To save the design in Vectr, the user should first click on the “File” menu in the top left corner. From there, select “Export.”
A window will appear with options for file formats. It’s best to choose either PNG or JPG for YouTube thumbnails, as these formats maintain quality.
The user can adjust the export settings, such as resolution. For YouTube, a resolution of 1280×720 pixels is recommended.
After setting the options, the user can click the “Export” button. The thumbnail will be saved to the computer, ready for uploading.
Uploading Your Thumbnail to YouTube
Once the thumbnail is saved, the user can navigate to YouTube Studio. Here, they should select “Content” from the left-hand panel.
This will display a list of uploaded videos. To upload the new thumbnail, the user must locate the desired video and click the pencil icon for editing.
This opens the video details. The user can then click the “Upload thumbnail” button and select the recently saved file.
After uploading, it’s important to ensure the thumbnail displays correctly before saving the changes.