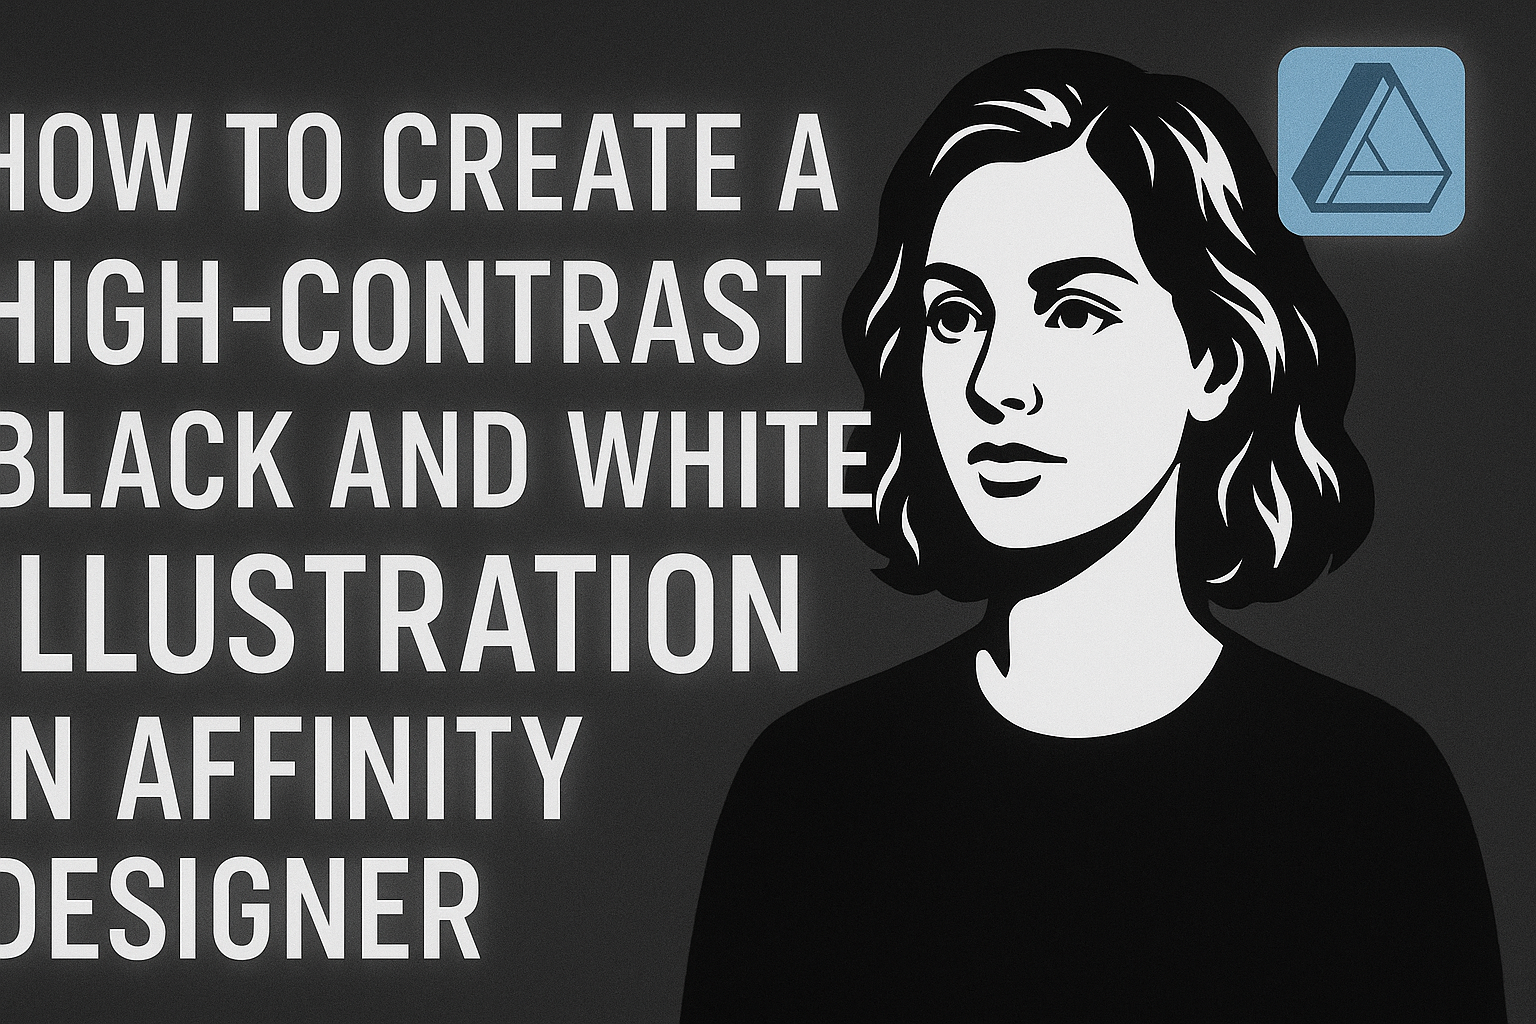
Creating a high-contrast black and white illustration in Affinity Designer can be a fun and rewarding experience. By mastering a few simple techniques, anyone can transform their artwork into striking monochrome pieces that stand out. This process not only enhances the visual impact of illustrations but also helps develop a better understanding of light and shadow.
With the right tools and approaches, users can easily convert colorful designs into bold black and white images.
From adjusting brightness and contrast to utilizing various filters, there are multiple methods to achieve a stunning high-contrast effect.
The following guide will walk through the essential steps needed to bring this artistic vision to life.
Getting Started with Affinity Designer
Affinity Designer is a powerful tool for creating stunning graphics and illustrations.
It’s important to familiarize yourself with its workspace, set up a new document, and navigate its user-friendly interface to start your creative journey.
Understanding the Workspace
The workspace in Affinity Designer is designed for efficiency.
At the top, you’ll find the menu bar with options like File, Edit, and View. Below that is the context toolbar, which changes based on the selected tool.
On the left side of the screen is the tool panel. This features essential tools, such as the selection and drawing tools.
The right panel contains layers, swatches, and other essential settings.
Getting used to this layout can help streamline the creative process.
Setting Up a Document
To begin a new project, selecting “New Document” from the File menu is necessary. This opens a dialog where the user can choose dimensions, units, and orientation.
Affinity Designer allows for various document types, whether it be print or digital. For black and white illustrations, choosing RGB or CMYK color modes might be helpful depending on the final output.
Lastly, saving presets can simplify future projects.
Navigating the Interface
Navigating the interface is simple and intuitive.
The main canvas is where all the design work happens. Users can zoom in and out using shortcuts, helping them focus on details or get an overview.
The panels on the right provide access to layers and adjustments. This allows easy management of elements in the artwork.
Understanding shortcuts enhances speed and efficiency—helping designers create more fluidly.
Creating Your Illustration
This section focuses on the essential steps to create a high-contrast black and white illustration.
He will learn how to choose the right brushes, sketch an initial concept, and define shapes and lines effectively.
Choosing the Right Brushes
Selecting the right brushes is crucial for achieving the desired effect in Affinity Designer. They come in a variety of styles, so exploring different brushes can inspire creativity.
He should look for brushes that create bold and expressive lines. Solid, thick brushes work well for outlines, while textured brushes can add depth.
Creating a custom brush is also an option. This way, he can design a brush that fits his specific needs. He can save this brush for future projects, ensuring a consistent style.
Sketching the Initial Concept
After selecting brushes, the next step is to sketch the initial concept.
Starting with light pencil strokes helps in laying down ideas.
He can use a tablet or the touch pad to draw directly in Affinity Designer. This makes it easier to adjust and erase parts of the sketch as needed.
Focusing on the layout is important. He should consider the placement of key elements and how they interact. Keeping the sketch simple allows for adjustments during refinement later in the process.
Defining Shapes and Lines
Once the initial sketch is complete, it’s time to define shapes and lines. This stage transforms the rough sketch into a clear illustration.
He can use the Pen tool to create smooth curves and sharp angles. This helps in achieving high contrast and clean lines.
Using layers is beneficial when defining shapes. Different layers allow him to segment parts of the illustration, making adjustments easier. He can quickly toggle visibility to see how each part works together.
Applying High-Contrast Techniques
Creating a high-contrast black and white illustration involves understanding the balance of light and shadow. It requires precision in editing to enhance the overall impact of the artwork.
Working with Black and White
When starting with a color illustration, the first step is converting it to black and white.
In Affinity Designer, this can be done using the “Black and White” adjustment layer. This layer allows for easy

