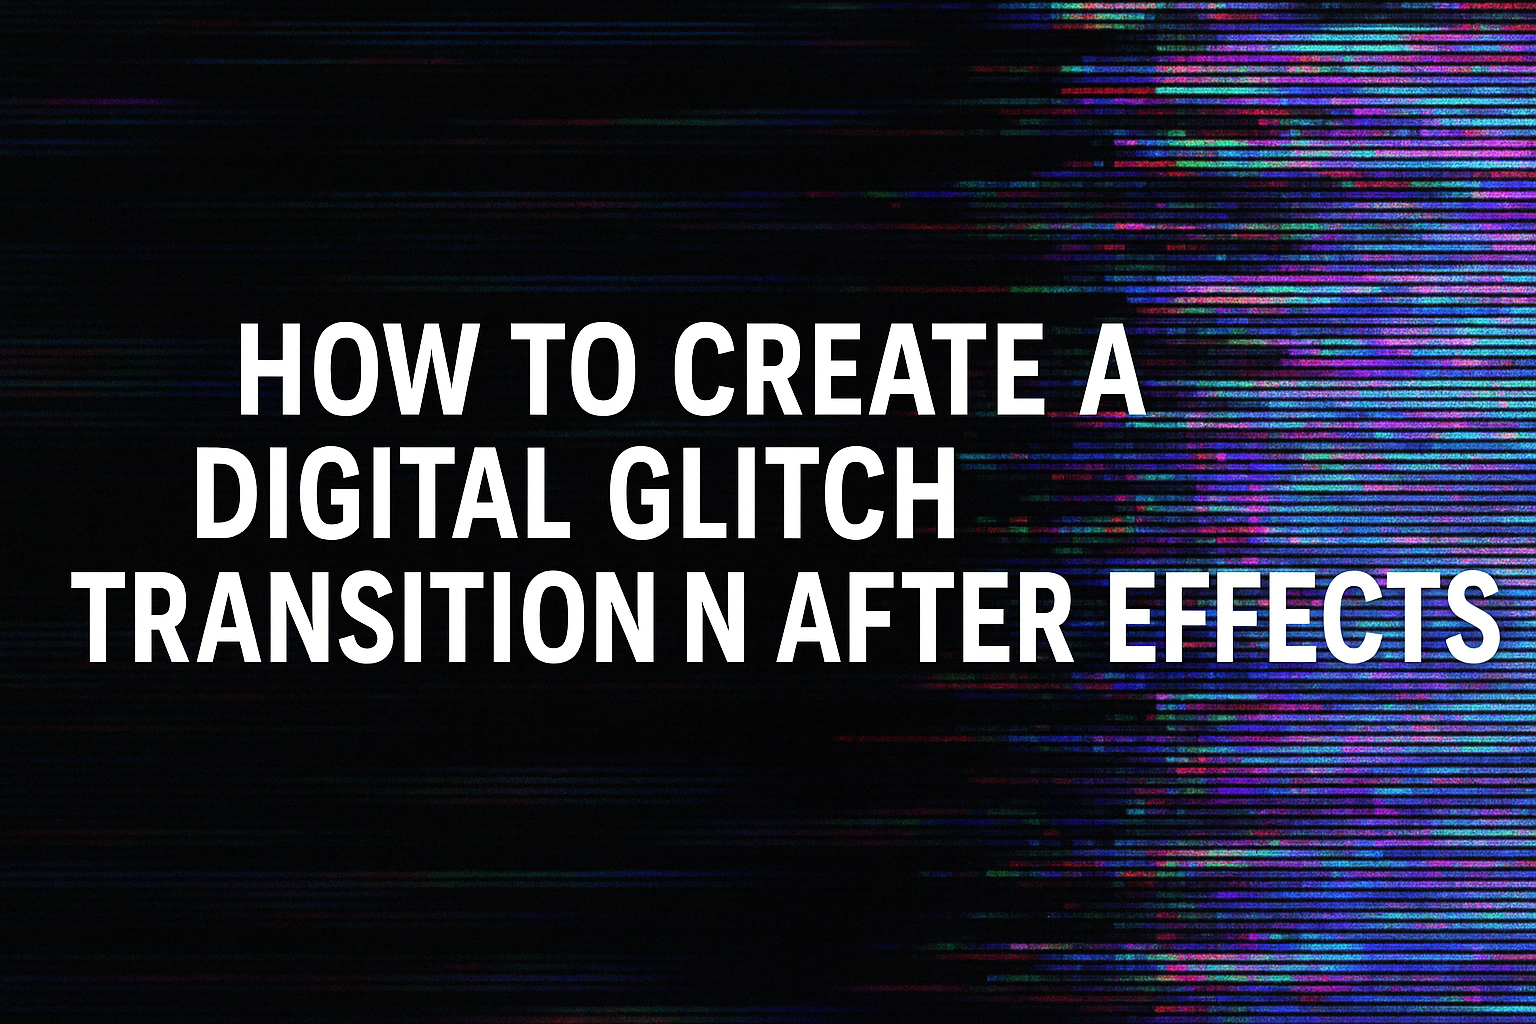
Creating digital glitch transitions in After Effects is a fun way to add visual interest to your projects. These effects can give your videos a futuristic or cyberpunk flair. By using methods like shifting pixels and distorting images, you can create unique transitions that captivate your audience.
For filmmakers and motion graphic artists, learning how to implement glitch transitions can set your work apart. Whether you’re working on a sci-fi film or a music video, these effects can enhance storytelling. Check out easy techniques like those covered in this glitch effect tutorial.
No need for expensive plugins, as After Effects provides tools to create these transitions. Simple steps with adjustment layers can give your video a professional touch. Step into the world of digital art with basic techniques and enjoy the creative process.
Understanding Digital Glitch Effects
Digital glitch effects bring a unique, distorted look to media, often characterized by abrupt changes and disruptions. The origins of these effects link back to glitch art, a creative way of using errors for aesthetic purposes. Knowing the history and visual elements helps to better apply these transitions in projects.
History of Glitch Art
Glitch art has its roots in the early days of digital technology. Since the 1990s, artists have intentionally used digital or analog errors in their work. The movement celebrates imperfections from hardware errors, pixelations, or software bugs as a form of creative expression.
In the early days, artists manipulated electronic signals or tampered with data to produce unexpected outcomes. This art form emerged from a rebellious spirit, challenging traditional methods and embracing the flaws of digital devices. As technology advanced, glitch art became an established genre in galleries and digital platforms.
Visual Characteristics of Glitch Transitions
Glitch transitions often feature abrupt visual disruptions, like pixelated segments, color shifts, or static noise. These elements create a sense of chaos and motion, drawing the viewer’s eye in. Common traits include flickering, RGB splitting, and noisy textures, adding an edgy look to videos.
Such transitions offer a dynamic way to move from one scene to another. By mimicking the appearance of broken or distorted digital signals, they convey a futuristic or tech-inspired aesthetic. Many designers use these effects to evoke a sense of urgency or to highlight key moments in a story.
For step-by-step guides on how to make glitch effects in After Effects, you can visit this tutorial on creating glitch screen effects in After Effects. Another valuable resource includes this guide on creating glitch transitions for video projects.
Preparing Your After Effects Project
When getting ready to create a digital glitch transition in After Effects, it’s important to start with the right composition settings and import your media assets properly. These initial steps set the foundation for a smooth workflow.
Setting Up Composition Settings
First, open After Effects and create a new composition. Choose Composition > New Composition from the menu bar. It’s essential to set the resolution and frame rate according to the project needs. Common settings include 1920×1080 pixels for HD and a frame rate of 24 or 30 frames per second.
Add a background color in the composition settings that complements the visual theme. Remember, selecting the right duration for the composition is key. Setting it too short could cut off the effect, while too long might leave unneeded empty space. Users should think about the specific timing requirements for their project.
Importing Media Assets
Next, users should import the required media files into the project. They can click File > Import > File, or simply drag and drop files into the Project panel. For glitch transitions, users typically need video clips, images, or graphics that will transition smoothly.
Organizing the files into folders within the Project panel can help manage assets easily. For instance, put all video clips in one folder and any sound effects in another. This method keeps the workspace tidy and workflow efficient. It’s also good practice to name files clearly, so each asset can be quickly identified during editing.
Creating a Basic Glitch Transition
To create a digital glitch transition in After Effects, you’ll need to focus on applying distortion effects, animating these effects, and using adjustment layers for seamless integration. These steps will guide you through achieving that funky, techy look associated with glitch effects.
Applying Distortion Effects
Start by adding distortion effects to your footage. These effects manipulate how the image appears, mimicking digital errors. In After Effects, common distortion tools include the Wave Warp and Turbulent Displace.
Wave Warp is great for simulating horizontal or vertical displacements. Just tweak the wave height and width to get the desired glitchy look. Turbulent Displace works well for creating a more chaotic appearance. Adjust the amount and complexity sliders to intensify the distortion.
Experimenting with these settings will help achieve the perfect glitch effect for your project. For various styles, consider exploring other distortion effects found within the software. This hands-on approach lets editors find their unique digital glitch aesthetic.
Animating the Glitch Effect
Once the distortion effects are applied, it’s time to bring them to life with animation. This is where keyframes come into play. Start by setting the initial keyframe where you want the glitch to begin.
Move forward in the timeline and adjust your distortion settings to intensify the effect at its peak. Set another keyframe here. To conclude, create a final keyframe to return everything to its original state.
Utilizing the Graph Editor will allow for fine-tuning the speed and intensity of these transitions. By adjusting the curves, you can create smooth or abrupt changes, adding an extra layer of creativity to your glitch animation.
Using Adjustment Layers
Adjustment layers are essential for properly blending glitch effects with your original footage. To use them, insert an adjustment layer above the video clip you’re working on.
Apply the chosen distortion effects to this layer. This ensures the effects are uniform across all clips beneath it, maintaining visual consistency. It also allows easy adjustments without directly altering the original footage.
Another benefit of adjustment layers is their flexibility. They let editors stack different effects, fine-tune individual layers, or quickly disable them to see changes in real time. Utilizing adjustment layers enhances both workflow efficiency and end results.
Enhancing the Glitch Effect
Creating a digital glitch effect in After Effects is just the beginning. Taking it to the next level involves adding elements such as noise, RGB splitting, and displacement maps. These features provide depth and intensity, making the glitch look more realistic and dynamic.
Adding Noise and Grain
Adding noise and grain is key to enhancing any glitch effect because it mimics digital distortion. This can be achieved by using the built-in effects in After Effects. The noise effect can be adjusted to suit different levels of intensity.
Grain can simulate imperfections in digital video or give texture to the scene. Adjust the size and opacity of the grain to ensure it complements other elements. Experimenting with various settings helps to discover a unique look that fits the project.
Incorporating RGB Splitting
RGB splitting creates a classic glitch appearance by separating the red, green, and blue channels. This effect creates a fractured look, as if the digital signal is struggling to display correctly.
To achieve this, layers are duplicated and color channels adjusted for each layer. Each layer is then repositioned slightly to create a misalignment. This eye-catching effect can be subtle or extreme, depending on the desired mood. Users can explore how much misalignment adds to the overall effectiveness.
Utilizing Displacement Maps
Displacement maps alter the position of pixels based on another image or pattern. This technique provides a warped or distorted appearance. It can simulate a screen that is flickering or unstable.
In After Effects, create a new composition for the displacement map. Use simple or complex shapes to move pixels in different directions. By linking this map to the main composition, users can adjust intensity and direction to produce distinct distortions. With careful use, displacement maps significantly boost the impact of glitch effects and can be modified in real-time for dramatic results.
Customization Techniques
To make glitch transitions unique, focus on adjusting intensity, speed, and creating reusable presets. These aspects let users customize transitions to fit their specific project needs.
Controlling the Intensity and Speed
Intensity and speed play crucial roles in the look and feel of a glitch transition. Users can adjust these by modifying parameters like distortion levels and frame rate.
For intensity, consider altering the RGB split to enhance or reduce color separation. Increasing the pixel shift can create a more dramatic effect. Conversely, reducing it results in a subtle transition.
To control speed, tweak the duration of the glitch effect in the timeline. Shortening the frames creates a rapid, chaotic glitch, while extending them allows for a more gradual effect. This helps match the transition with the project’s pacing.
Creating Presets for Reusability
Creating presets in After Effects can save time and keep consistency across projects. It allows users to reuse favorite glitch settings without starting from scratch every time.
First, select the adjustment layers or effects that define the glitch. Then, go to Animation > Save Animation Preset. Name the preset clearly to make it easy to find later. This ensures quick access when working on future projects.
By storing multiple presets, users can establish a varied library of glitch effects to suit different styles and moods. This method not only improves workflow efficiency but also ensures that transitions maintain a professional appearance across various pieces.
Adding Sound Effects
Adding sound effects to a digital glitch transition enhances the overall experience. It involves finding glitch sound effects that fit and syncing them with the visual elements.
Sourcing Glitch Sound Effects
Finding the right glitch sound effects is crucial. Websites like freesound.org and AudioJungle offer a wide selection of glitch sounds. These sounds can mimic the crackling and distortion often seen in visual glitches.
When selecting sounds, consider how they match the rhythm and style of the transition. Some sounds might be sharp and quick, while others could be more extended and distorted. Listening to previews of the sounds before downloading can be helpful. This ensures they sync well with the visual glitches planned in the project.
Syncing Audio to Visual Glitches
Once glitch sounds are sourced, syncing them to the visual glitches is the next step. Open the timeline in After Effects, locate the points where visual glitches occur, and insert the sound clips there.
Adjust the timing so that the sound peaks during the most intense part of the glitch. Experiment with volume levels to ensure the sound is not overwhelming. Using markers in After Effects can help in lining up audio with key video moments. This ensures the glitch feels cohesive and impactful.
Finalizing the Transition
In this section, find guidance on how to complete your glitch transition in After Effects. You’ll learn about rendering your project with different options and exporting the final product efficiently.
Rendering Options
Rendering is an essential step in completing your glitch transition. After Effects offers various settings that control the quality and speed of the render.
He or she can choose between different file formats such as QuickTime and H.264 depending on the project’s needs. Adjust the output resolution to balance quality and file size.
In the Render Queue panel, there are a variety of settings to adjust. Render Settings like frame rate and time span ensure the output matches your vision. The Output Module lets you pick settings for format and compression.
Remember to set your output location so you can easily find the finished file. Use the Best Settings template for high-quality results, especially if the glitch effect is complex. Making these choices wisely can greatly impact the transition’s outcome, so take the time to set them properly.
Exporting the Final Product
Once rendering is complete, exporting the project is the last step to share or archive the work effectively.
After Effects allows you to export directly or through Adobe Media Encoder for more format options. Choose formats like MP4 or MOV according to where or how the video will be used.
Optimize settings to keep the balance between quality and file size. Use presets in Media Encoder for quick setups. Adjust the bitrate to suit the video’s purpose—higher for detailed effects, lower for web use.
File naming is crucial; use clear and specific names to easily identify each project version. Ensure you know where the exported file is saved.