Creating a custom pattern in Sketch is a great way to enhance designs and add a unique touch.
To make a custom pattern, users can start by designing a shape or image in Sketch. Then, they can use the tiling feature to fill areas seamlessly. This not only allows for creativity but also helps in producing professional-looking projects.
Many designers enjoy using this feature because it opens up a world of possibilities for various applications, from textiles to digital graphics. By learning how to create and apply custom patterns, they can transform ordinary designs into striking visuals.
With just a few simple steps, anyone can harness the power of patterns in Sketch to elevate their design projects and showcase their creativity.
Getting Started with Sketch
To begin using Sketch, it’s important to familiarize oneself with its interface and set up documents properly.
Knowing how to navigate the tools effectively can enhance the design process.
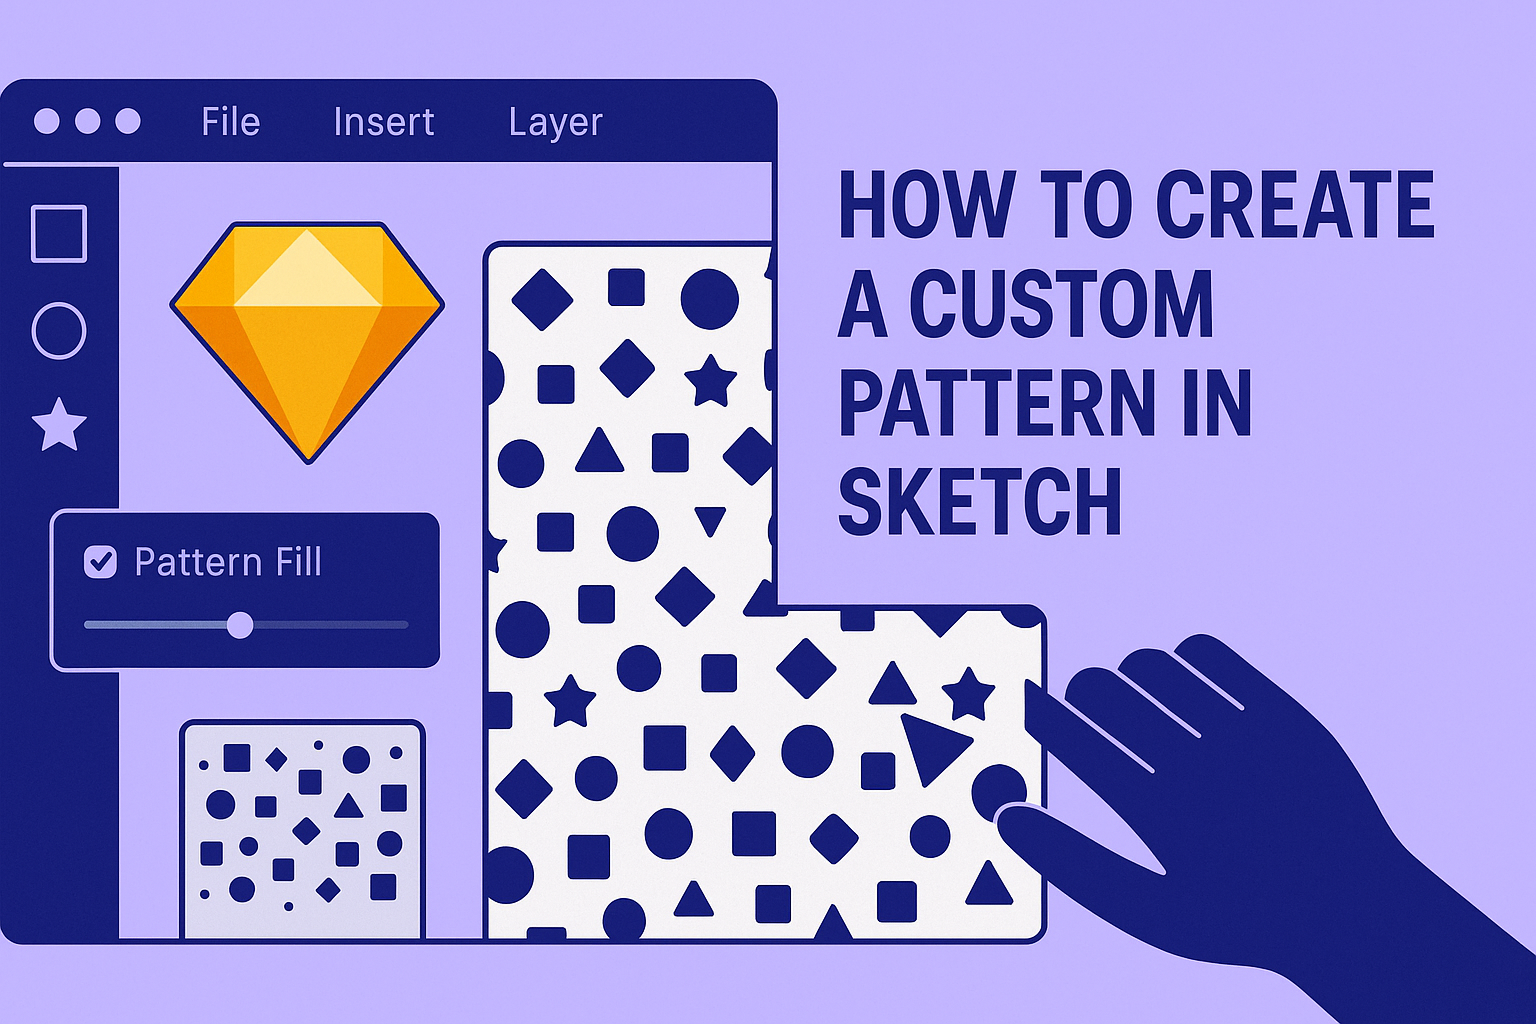
Understanding the Sketch Interface
Sketch offers a clean and intuitive interface that is user-friendly for beginners. The main components include the Toolbar, Inspector, and Canvas.
- The Toolbar at the top holds essential tools for creating shapes, text, and symbols.
- The Inspector on the right provides access to layer settings and properties.
- The Canvas in the center is where all design work takes place.
Users can customize their workspace by rearranging these sections. Additionally, learning keyboard shortcuts can greatly speed up the design process.
Sketch also supports plugins, which can enhance functionality, making it easier to create custom patterns.
Setting Up Your Document
Starting a new document in Sketch is straightforward. Users can select File > New to create a blank canvas.
Choosing the right artboard size is crucial, especially when designing patterns.
Sketch provides various preset sizes for common devices and web formats. To add an artboard, click on the Artboard Tool in the toolbar and select your preferred size from the options.
Once the document is set up, users can adjust grid settings.
Grids help in aligning elements and maintaining consistent spacing. To enable a grid, navigate to View > Canvas > Show Grid. Then, adjust the grid settings in the Inspector, ensuring the design process is organized and efficient.
Crafting Your Custom Pattern
Creating a custom pattern involves several important steps, from choosing the right base shape to applying colors and textures that bring the design to life. Each step plays a crucial role in achieving a unique and appealing outcome.
Choosing a Base Shape
The first step in crafting a custom pattern is selecting a base shape. This will serve as the foundation for the entire design. Common base shapes include circles, squares, and triangles.
She can choose a shape based on the aesthetic she wants to achieve.
Once the shape is selected, it can be resized or duplicated to form the basic outline of the pattern. This is where creativity can shine. Combining different shapes can lead to interesting results, so experimenting with various options is encouraged.
Using a grid can help in placing shapes precisely. It ensures symmetry and balance throughout the pattern, which contributes to a polished final look.
Manipulating the Shape with Tools
After choosing a base shape, the next step is to manipulate it using various tools. Sketch offers basic tools such as rotate, scale, and skew, which can reshape the base form.
She can create variations by adjusting angles and dimensions.
Grouping shapes is another helpful technique. By selecting multiple shapes and grouping them, she can move them as one unit. This reduces the hassle of adjusting each shape individually.
One helpful tool is the Boolean operation. It allows her to combine or subtract shapes, creating complex designs from simple ones. Experimenting with these tools is key to unlocking unique patterns.
Applying Colors and Textures
Once the shapes are in place, it’s time to add colors and textures. Color choice can dramatically affect the overall appeal of the pattern. He might consider using a color palette that resonates with the theme of the project.
Additionally, textures can add depth. Sketch allows users to fill shapes with various textures like fabric or paper. She can layer different textures to enhance the visual interest of the pattern.
It’s helpful to preview the pattern in different color schemes. This can help identify which combinations work best together.
Ultimately, the right colors and textures complete the look and feel of the custom pattern.
Defining Pattern Repeats
When creating a custom pattern, understanding how to define repeats is essential. Simple repeats are quick to set up and perfect for beginners. In contrast, complex repeats offer more depth and style for advanced designs.
Simple Repeats
Simple repeats involve duplicating a base design in a straightforward manner. This means creating a pattern that copies and pastes the same element at regular intervals.
To begin, select the shape or design element. Then, use the grid function in Sketch to help position each duplicate accurately.
Key steps include:
- Use of guides: These help in aligning shapes.
- Consistent spacing: Keeping the same distance between repeats maintains a clean look.
It’s helpful to use a square or rectangular area as a boundary for the pattern. This allows the repeats to form a seamless transition.
Complex Repeats
Complex repeats add variety by integrating different elements within the pattern. This can include mixing shapes, colors, and sizes for a unique look.
To create a complex pattern, start by designing a few different elements. Then, arrange them thoughtfully to form a balanced layout.
Key strategies include:
- Layering elements: Add depth by overlaying shapes.
- Varying sizes: This creates visual interest and prevents monotony.
Using tools like the rotation feature can help create intricate designs. This enables a more dynamic pattern that captures attention effectively.
Exporting and Integrating Patterns
Creating and using custom patterns in Sketch requires understanding the right export formats and how to effectively integrate these patterns into projects. Knowing these details will help ensure patterns are used efficiently and look their best.
Export Formats and Settings
When exporting custom patterns, it’s crucial to choose the correct format. The most commonly used formats are PNG and JPG.
- PNG is preferred for patterns with transparency.
- JPG works well for regular patterns without transparent areas.
It’s important to set the resolution correctly. A high resolution, like 300 DPI, ensures clear and sharp patterns. This is especially important for printing.
Users should also check the size of the pattern file; keeping it manageable helps with performance in Sketch.
In Sketch’s export settings, select “Image Export” to finalize the process. Don’t forget to name your file clearly to easily locate it later in your projects.
Using Patterns in Your Projects
Once the pattern is exported, integrating it into a project is simple.
Users can start by opening LayOut and going to the Scrapbooks panel. This is where LayOut stores reusable elements.
To add a custom pattern:
- Import the Pattern: Click on File > Insert and select the exported file.
- Apply the Pattern: Use the Pattern Fill panel. Choose “All Patterns” in the drop-down list, then locate the custom pattern.
Users can also adjust scale and rotation to fit their design needs.
If transparency is needed, it can easily be erased in Sketch before exporting.
Patterns enhance the visual appeal of any project when used correctly.