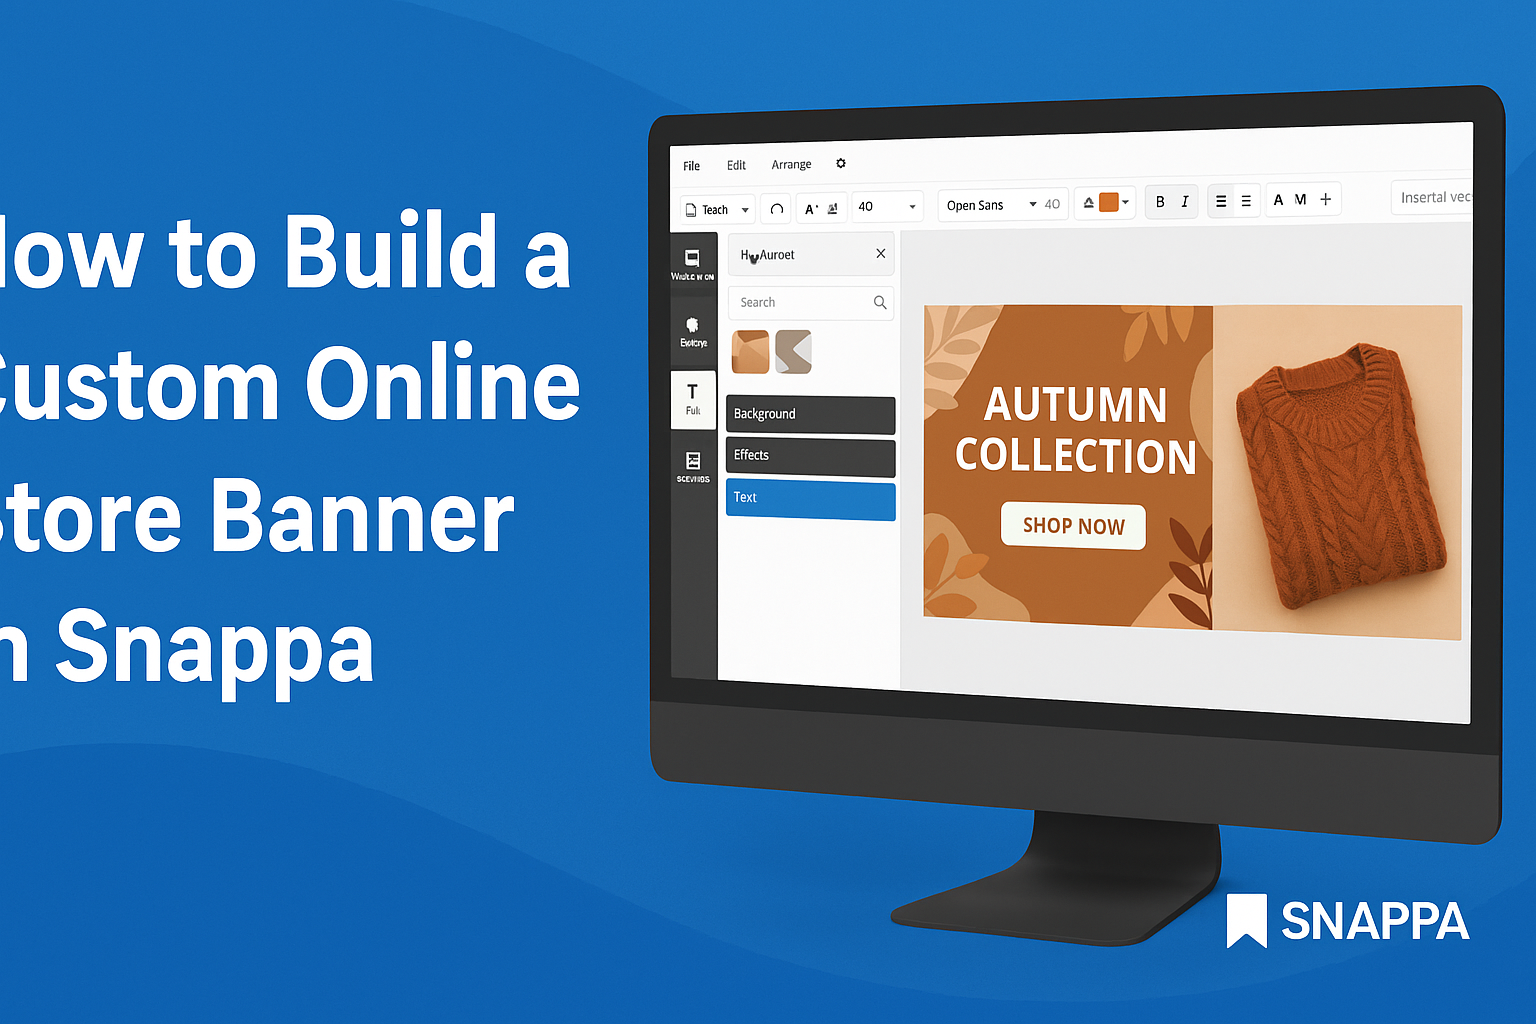
Creating a custom event poster can be a fun and rewarding task. With Snappa, users can easily design eye-catching posters that grab attention.
The platform offers a wide range of templates and tools that make the design process simple, even for beginners.
By following a few straightforward steps, anyone can craft an appealing poster that highlights the event details effectively. Snappa provides the flexibility to customize colors, fonts, and images, ensuring every poster reflects the unique vibe of the event.
Readers will discover how to make their creations stand out while maintaining a professional look.
Whether it’s for a birthday party, corporate meeting, or community event, a well-designed poster can enhance promotion efforts. This guide will cover tips and tricks on using Snappa, enabling users to create stunning visuals that attract the right audience.
Getting Started with Snappa
Getting started with Snappa is easy and user-friendly. It offers simple steps to create an account and a clean layout for design projects. Here’s how to dive right in.
Creating an Account
To use Snappa, one must first create an account. This process is straightforward.
Simply visit the Snappa website and click on “Get Started Free.”
Users need to provide basic information, such as their email address and a password. Alternatively, signing up through Google or Facebook is available for convenience.
Once you submit the information, a verification email will be sent. Clicking the link in the email will finalize the account setup. After that, users can explore the features available, even with the free plan.
Navigating the Interface
After signing in, users will see a clean and organized interface. The main dashboard displays various design options, like social media graphics and posters.
On the left side, a toolbar allows quick access to templates, images, and text options. Users can select a template specifically designed for events.
Additionally, the top bar features options for saving designs and accessing tutorials. Icons are easy to understand, making navigation simple.
Understanding these elements helps users start creating custom event posters quickly and efficiently. The interface supports creativity while keeping tools accessible.
Designing Your Event Poster
Creating a custom event poster involves selecting the right template, customizing text and fonts, adding engaging graphics, and using branding elements effectively. Each step is crucial for making an impactful design that attracts attention and communicates your message.
Choosing the Right Template
Selecting a template is a foundational step in poster design. Snappa offers a variety of templates tailored for different event types. From parties to conferences, choosing a template that aligns with the event’s theme can save time and enhance creativity.
Decide on the layout that best fits the content. Consider elements like image placement and text areas. A well-designed template guides the eye and helps balance information and visuals.
Customizing Text and Fonts
Text is vital in conveying information about the event. It’s essential to customize the wording for clarity.
Use a clear headline that captures the essence of the event.
When it comes to fonts, limiting the varieties to 2-3 complementary styles helps maintain a cohesive look. Choose fonts that reflect the mood of the event. For instance, playful fonts work for casual gatherings, while elegant styles suit formal events. Ensure the text is legible from a distance.
Adding Graphics and Images
Graphics and images can make a poster visually appealing. Snappa allows for easy integration of high-quality images and icons.
Use images relevant to the event to create a connection with the audience.
Consider adding shapes or icons to emphasize key details. For example, using arrows can direct viewers to important information. Ensure that any graphics used enhance rather than distract from the poster’s main message.
Using Branding Elements
Incorporating branding elements is essential for creating a recognizable poster. This includes logos, brand colors, and specific visual styles that reflect the organization’s identity.
Using consistent branding helps build trust and familiarity. When designing, ensure the logo is prominent but not overpowering. Align colors and styles with other promotional materials to create a cohesive look across all marketing efforts.
Finalizing and Downloading Your Poster
Once the design is complete, it’s time to make sure everything looks just right. This process involves previewing the design, adjusting elements as needed, and finally downloading the poster for use. Paying close attention to details will help create a polished final product.
Previewing Your Design
Before downloading, it’s essential to preview the design. Snappa provides an option to view the poster in its entirety. This step allows the designer to see how elements appear together.
Look for alignment, spacing, and color consistency. It’s also helpful to check the text for any typos or incorrect information. If something doesn’t look right, this is the moment to catch issues.
Make use of the zoom feature to inspect small details. Previewing also lets the designer ensure that the overall layout effectively communicates the event details.
Making Final Adjustments
After previewing, it may be necessary to make final adjustments. This can include resizing images, changing fonts, or adjusting colors. The goal is to enhance clarity and visual appeal.
Here are some quick tips for adjustments:
- Resize Elements: Make sure all images fit well within the poster space.
- Adjust Text: Ensure that fonts are readable from a distance; consider increasing size if needed.
- Color Review: Check that colors are cohesive and eye-catching.
Taking time to tweak these details can significantly improve the poster’s impact.
Downloading the Final Product
Once satisfied with the design, downloading the poster is the last step.
Snappa offers various file formats, including PNG and JPEG.
Select the desired format based on how the poster will be used.
For online sharing, PNG is a great choice. For printing, a higher resolution JPEG may be better.
After making a selection, click the download button.
The poster will be saved directly to the device.

