Creating a custom event invitation can be a fun and rewarding project. With PicMonkey, anyone can design eye-catching invitations that fit any occasion, whether it’s a birthday party, wedding, or casual get-together.
The platform offers a variety of templates and easy-to-use tools that make personalizing invites simple, even for beginners.
By using PicMonkey, users can unleash their creativity and add personal touches to their invitations. From selecting graphics to choosing fonts and colors, the options are endless.
This flexibility allows each invitation to reflect the unique style of the event and its host.
Making a stunning event invitation is just a few clicks away. With the right guidance and tools from PicMonkey, anyone can make an invitation that impresses guests and sets the tone for a wonderful celebration.
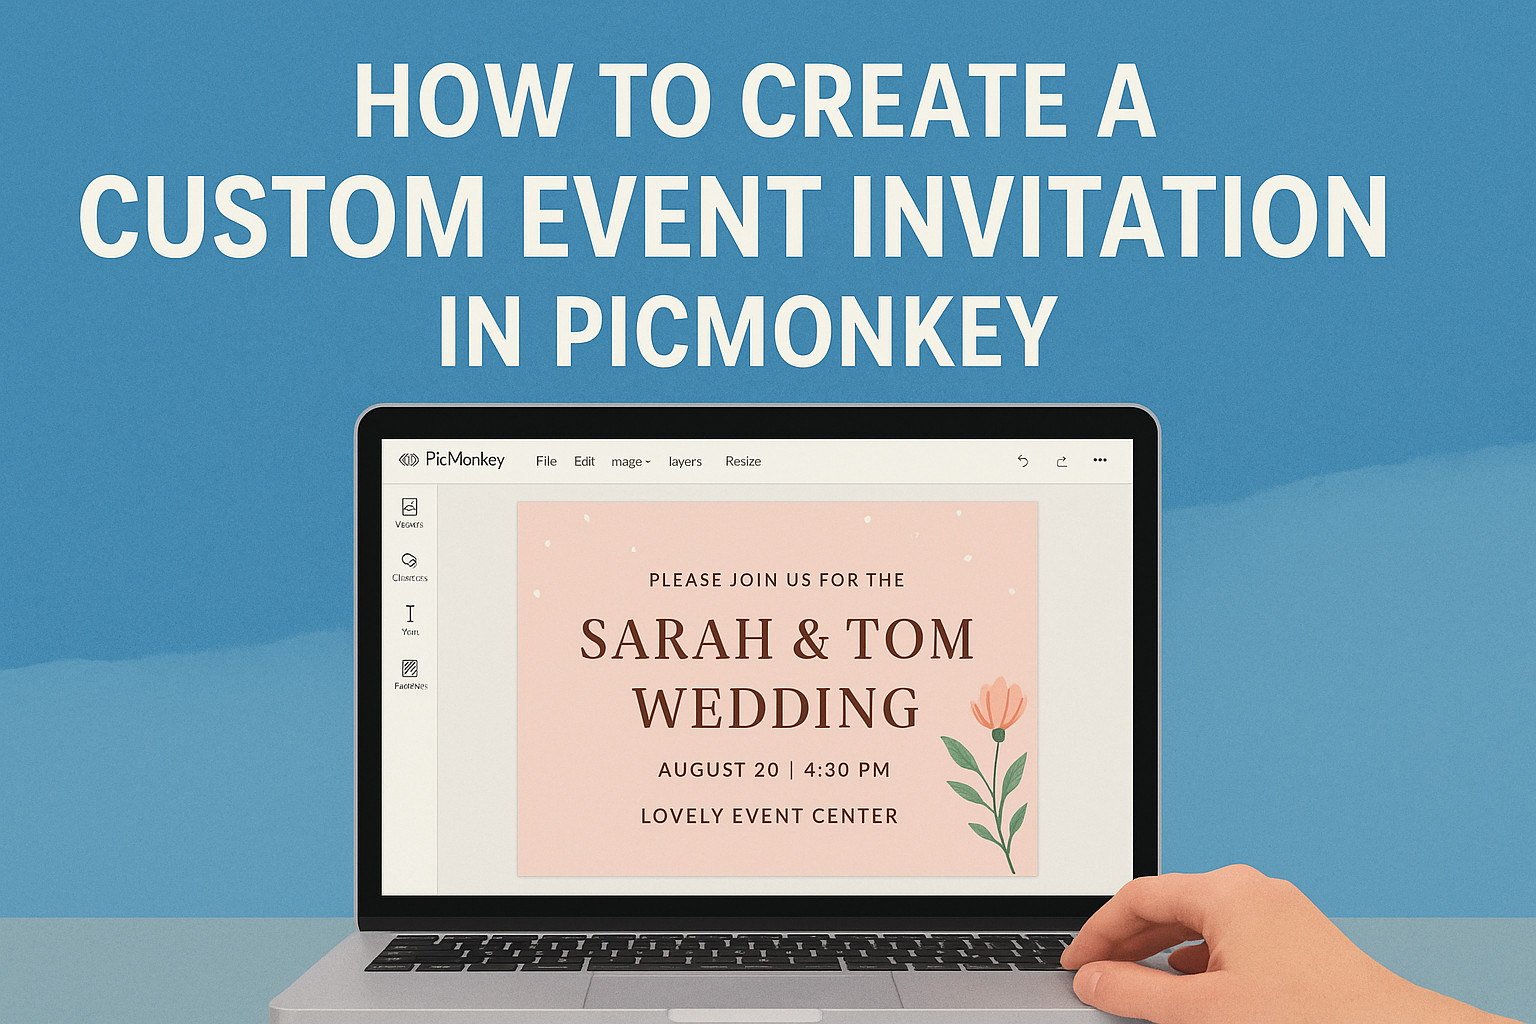
Getting Started with PicMonkey
To start creating custom event invitations in PicMonkey, setting up an account and becoming familiar with the interface is essential. These steps will help anyone feel comfortable using the platform’s features and tools.
Creating a PicMonkey Account
First, he or she needs to visit the PicMonkey website. They can choose between a free trial or a monthly subscription starting at $6. Signing up is simple.
After clicking “Sign Up,” they must provide their email and create a password. An activation email will be sent to verify the account. Once they click on the link in the email, the account will be ready to use.
This process sets the foundation for accessing all the design tools available at PicMonkey, allowing users to create beautiful invitations tailored to their events.
Navigating the PicMonkey Interface
Once signed up, exploring the PicMonkey interface is next. The main dashboard is user-friendly and includes several sections.
At the top, the design options are clearly labeled, including templates, graphics, and photo editing tools. On the left side, users will find a toolbar with essential features like adding text, images, and backgrounds.
By selecting a template, users can jumpstart their invitation design. They can customize colors, fonts, and styles easily.
Familiarizing oneself with these tools and options makes creating unique and attractive invitations quick and enjoyable.
Designing Your Invitation
Creating a custom event invitation allows for personal touch and creativity. By focusing on templates, design elements, personal text, and images, anyone can craft an eye-catching invite that reflects their unique style.
Choosing a Template
PicMonkey offers a variety of invitation templates suitable for any occasion. Users can easily explore birthday, graduation, or holiday themes.
When choosing a template, it’s essential to consider the event’s vibe. For a formal gathering, selecting an elegant design is best. For a fun birthday party, lively colors and playful fonts work well.
Pick a template that resonates with the event’s mood, as this sets the tone right from the start.
Customizing the Design Elements
Once a template is chosen, customization begins. This is where individuals can really express themselves.
PicMonkey allows users to modify colors, fonts, and graphics to match their personal style. For instance, one might select vibrant colors to create a festive feel or a softer palette for a more sophisticated look.
Changing fonts is also crucial; playful fonts add fun, while serif fonts can lend an air of elegance.
Adding Personal Text
Adding personal text is key to making the invitation informative and inviting. Details such as the event’s name, date, time, and location should be clear.
Using engaging language can make an invitation stand out. Rather than just writing “party,” try “Join us for a fun-filled celebration!” This invites recipients to feel excited about attending.
PicMonkey allows for easy text edits, ensuring that the font size and placement look perfect. Making sure everything is easy to read is important for clarity.
Using Your Own Images
Incorporating personal images adds a special touch to any invitation. Users can upload their own photos to create a more customized invite.
Whether it’s a family photo or a favorite graphic, it personalizes the invite nicely.
PicMonkey makes it easy to adjust the size and position of images. Adding images can bring warmth and familiarity, making the invitation feel more meaningful.
Choosing the right image enhances the overall design. It connects guests to the event personally, making them more likely to attend.
Finalizing Your Event Invitation
Once the design of the invitation is complete, it’s time to finalize the details. This involves careful review and making any necessary edits, followed by saving and downloading the invitation for use.
Reviewing and Editing
The first step in finalizing an invitation is to review it carefully. Check for any spelling errors in the event details, like the date, time, and location. This ensures guests receive accurate information.
Next, consider the design elements. Look at the color scheme, fonts, and images to ensure they match the event’s theme.
Adjustments can be made easily in PicMonkey using the tools available in the menu.
If something feels off, it’s okay to change fonts or colors. Consistency is key. Having a cohesive look makes the invitation more appealing to guests.
After making edits, stepping back and viewing the invitation again can help in identifying any last-minute changes.
Saving and Downloading Your Invitation
After editing, saving the invitation is crucial.
PicMonkey allows users to save their work directly to their account, making it easy to return for any future edits.
Utilizing a clear file name helps keep things organized.
When ready to send out the invitations, downloading them is the next step.
PicMonkey offers various formats like PDF or JPEG.
Each format has its benefits; for instance, PDFs are great for printing, while JPEGs are easy for online sharing.
Lastly, it’s important to choose the appropriate resolution.
Higher resolutions work best for print invites, while lower resolutions are suitable for digital invites.
This ensures the invitation looks great, no matter how it’s shared.