Creating a custom business brochure can be a fun and rewarding task. Using Vectr, anyone can design a professional-looking brochure with ease, thanks to its user-friendly features and tools. This makes it a great option for those who want to promote their business effectively without needing advanced design skills.
With Vectr, users can personalize every aspect of their brochure, from colors to images. They can explore various templates and graphics to ensure their design stands out.
This flexibility allows for creativity while maintaining a clear message about their products or services.
As readers dive into this guide, they will discover step-by-step instructions for crafting their brochures in Vectr. From selecting templates to adding text and graphics, this process will help transform ideas into a visually appealing format that captures attention.
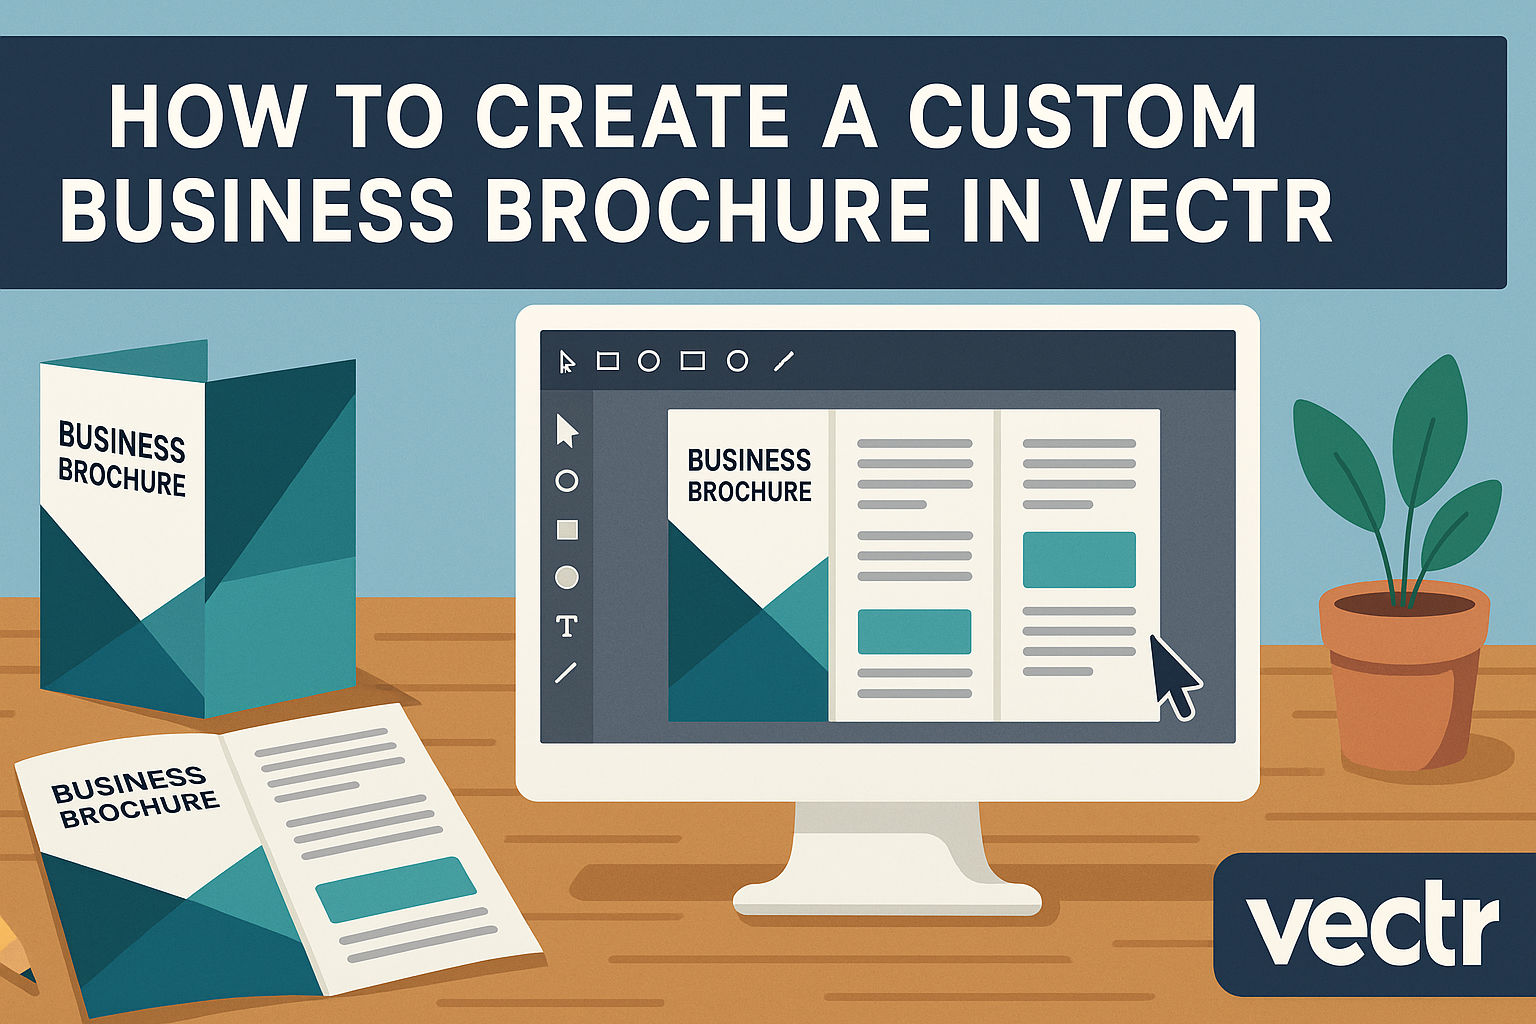
Getting Started with Vectr
Vectr is an easy-to-use tool for creating vector graphics, perfect for making custom brochures.
To begin, users need to create an account, understand the interface, and set up a new project.
Creating a Vectr Account
To start using Vectr, the first step is to create an account. Visit the Vectr website and click on the “Sign Up” button.
Users can register using an email address or link their Google account for quicker access.
After submitting the required information, a confirmation email will be sent. Clicking the link in the email verifies the account.
Once verified, the user can log in and access the Vectr dashboard. This account allows users to save their projects and access them from any device.
Overview of Vectr Interface
Once logged in, users will see the Vectr interface. The layout is clean and intuitive, making it easy to navigate.
The menu bar at the top contains options like File, Edit, and Help.
On the left side, there is a toolbar with tools for drawing, editing, and arranging objects. The main workspace is where users create their designs. This area allows for a clear view of the project.
The right side includes a properties panel that shows details of selected objects, like color and size. Familiarizing oneself with this layout helps streamline the design process.
Setting Up a New Project
To set up a new project, users should click on the Create File button in the top left corner.
A dialog box will appear, allowing the selection of the page size. Common sizes include A4 and letter, but users can customize the dimensions to fit their needs.
After selecting the size, users enter the workspace to start designing.
It’s essential to consider the layout of the brochure, including sections for images, text, and graphics. Having a plan can greatly improve efficiency.
Finally, users can save their project at any time to ensure their work is not lost.
Designing Your Brochure
Creating a business brochure involves careful planning and design choices. Focus on a template that reflects your brand, customize your colors, add engaging text, and include vibrant images or logos to capture attention.
Choosing a Brochure Template
Selecting the right template is crucial. Vectr offers a range of options tailored to various industries. Designers can start with a pre-made template or create a custom layout from scratch.
Key points to consider include the brochure type—tri-fold, bi-fold, or gate-fold. Each format has a different amount of space for content. Ensure that the chosen template allows for clear presentation of information.
Readability and aesthetics should factor into the choice too. A balanced layout attracts readers and keeps them engaged.
Customizing Background and Colors
Customizing the background and colors enhances the visual appeal. Vectr allows users to easily change background colors and patterns.
Designers should choose colors that reflect their brand identity. For example, a calming blue can impart trust, while vibrant red can convey urgency.
Keeping the palette consistent is key for a professional look.
Using contrasting colors for text and background helps improve readability. Stick to two to three main colors for a cohesive design.
Adding Text and Typography Tips
Text plays a significant role in a brochure’s effectiveness. Clear, concise information attracts attention. Use headings and bullet points for easy reading.
When choosing fonts, pick styles that match the brand’s personality. Sans-serif fonts are modern and clean, while serif fonts offer a traditional touch.
Stick to two different fonts to maintain a consistent look.
Highlight important points using bold or italic styles. This draws attention to key messages and enhances understanding.
Inserting Images and Logos
Images and logos enrich the brochure visually. Quality images can create an emotional connection with readers.
Designers should select high-resolution images to maintain professionalism.
Vectr offers tools to easily insert and adjust images within the design. Logos should be prominently placed, sometimes on the front cover or at the top of each page.
Ensure that your images relate to the content and reflect the brand’s message. This consistency reinforces the overall theme of the brochure and strengthens brand recognition.
Advanced Vectr Features
Vectr offers several advanced features that enhance the design process. By using layers, vector paths, and various effects, users can create more complex and appealing brochures. This section will explore how to maximize these features effectively.
Working with Layers and Groups
Layers in Vectr allow users to organize different elements of their design. Each layer can be handled separately, making it easier to manage text, images, and shapes.
Creating groups helps streamline the workflow. When elements are grouped, they can be moved, resized, or edited together. This is particularly useful for maintaining alignment and consistency.
To create a new layer, simply select the “Add Layer” option.
Adjust the layer order by dragging it in the layers panel. Users can lock layers to prevent accidental edits, ensuring their work remains intact while making other adjustments.
Using Vector Paths and Shapes
Vector paths are the backbone of any design in Vectr. They allow for creating custom shapes and designs that can be easily adjusted.
By manipulating anchor points, users can change the shape’s size, curvature, and angles.
Creating shapes is just as straightforward. Users can choose from basic geometric shapes like circles and squares. These can then be customized by filling them with color, gradients, or patterns.
Using the “Pen Tool” lets users draw freeform paths. It’s great for unique designs that standard shapes can’t offer.
Users can also merge, subtract, or intersect shapes for more complex designs, giving them creative flexibility.
Applying Filters and Effects
Vectr provides a variety of filters and effects to enhance graphics.
Users can add shadows, blurs, and color adjustments with just a few clicks. Applying a shadow effect can give depth to elements, making them stand out.
To add a shadow, select the object and navigate to the effects menu. Here, users can adjust opacity, angle, and distance for customization.
Filters can dramatically change the look of designs. Whether it’s changing the brightness or adding a vintage tint, blending options with filters can help achieve the desired style.
Users should experiment with these effects to find the right combination for their brochures.