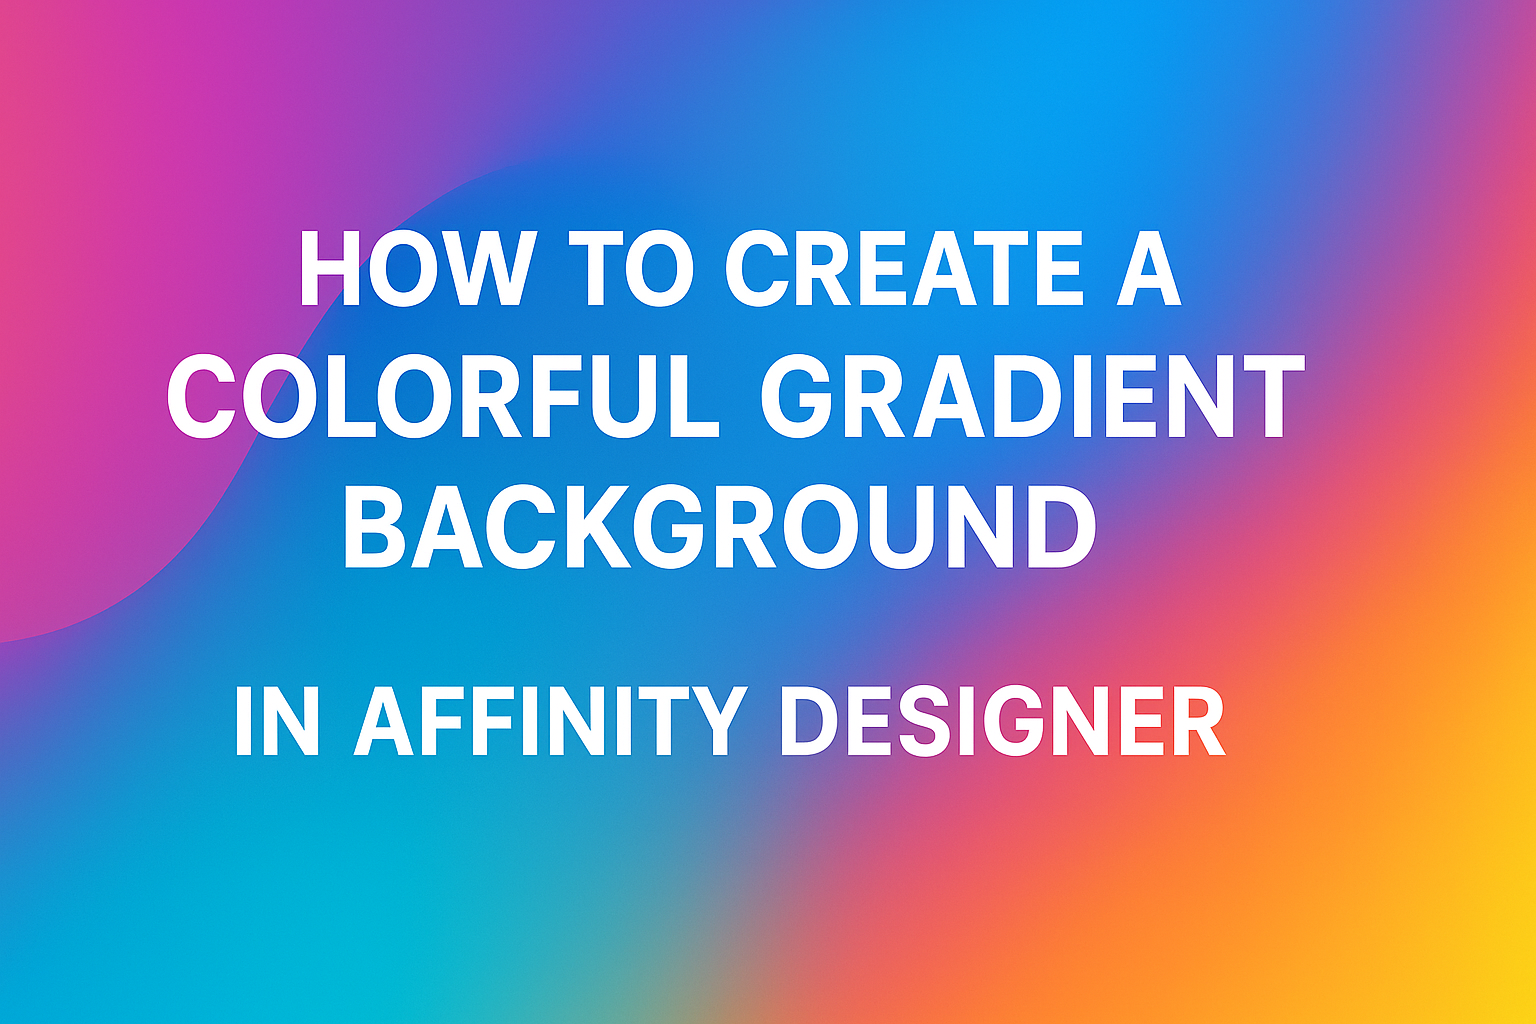
Creating a colorful gradient background in Affinity Designer can transform a simple design into something eye-catching. By following a few straightforward steps, anyone can add vibrant gradients to their projects with ease. This technique not only enhances the visual appeal but also allows for greater creativity in design.
With various tools at their disposal, designers can mix colors seamlessly and experiment with different styles. These gradients can serve as beautiful backdrops or focal points in a piece.
Readers interested in making their designs pop will find valuable tips throughout this article.
Mastering the gradient tool opens up endless possibilities for creativity in Affinity Designer. Whether for personal projects or professional work, learning to create stunning backgrounds is a worthwhile skill. Discovering how to harness this tool will elevate any designer’s craft.
Getting Started with Affinity Designer
Affinity Designer is a powerful tool for creating beautiful designs. It has an intuitive interface and offers many features that make designing easy and fun.
Understanding the Interface
When opening Affinity Designer, you’ll see a clean and organized interface.
The main components include the Toolbar, the Menu Bar, and the Studio Panels.
- Toolbar: This is at the top and contains tools for designing, like the Move Tool and Gradient Tool.
- Menu Bar: Located above the Toolbar, it provides options such as File, Edit, and View.
- Studio Panels: These can be customized and include properties for colors, layers, and other settings.
Users can adjust these panels to fit their needs, making their workspace efficient. Getting familiar with these elements will enhance the designing experience.
Setting Up Your Document
To start creating, a new document must be set up. Here’s how to do this:
- Create a New Document: Click on “File” in the Menu Bar, then select “New.”
- Choose Settings: A dialog box appears. Here, users can set the document’s size and resolution. Common choices include A4 or custom dimensions.
- Select Color Mode: Users can choose between RGB for screens or CMYK for print. This choice affects color appearance.
After making the selections, clicking “Create” will open a blank workspace. Now users can begin designing their gradient backgrounds. Taking the time to set up correctly will lead to a smoother workflow.
Creating Your Gradient
To start creating a vibrant gradient in Affinity Designer, users must first select the appropriate tools, choose suitable colors, and then apply the gradient effect. Each step is essential for achieving a colorful and appealing background.
Selecting the Right Tools
Affinity Designer provides various tools for creating gradients. The Fill Tool is the primary tool for adding color. It can be found in the toolbar on the left side of the screen.
Once selected, users will see options in the context toolbar. By clicking the gradient swatch, a new panel will open. This panel allows them to choose between linear, radial, or elliptical gradients, depending on the desired effect.
A linear gradient progresses in a straight line, while radial gradients radiate from a center point. Choosing the right type sets the foundation for the final design.
Choosing Colors for Your Gradient
Choosing colors for the gradient is critical to achieving a beautiful background. Users should consider the mood they want to convey. For a calm look, soft blues and greens work well, while vibrant reds and yellows can create energy.
In Affinity Designer, the user can adjust colors by clicking on the gradient points. Two color nodes are typically visible on the gradient bar. They can use the Color Wheel to select and fine-tune colors easily.
Adding more nodes allows for complex gradients. This option gives the ability to create smooth transitions or stark contrasts.
Applying the Gradient Effect
Once colors are selected, applying the gradient is straightforward.
Users need to click and drag on the canvas to create the gradient‘s direction and length. The placement of the mouse while dragging controls how the gradient flows.
If adjustments are needed, users can revisit the gradient panel. It’s easy to modify colors, add more color stops, or change the gradient type.
Playing around with these settings helps in fine-tuning the look. Finally, the gradient will change in real-time, giving users instant feedback.
Refining Your Gradient Background
Refining a gradient background is essential to achieving the desired look. By adjusting color stops and adding transparency, a designer can create depth and interest.
Adjusting Color Stops and Midpoints
To enhance a gradient, one can modify color stops. These are the points where colors blend in the gradient.
In Affinity Designer, selecting the gradient fill allows the user to see circular nodes at the start and end of the gradient.
Click on these nodes to change colors. A color wheel will appear for easy selection. Additionally, moving the nodes adjusts the midpoint, influencing how the colors blend together.
For smooth transitions, it’s key to experiment with positioning. Placing color stops closer creates sharper contrasts, while spreading them out gives a softer look.
Remember, subtle changes can make a big difference in the overall effect.
Adding Transparency and Finessing
Incorporating transparency can add dimension to a gradient.
Adjusting the alpha value of color stops allows for fading effects. This can create a soft, airy feeling that can elevate the design.
In Affinity Designer, select a color stop and set the opacity using the context toolbar.
A gradient can also be modified with a transparency mask. This lets designers tailor the visual flow without affecting the entire gradient.
Finessing the gradient is about trial and error. Moving color stops, tweaking transparency, and testing different color combinations lead to unique and captivating results.
Keeping designs fresh often involves revisiting these elements and adjusting them as the project evolves.
Exporting Your Design
After finishing a beautiful gradient background in Affinity Designer, exporting the design correctly is essential. Knowing the right file formats and how to save work can make a big difference in sharing and using the design effectively.
File Formats for Various Uses
Choosing the right file format helps in maintaining the quality of the gradient. Here are some popular options:
- PNG: This format is great for web use. It supports transparency and keeps colors vibrant.
- JPEG: Ideal for photos or images where file size is a concern. However, it does not support transparency and may lose some quality.
- PDF: Perfect for print. This format preserves the quality of the design and supports vector images.
- SVG: This is a vector format, excellent for designs that need to be resized without losing quality.
Different applications might require different formats, so it’s best to know the intended use before exporting.
Saving Your Work
To save work in Affinity Designer, it is important to keep a copy in the native format (.afdesign). This allows for future edits and adjustments.
In the save menu, users can also choose to create a backup. Regular backups help prevent loss of progress.
After saving, choosing the export option lets designers adjust settings for file formats, resolution, and more.
It’s also helpful to name files clearly and organize them into folders for easy access later. Proper organization makes it simple to find and share designs when needed.