Creating a custom calendar can be a fun and artistic project, and Canva makes it incredibly easy.
With its array of beautifully designed templates and a user-friendly interface, anyone can jump in and start crafting a calendar that fits their style.
Using Canva’s intuitive tools, designing a personalized calendar is both simple and engaging, perfect for gifts or organizing one’s own schedule.
Readers can find themselves immersed in creativity as they explore Canva’s free online Calendar Maker.
By adding personal photos, illustrations, and text, they transform a basic template into a unique masterpiece. Whether it’s a family calendar or one for the office, the options are endless.
For those looking for guidance, there are plenty of resources available to help navigate the process.
From step-by-step instructions on Brendan Williams Creative’s guide to video tutorials on YouTube, understanding how to design with ease is within reach.
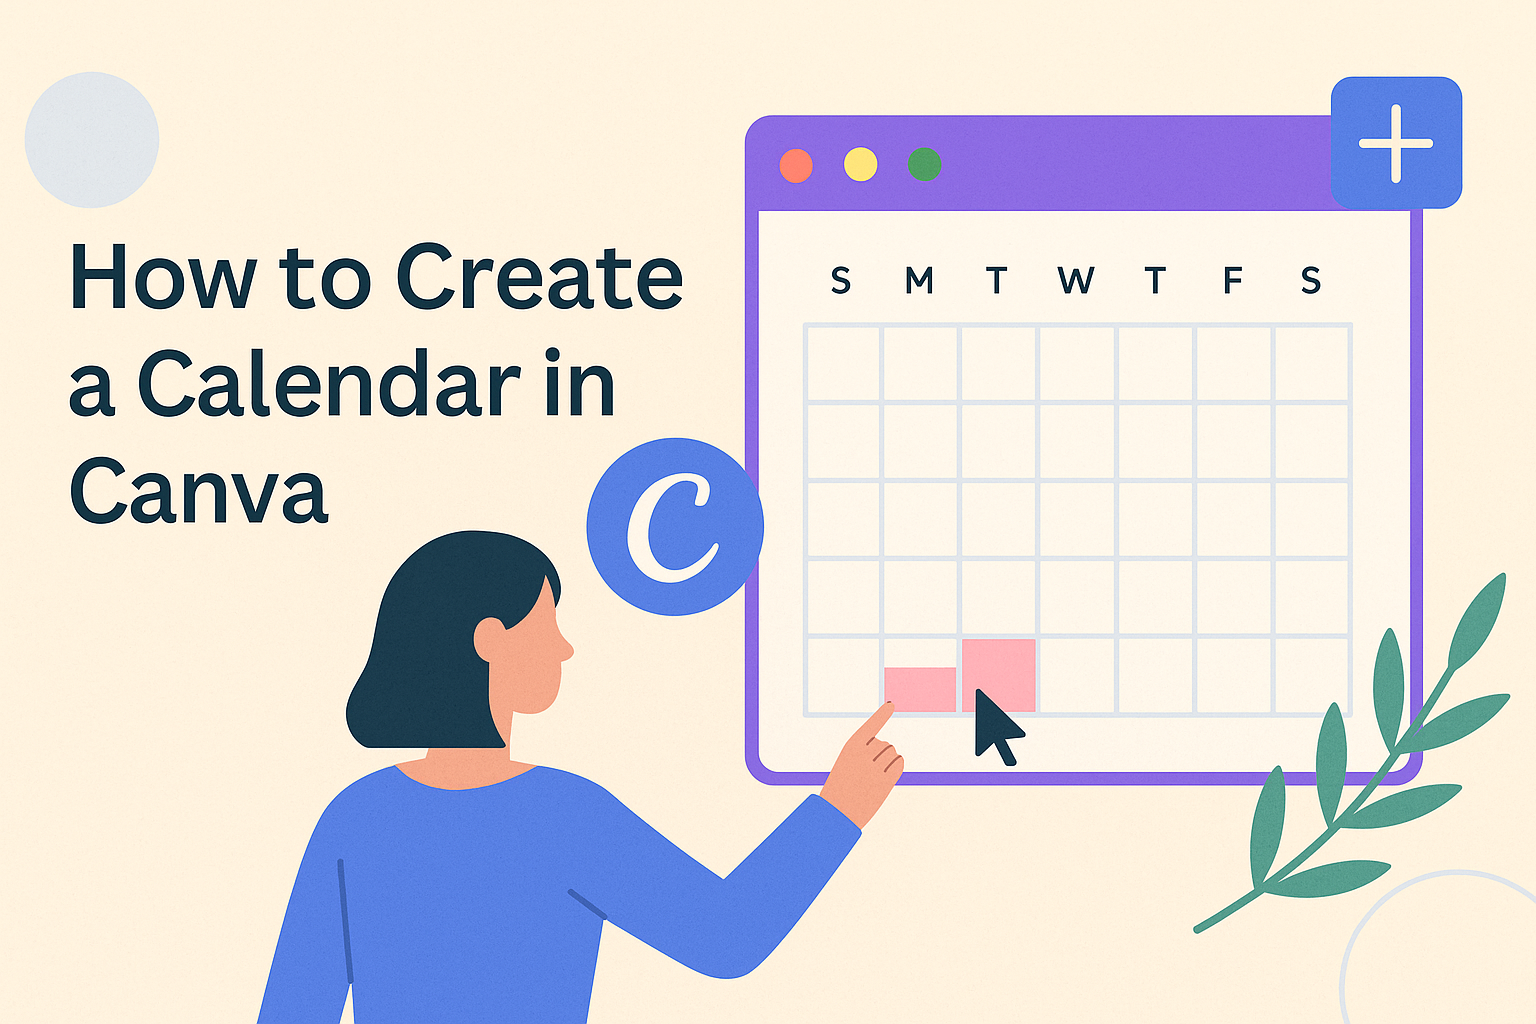
Getting Started with Canva
Creating a calendar in Canva is straightforward and fun, even for beginners. This section covers signing up, navigating the dashboard, and understanding key tools.
Sign Up for a Canva Account
To start using Canva, visit the Canva website and click on “Sign Up.”
New users can sign up using an email address or link to their Google or Facebook accounts.
After sign-up, Canva often offers a quick tutorial. This brief guide provides an overview of basic features, making it easier for users to familiarize themselves with the platform’s capabilities.
Canva provides both free and paid options, but the free version is robust enough for most design needs.
Navigate the Canva Dashboard
Once logged in, users will see the Canva dashboard, which is where all design projects begin.
At the top, there’s a search bar to quickly find templates like calendars. Users can also explore various design categories.
The dashboard features several menus for managing projects. Recent designs and saved templates appear on the main page. It also offers a sidebar with links to account settings, design categories, and project folders.
Understanding Canva’s Tools and Features
Canva offers a range of tools that make designing easy.
Users can access templates, photos, and elements on the left-hand side. Selecting any of these options brings up a library of resources ready to use.
To add text or elements, users simply drag them onto the design canvas. Each element can be customized by changing the color, size, or font.
Canva’s drag-and-drop interface is intuitive, allowing users to freely move and edit any item on the canvas for a personalized touch.
Designing Your Calendar
Creating a calendar in Canva involves selecting the right elements and customizing them to meet your needs. This process includes picking a template, tweaking layouts, choosing colors and fonts, and enhancing the design with images and graphics.
Choose the Right Template
Selecting a good template is the first step in creating a calendar in Canva. The template should match the purpose of the calendar, whether it’s for personal use or business purposes.
Canva offers a variety of calendar templates that suit different styles and preferences. From minimalist to colorful designs, users can explore options that align with their vision.
Checking the flexibility and customization ability of the template is essential. A versatile template allows the user to easily modify sections such as dates, pictures, and text. Make sure the format is easy to work with, containing enough space for notes or events if needed.
Customize the Calendar Layout
Customizing the layout is crucial for making the calendar functional and visually appealing. Users can adjust elements like header size, date boxes, and spacing. This ensures that the calendar meets their specific needs, like adding personal events or reminders.
It’s important to balance functionality with aesthetics. Users might want to add special sections for birthdays, holidays, or important meetings. Aligning all sections ensures a clean look. The layout should make it easy for people to find information quickly.
Select Colors and Fonts
The choice of colors and fonts is essential for the calendar’s overall appearance and readability.
Bright and vibrant colors may be suitable for casual settings, while muted tones often work well for professional environments. Users can experiment with Canva’s palette to find colors that complement their theme.
Typography plays a significant role in the design. Picking fonts that are legible and match the mood of the calendar is crucial. Users might mix and match headings and body text styles to create visual contrast without losing consistency.
Add Images and Graphics
Enhancing the calendar with images and graphics can make it more engaging and informative.
Canva provides access to millions of photos, icons, and illustrations that suit various themes and purposes. Users can incorporate personal photos, business logos, or decorative elements.
Images should be relevant and high-quality to maintain a polished look. Aligning them properly with text and other design elements ensures the calendar remains organized. Users can also include graphic elements to highlight special dates or events, adding a personal touch to their calendar.
Personalizing Your Calendar
Personalizing a calendar in Canva makes it more meaningful and useful. Important dates can be added, personal photos can be incorporated, and fun stickers or icons can be used to give it a unique touch.
Inserting Important Dates
Adding important dates is key to personalizing a calendar. Users can add birthdays, anniversaries, or school events.
To do this, select the text tool in Canva and choose a date on the calendar. Then, type in the event description. Adjust the font, size, and color to make it stand out.
For ease, users can create a legend at the bottom of the calendar, using different colors or symbols to denote different types of events. This visual aid can help in quickly identifying significant dates without cluttering the main calendar space.
Incorporating Personal Photos
Canva allows users to easily add personal photos to their calendars. Photos can be used for specific dates or as part of the overall design.
To insert a photo, users can upload images by clicking on the “Uploads” tab. Then, drag and drop the image into the preferred location on the calendar. It’s also possible to adjust the size and apply filters to enhance the look.
Personal photos help create a sense of connection and nostalgia. For instance, users might place last year’s family photo on a specific month or use a picture from a favorite vacation to bring happy memories.
Using Stickers and Icons
Adding stickers and icons is a fun way to personalize a calendar and make it visually appealing. Canva offers a wide variety of these design elements, which can represent hobbies, mood, or various themes.
To add stickers or icons, users can go to the “Elements” tab, where they can search for specific items like hearts, stars, or even holiday-related images. Simply drag the chosen element onto the calendar.
These elements can highlight important dates or just add some decorative flair. Changing their size and positioning them creatively around the calendar can make the final product unique and more personal.
Collaborating on Calendar Design
When working with a team on a calendar design in Canva, sharing and gathering feedback are essential steps. These help ensure the final product meets everyone’s needs.
Share the Design with Others
To begin collaboration, share the Canva calendar design with team members.
Canva allows users to share their designs easily by clicking the “Share” button. This can be done via email invites or by generating an editable link.
This feature is convenient for remote teams, allowing members to access and edit the project from anywhere. Depending on the permissions set, collaborators can either view or edit the design. Granting editing rights ensures everyone can contribute actively to the project.
Keeping communication clear by noting specific areas that need feedback or input maintains focus on collaboration outcomes.
Receive and Implement Feedback
Once the design is shared, it’s time to receive and incorporate feedback.
Encourage team members to provide detailed comments by using Canva’s built-in comment feature. This tool enables contributors to directly comment on specific parts of the design, making it easier to address their suggestions.
Reviewing feedback carefully is crucial, and prioritizing changes that align with project goals shows effective design development. Use text formatting or lists to track changes required. Implementing feedback promptly aids in keeping the project on schedule.
Collaboration in Canva leverages its tools for efficient input and adjustments, making the process smooth and productive for everyone involved.
Finalizing Your Calendar
When creating a custom calendar in Canva, it’s essential to finalize the design by previewing it and considering how it will look once printed. These steps will ensure your calendar is both beautiful and functional.
Preview and Adjust the Final Look
Before exporting your calendar, take time to preview the entire design.
Check each page for consistency in font styles, colors, and image alignments. It’s helpful to zoom in on detailed sections to ensure everything looks crisp and clear.
Consider the overall flow and ensure the calendar is easy to read. Adjust any elements that appear out of place. If using images, verify they are high resolution to avoid pixelation.
Lastly, get a second opinion. Having someone else review can catch small errors. Make adjustments based on their feedback. This step helps ensure the final product meets your expectations.
Printing Considerations
Once the design is finalized, think about printing options.
Choose the right paper type for your calendar. Glossy paper enhances colors, while matte paper reduces glare, making it easier to write on.
Decide between a digital or a professional print. Digital printing at home is convenient but may not have the same quality as professional services. If opting for a professional service, ensure they support the format you’ve used in Canva.
Make sure your design allows for any necessary margins and bleed areas, which are crucial for maintaining the integrity of your calendar during printing. This ensures a perfect finish without losing essential parts of your design.
Saving and Sharing Your Calendar
Once you’ve designed your calendar in Canva, it’s time to save and share it. You can export your finished product in various formats and choose from several sharing options, whether for printing or digital use.
Exporting Your Calendar
To save your calendar, you need to export it from Canva.
Click on the “Download” button in the top right corner of the screen. Here, you can select from several file formats. The most common options are PDF Print and PNG, which are both great for high-quality prints. If you’re planning to share it online or via email, consider choosing JPEG for a smaller file size.
For situations where edits may be anticipated by collaborators, exporting your calendar as a Canva Link ensures ease of access for edits. It can be particularly useful if multiple people are working on the calendar. This option allows any recipient with access to make changes directly on Canva, maintaining the collaborative nature of the tool.
Sharing Options for Digital Use
Canva offers options to easily share your calendar digitally.
One straightforward way is through direct email sharing, where you can send the design as an attachment in various file formats.
Another option is sharing via social media. Canva integrates with platforms like Facebook and Instagram, allowing you to post the calendar directly.
For collaborative teams or family projects, sharing a link to the editable Canva design can be beneficial.
Simply use the “Share” button and “Copy link” option. Permissions can be set to “View only” or offer editing access to recipients, ensuring control over who can make changes.
This feature helps teams stay connected, making project management smooth and efficient.