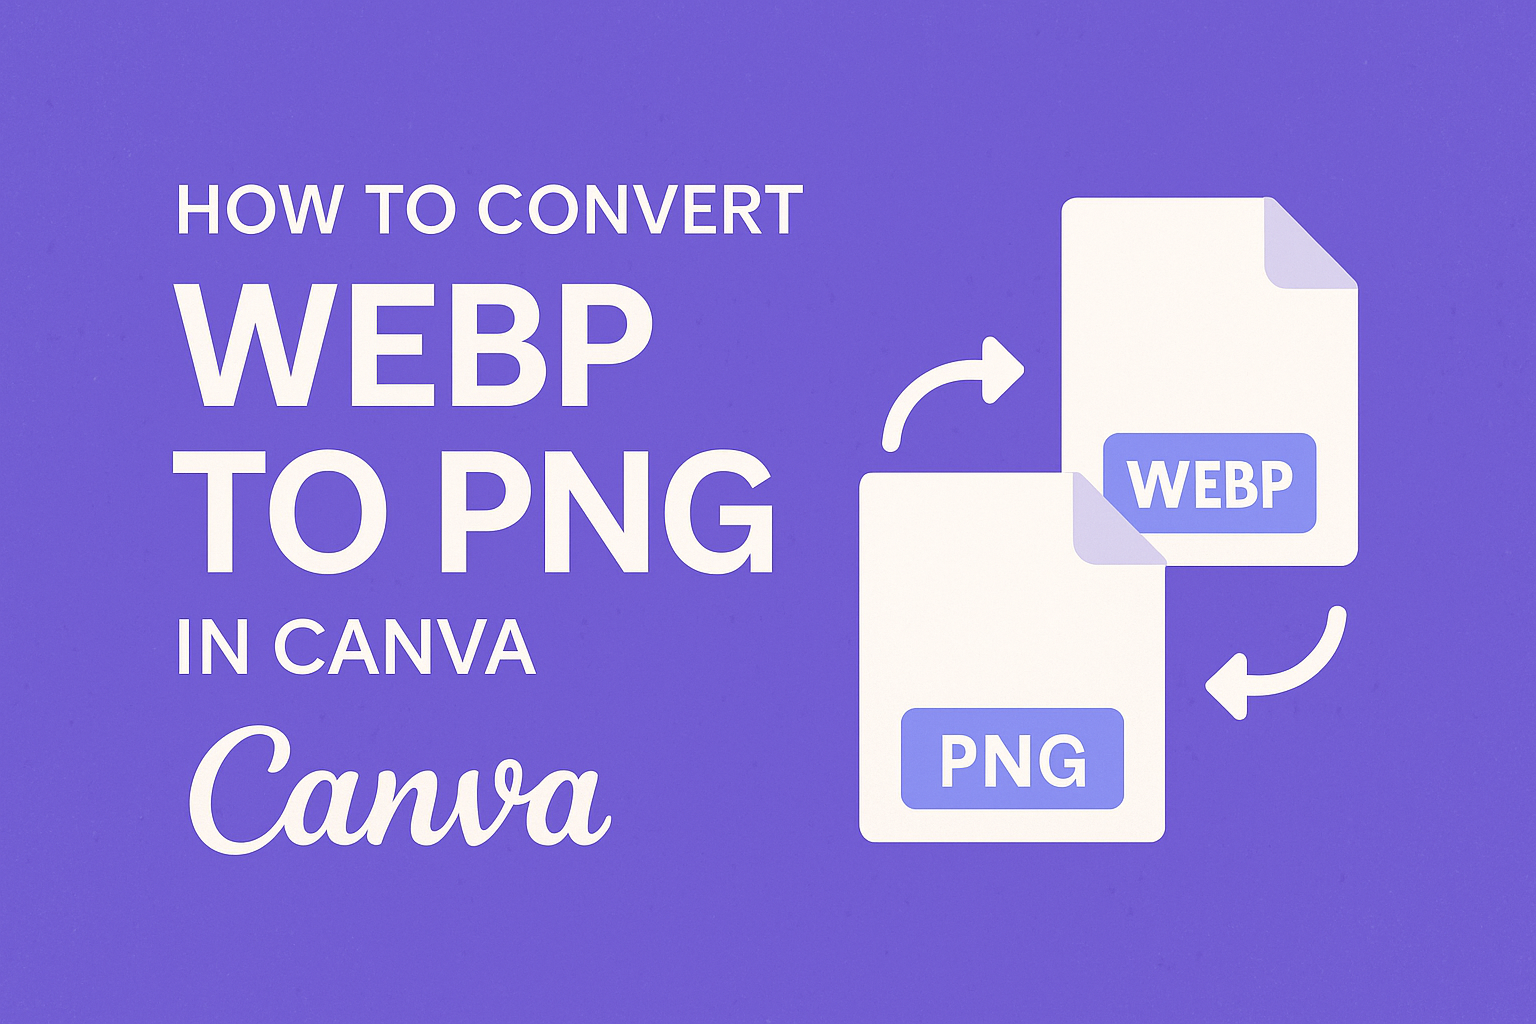
Converting images can seem tricky, especially when dealing with different formats like WebP and PNG. Thankfully, Canva makes this process simple and user-friendly.
With just a few clicks, anyone can easily convert WebP files to PNG, ensuring their images are compatible with more devices and platforms.
Many users appreciate the vibrant quality that PNG images provide. This format is great for projects that require clear graphics, making the ability to convert WebP files essential.
Knowing how to perform this conversion in Canva opens up new possibilities for designers and casual users alike.
Understanding WebP and PNG Formats
WebP and PNG formats serve different purposes for image storage and quality. Each format has its own set of benefits that make them appealing in various scenarios.
Benefits of WebP
WebP is a modern image format developed by Google. It offers several key benefits:
-
Compression: WebP supports both lossy and lossless compression, which means images can be smaller without losing much quality. This is great for web usage, as smaller files lead to faster loading times.
-
Transparency: Like PNG, WebP supports transparency, known as alpha channels. This enables images to blend smoothly with backgrounds, enhancing visual appeal.
-
Animation: WebP can also handle animations, allowing multiple images to be combined into a single file. This feature can replace GIFs with better quality and smaller sizes.
These advantages make WebP a strong choice for web developers looking to improve user experience while maintaining quality.
Advantages of PNG
PNG, or Portable Network Graphics, is a well-established image format. It comes with its own distinct advantages:
-
Lossless Compression: PNG uses lossless compression, ensuring that image quality is preserved. This is ideal for images that require clarity, like logos and graphics.
-
Wider Compatibility: PNG is widely supported across various browsers and software. This means it can be used in many projects without concerns about compatibility.
-
Color Depth: PNG supports a wide range of color depths, allowing for vibrant images. It can handle up to 48 bits of true color, ensuring detailed, high-quality visuals.
These traits make PNG a reliable format for users needing high-quality images without any compromises.
Preparing Your Canva Project
Before starting the conversion process, it is important to set up the Canva project properly. This includes accessing the design platform and selecting the right elements that will suit the image conversion needs.
Accessing Your Design
To begin, the user should open Canva and log into their account.
If they do not have an account yet, creating one is quick and free. After logging in, they can either start a new project by selecting a custom size or choose a preset option based on their project requirements.
Once the project is open, they will see a user-friendly interface. This allows easy navigation through various tools and elements.
They can locate the “Uploads” tab on the left side to prepare for importing their WebP file. Proper access to the design area will ensure smooth uploading and editing.
Selecting the Right Elements
Next, the user should select the appropriate elements for their design. This involves choosing the size and layout that best fits the intended use of the image.
They can use the “Custom size” feature to define the exact dimensions needed for the final PNG.
In addition to dimensions, it’s essential to think about the background and any other visuals required.
Users can browse Canva’s vast library of elements, which includes images, text options, and graphics. Selecting the right components will create a cohesive design and enhance the overall presentation of the converted image.
Converting WebP to PNG
Converting WebP images to PNG format is a simple process using Canva. This section offers detailed steps on utilizing Canva’s built-in tools and how to download images in different file formats.
Using Canva’s Built-in Tools
To start converting WebP files, the user can access Canva directly.
First, they should open the Canva website and locate the “WebP to PNG Converter” tool in the features menu.
Next, they can upload their WebP image by clicking the “Upload” button or simply dragging the file into the designated upload area. Once the file appears in Canva, it is ready for conversion.
After uploading, the user can choose different editing options if desired. When they’re satisfied with the image, they can proceed to convert it to PNG format with just a few clicks.
Downloading and Changing File Formats
After converting to PNG, the user needs to download the image.
In Canva, they should click the “Download” button, typically found at the top right corner.
When prompted, the user can select “PNG” from the file format options.
This ensures that the image maintains high quality and is compatible with various applications.
It’s important for the user to check the file size and quality before finalizing the download.
Once everything is set, they can click “Download” to save the PNG image to their device.
This process guarantees that the user successfully converts and preserves their images without losing quality.