Connecting Canva and SharePoint can boost productivity and streamline workflow for many users.
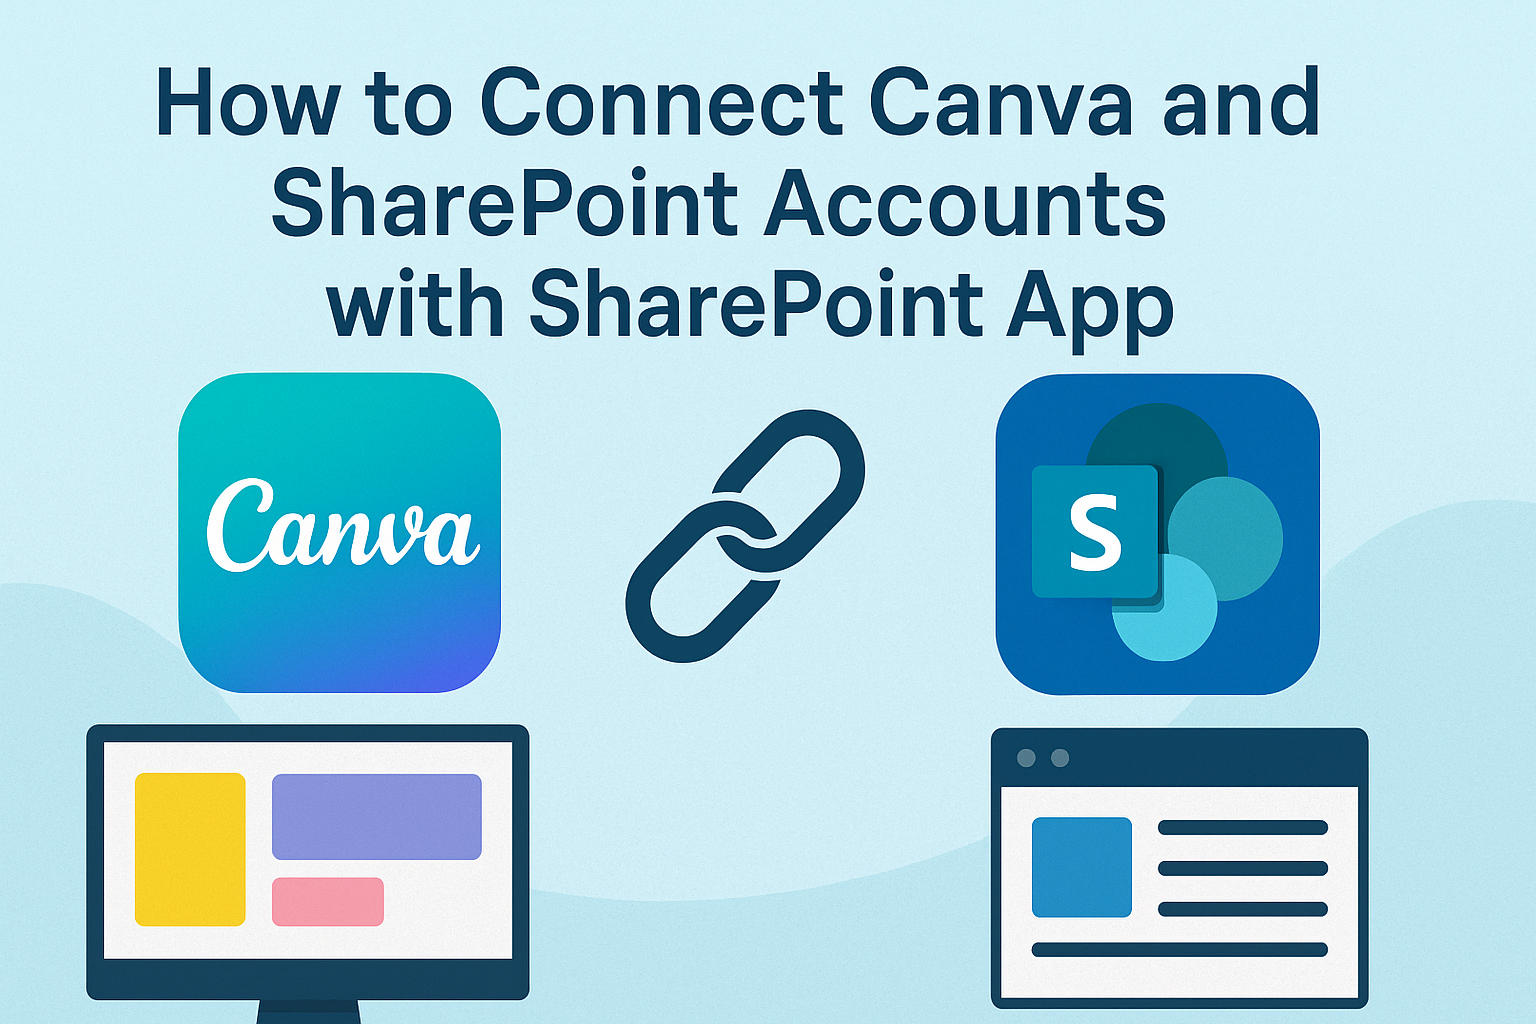
To connect Canva and SharePoint accounts, simply use the SharePoint app found within Canva. This integration allows for easy access to SharePoint files and enhances design collaboration.
Users will appreciate how this connection simplifies the process of importing and exporting files between the two platforms.
With just a few clicks, it becomes easier to utilize images and documents stored in SharePoint directly in Canva designs. This functionality saves time and improves efficiency, making design tasks less cumbersome.
By learning how to link these two tools, individuals can elevate their creative projects with resources already available in SharePoint.
The straightforward steps to set up this integration make it a valuable skill for anyone looking to enhance their design experience.
Getting Started with SharePoint and Canva Integration
Connecting SharePoint with Canva allows users to access and share designs easily. Setting up both accounts is the first step to enjoy seamless integration.
Setting Up Your SharePoint Account
To begin, a user must have access to a SharePoint account. If they don’t have one, they can ask their organization’s IT department to create an account.
Once access is granted, the user should log in to SharePoint.
It’s important to navigate through the interface to know where their documents and libraries are located.
The next step involves ensuring that all necessary permissions are set.
Users should check if they have permission to share files with external apps like Canva. Communication with the SharePoint administrator might be necessary at this stage.
Creating a Canva Account
Creating a Canva account is straightforward. Users can sign up at the Canva website. They’ll find the option to register using an email address, Google account, or Facebook account.
After signing up, users should verify their email. This step ensures that they can access all features without issues.
Once logged in, it’s beneficial to explore the Canva interface.
Users can familiarize themselves with different design tools and templates available. This knowledge helps them use the app effectively when integrating with SharePoint.
Connecting Canva to Your SharePoint Account
Connecting Canva to a SharePoint account allows users to easily access and import files for their designs. This process includes using the SharePoint app, installing it, and configuring the necessary permissions.
Using the SharePoint App Store
To start, users must access the SharePoint app store. They can do this by opening SharePoint and navigating to the app section.
Users should search for the Canva app. Once found, they can click to install it. This app serves as the bridge between the two platforms, making file sharing seamless.
Installing the Canva App
After locating the Canva app in the SharePoint store, users should click the “Add” button. This will prompt installation.
Once installed, it may require users to authenticate their SharePoint account. This often involves entering credentials and possibly an authentication code.
Users should follow all prompts to complete the installation. Having the app installed will provide users with access to their SharePoint files right within Canva.
Configuring Canva App Permissions
Configuring permissions is essential for smooth operation.
Users should open the Canva app and follow prompts asking for access rights. This often includes approving access to files and folders within SharePoint.
Users may need to check with their SharePoint admin for approval if restrictions exist. They should also ensure they allow Canva to connect properly to their SharePoint account.
Managing Your Linked Accounts
When using the SharePoint app with Canva, managing linked accounts is important for smooth collaboration. This includes accessing designs stored in SharePoint and efficiently uploading content from Canva.
Accessing Canva Designs in SharePoint
To access Canva designs through SharePoint, users need to open the SharePoint app within Canva. Once connected, the user can navigate to the apps section in Canva. Here, they should find the SharePoint app listed.
After opening the app, the user can browse through their SharePoint folders and select the designs they want to work with.
It’s important that the SharePoint permissions are set correctly to allow access. If all settings are right, designs will appear and can be edited directly within Canva, making it easy to create high-quality work without switching platforms.
Uploading Content from Canva to SharePoint
Uploading content created in Canva to SharePoint is straightforward. First, the user should finish their design and click on the download button.
From here, they can select the file type preferred, such as PNG or PDF. Once the file is downloaded, the user can open their SharePoint site.
They need to navigate to the specific folder where they want to upload the design. By clicking on the upload button and selecting the desired file from their computer, they can easily add their Canva design to SharePoint.
This process helps keep all materials organized and accessible for team members.