Changing team member roles in Canva can enhance collaboration and streamline the design process. It is simple to adjust roles using Canva’s intuitive settings. This allows users to ensure that everyone has the appropriate level of access to team assets.
Whether managing a small group or a large team, understanding how to assign roles effectively can make a significant difference.
Team administrators can easily navigate to the settings to manage member roles. Each role comes with its own set of permissions, which can be tailored based on a member’s needs and responsibilities.
By assigning the right roles, teams can protect important assets while allowing creativity to flourish.
This article will guide readers through the steps to change team member roles in Canva. They will learn how to assign different levels of access and what each role entails, making it easier to manage any team effectively.
Understanding Roles in Canva
Canva offers various roles that help manage team collaboration. Each role comes with specific responsibilities and permissions, making it easier for teams to work together effectively.
Different Role Definitions
In Canva, three main roles can be assigned to team members:
-
Administrator: This person has full control over the team. They can manage members, adjust settings, and oversee all design work.
-
Brand Designer: This role focuses on creating and managing brand materials. Brand designers can use the team’s Brand Kits and ensure all designs align with the brand’s guidelines.
-
Member: These users can collaborate on designs but have limited access to making changes in team settings. They can create and edit designs, but cannot manage other members or settings.
Understanding these roles helps ensure everyone knows their responsibilities and can contribute effectively.
Permissions and Limitations
Each role in Canva comes with different permissions:
-
Administrator: Has the authority to add or remove members, change roles, and manage brand assets. They can also publish templates.
-
Brand Designer: Can create and edit designs, manage Brand Kits, and schedule social media posts. However, they cannot remove other team members.
-
Member: Can create and share designs but cannot change roles or manage team settings. They must rely on administrators for more significant changes.
These distinctions help protect valuable assets while allowing everyone to contribute to the projects they are involved in.
Navigating the Team Settings
Finding the right settings to manage team roles in Canva is crucial for effective collaboration. By accessing the team management area, users can easily view and modify member roles. This section covers how to locate the team management features and find the team member list.
Accessing Team Management
To start managing team settings, the user must first log into their Canva account. In the top corner of the homepage, they will see a gear icon.
By clicking on this icon, a dropdown menu opens. From here, choosing “Settings” directs them to the settings page.
Once in the settings, they should look for the “People” tab on the side menu. This is where all team management options can be found.
Users can quickly navigate through this area to see options for inviting new members or adjusting existing member roles.
Locating Team Member List
After accessing the “People” tab, the user will find the complete list of team members. This list displays names, roles, and email addresses, making it easy to manage permissions.
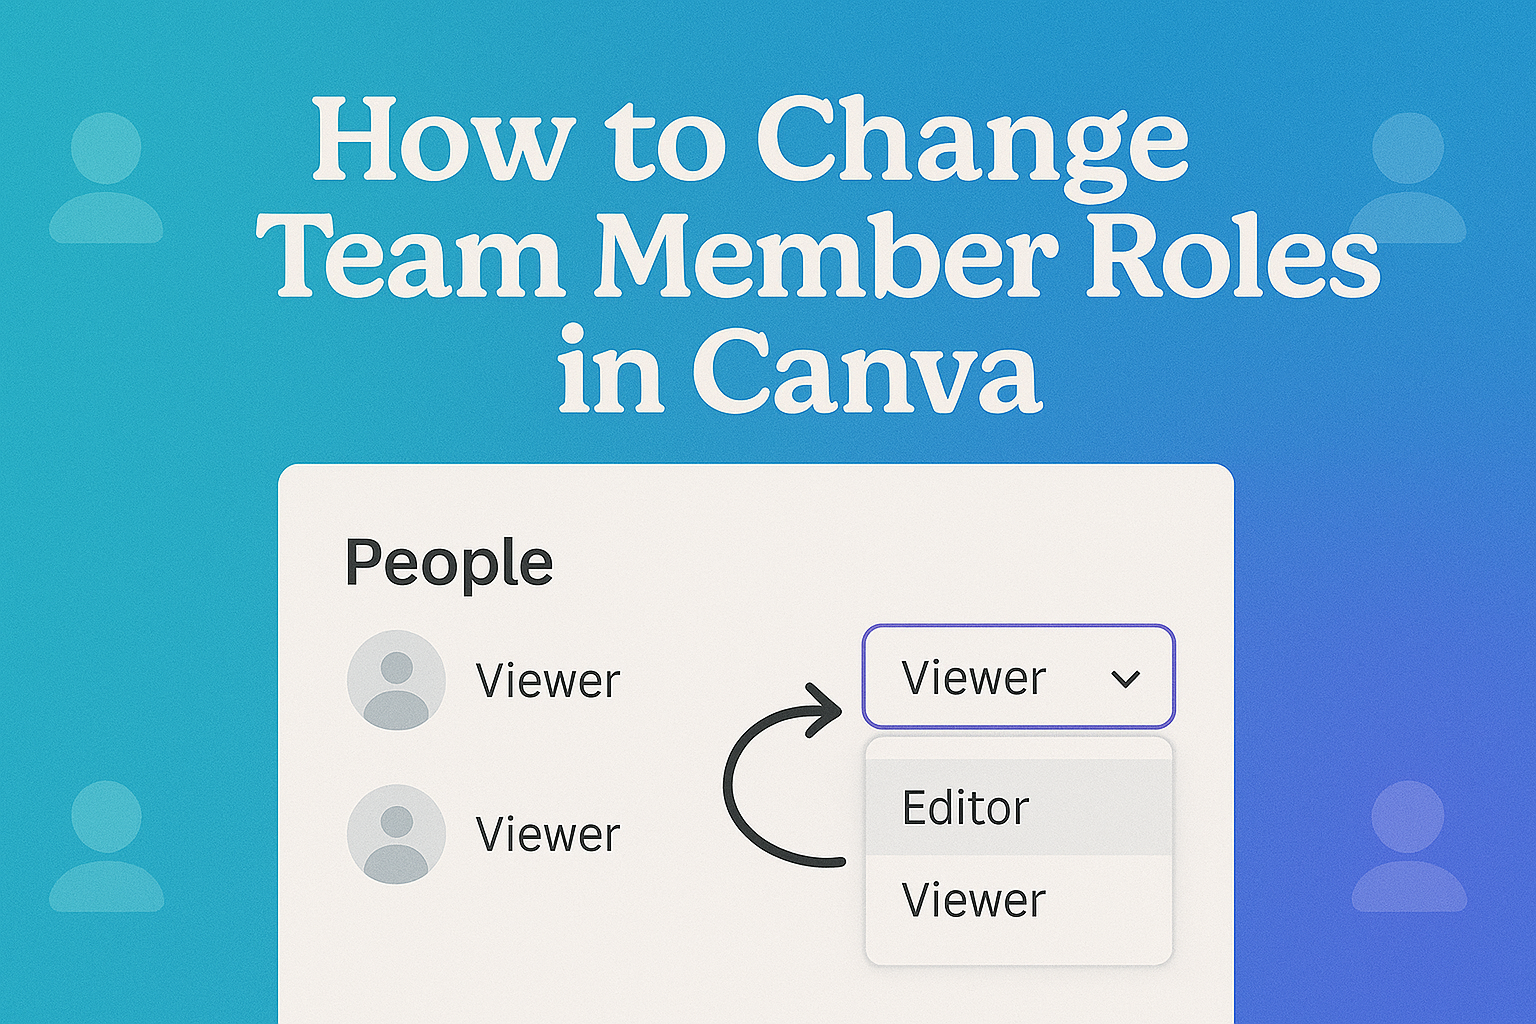
For more detailed management, users can click on any member’s name to view their specific settings. Here, they can change roles by selecting a new role from a dropdown menu.
The roles can be Admin, Member, or Viewer, each with varying levels of access. This allows for tailored permissions based on team needs.
Changing Member Roles
Adjusting team member roles in Canva is straightforward and essential for maintaining an organized team. By assigning new roles, team admins can ensure that each member has the appropriate permissions for their responsibilities. Here’s how to do it effectively.
Assigning a New Role
To start assigning a new role, the team admin needs to access the People page in the Settings. This can be done by clicking on the gear icon in the top corner of the homepage. Once there, the admin can see a list of team members.
Next, they should select the member whose role needs changing. There is a “Change role” button at the top of the page.
By clicking this button, the admin can choose from available roles like Administrator, Brand Designer, or Member. After selecting the new role, it’s important to finalize the choice.
Confirming Changes
After choosing a new role, the admin needs to confirm the changes. A prompt will appear asking for confirmation.
This step is crucial to ensure that the new role is properly assigned.
Once confirmed, Canva updates the member’s permissions right away. This means that the member can start using their new tools and features immediately.
Keeping track of these changes helps maintain team efficiency. Remember, it’s always good practice to notify members about their new roles, so they know what to expect.