Creating a stunning magazine layout can seem challenging, but with Gravit Designer, it becomes an exciting project.
Learning to build a full-page magazine layout allows designers to showcase their creativity while producing professional-looking results. This versatile tool provides all the features needed to combine text, images, and graphics seamlessly.
Using Gravit Designer, one can take advantage of its user-friendly interface to create engaging content that captivates readers. Whether it’s for a digital magazine or a printed version, the layout process is straightforward and enjoyable.
By mastering the steps involved, anyone can elevate their design skills and produce eye-catching publications.
This blog post will guide readers through the essential techniques and tips to make a full-page magazine layout. From setting up the canvas to arranging elements perfectly, each step will help in achieving a polished final product.
Getting Started With Gravit Designer
Gravit Designer provides a user-friendly platform for creating stunning layouts. Understanding the interface, setting up your document, and mastering basic tools are essential steps for a smooth experience.
Understanding the Interface
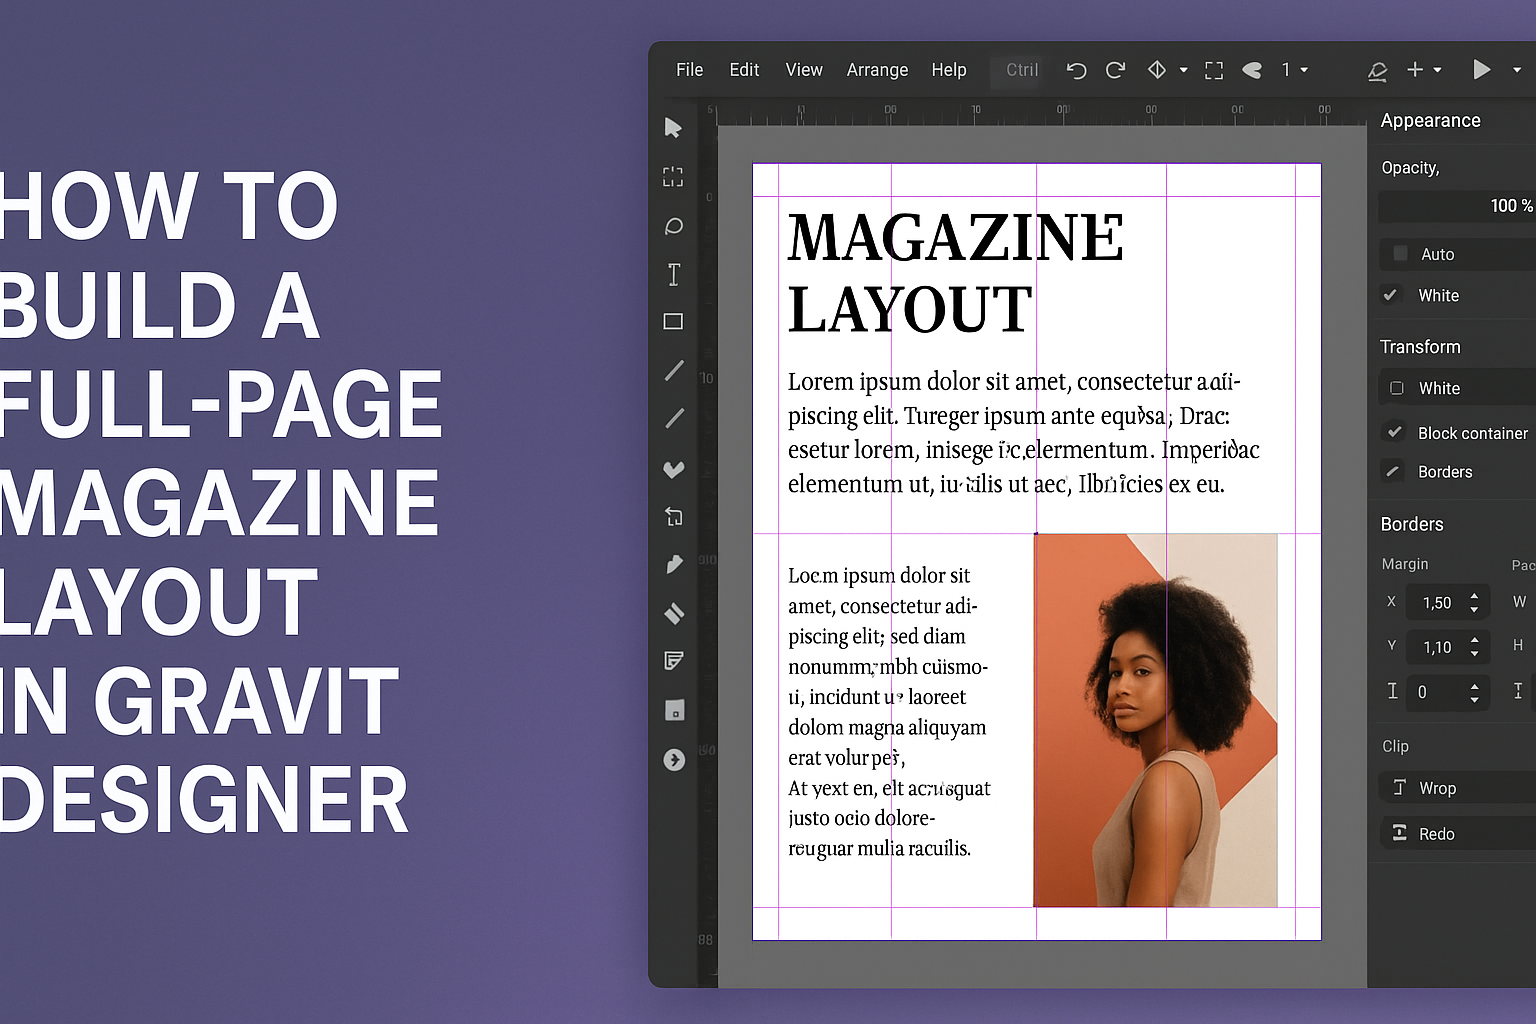
When he first opens Gravit Designer, a clean and organized interface greets him. The main areas include the toolbar, canvas, and inspector panel.
The toolbar at the top contains tools for selecting, drawing shapes, and text editing.
On the left, he will find the layers panel, where all elements of his design are listed. This feature allows for easy navigation and organization of components.
The inspector panel on the right lets her adjust properties such as colors, sizes, and effects, making it straightforward to modify any element.
Familiarity with these areas helps to navigate the software effortlessly.
Setting Up Your Document
To get started, he will need to create a new document. Click on File and select New. A dialogue box will appear where he can choose the document size.
For a full-page magazine layout, a common size is A4 (210 x 297 mm).
After selecting the size, he can set the resolution to 300 DPI for high-quality print results. It’s also a good idea to choose a background color or keep it transparent for now.
Once the document is created, he can save it with a descriptive filename to avoid confusion later.
Proper setup lays the foundation for a successful design.
Mastering Basic Tools
Gravit Designer offers several basic tools that are essential for creating layouts. The select tool is crucial for moving and resizing elements.
To add graphics, he will use the shape tool to create rectangles, circles, or custom shapes.
The text tool allows him to add headlines, body text, and captions easily.
Understanding how to use the pen tool is also valuable for creating unique shapes or paths.
As he learns to use the alignment tools, like distributing and centering layers, he will improve the overall layout. By practicing these tools, he can create professional-looking magazine designs effectively.
Designing the Layout
Designing a magazine layout in Gravit Designer involves careful planning and attention to detail. Key elements to focus on include creating a grid system, using frames and layers effectively, and incorporating typography that enhances the overall design.
Creating a Grid System
A grid system is the backbone of any magazine layout. It helps organize content and gives structure to the design. In Gravit Designer, users can create a grid by defining columns and rows.
-
Set Up Columns: Decide how many columns to use based on the magazine’s style. Typically, two to four columns work well for readability.
-
Margins: Establish margins around the page to give content room to breathe. Margins can help guide the reader’s eye across the layout.
-
Guides: Use guides to align elements like images and text. This creates a consistent look and makes it easier to place items precisely.
Working With Frames and Layers
Frames and layers allow designers to manage content efficiently in Gravit Designer.
-
Frames: Use frames to contain images and text. This helps in moving and resizing content without disrupting the entire layout.
-
Layers: Organize different components of the magazine by using layers. Each layer can represent different sections like headers, footers, or body text.
-
Layer Management: Naming layers clearly can make finding and editing them easier. It keeps the workspace organized and efficient.
Incorporating Typography
Typography plays a crucial role in catching the reader’s attention. Selecting the right fonts and styles is important for a professional look.
-
Font Selection: Choose fonts that reflect the magazine’s theme. For example, modern magazines may prefer sans-serif fonts for a clean look, while others might use serif fonts for a classic feel.
-
Hierarchy: Establish a hierarchy using different font sizes and weights. Headlines should be bold and larger, while body text should remain legible and consistent.
-
Spacing and Alignment: Pay attention to line spacing and text alignment. Adequate spacing improves readability, while proper alignment keeps the design cohesive.
By focusing on these elements, designing a full-page magazine layout in Gravit Designer becomes a structured and enjoyable process.
Adding Visual Elements
Visual elements play a vital role in magazine layouts. They help grab attention and create a captivating design. This section focuses on how to effectively add images, use vector tools, and enhance the layout with color and effects.
Inserting Images and Graphics
Adding images and graphics is essential for a vibrant magazine layout. Gravit Designer allows users to drag and drop images directly onto the canvas.
To insert an image, follow these steps:
- Select the Image Tool from the toolbar.
- Choose a Source: You can upload images from your computer or choose from built-in libraries.
- Resize and Position: Click on the image to resize it by dragging the corners and move it to the desired spot.
Using high-quality images enriches the layout. It helps illustrate the magazine’s theme and captures the reader’s interest. Always consider the image’s resolution to ensure it fits well without becoming pixelated.
Using Vector Tools for Custom Shapes
Vector tools offer a creative way to add custom shapes to a layout. Gravit Designer includes various vector shape options allowing for flexibility.
To create a custom shape:
- Select the Vector Tool from the toolbar.
- Draw the Shape: Click and drag on the canvas to create the desired form.
- Adjust the Shape: Use the nodes to modify points and curves for a unique design.
Custom shapes can serve as background elements, borders, or decorative items. This adds dimension to the layout, making it visually appealing. Shapes should complement the images and text, ensuring a balanced overall design.
Enhancing with Color and Effects
Color and effects can transform a magazine layout, giving it character and style. Gravit Designer allows users to apply colors and styles easily.
To enhance an element:
- Select the Element: Click on the image or shape.
- Access Color Options: The color palette allows for custom fills, gradients, and patterns.
- Add Effects: Use shadows, blurs, or highlights to create depth.
Utilizing a consistent color scheme ties the layout together. It helps maintain a professional look while allowing creativity. Subtle effects can draw attention to key elements, enhancing engagement without overwhelming the reader.
Export Options for Sharing and Printing
Once the layout is consistent, it’s time to export.
Gravit Designer offers several formats, including PDF, PNG, and SVG.
For print, exporting as PDF is ideal. It maintains quality and layout integrity.
Adjust the PDF settings to include bleed marks for professional printing.
If sharing online, consider exporting as PNG or JPEG. These formats are web-friendly but may lose quality when resized.
When exporting, ensure to check the resolution. A minimum of 300 DPI is recommended for print, while 72 DPI is sufficient for web.
Lastly, label the files clearly. Use descriptive names that convey the content and version.
This will help in organizing and locating files later.