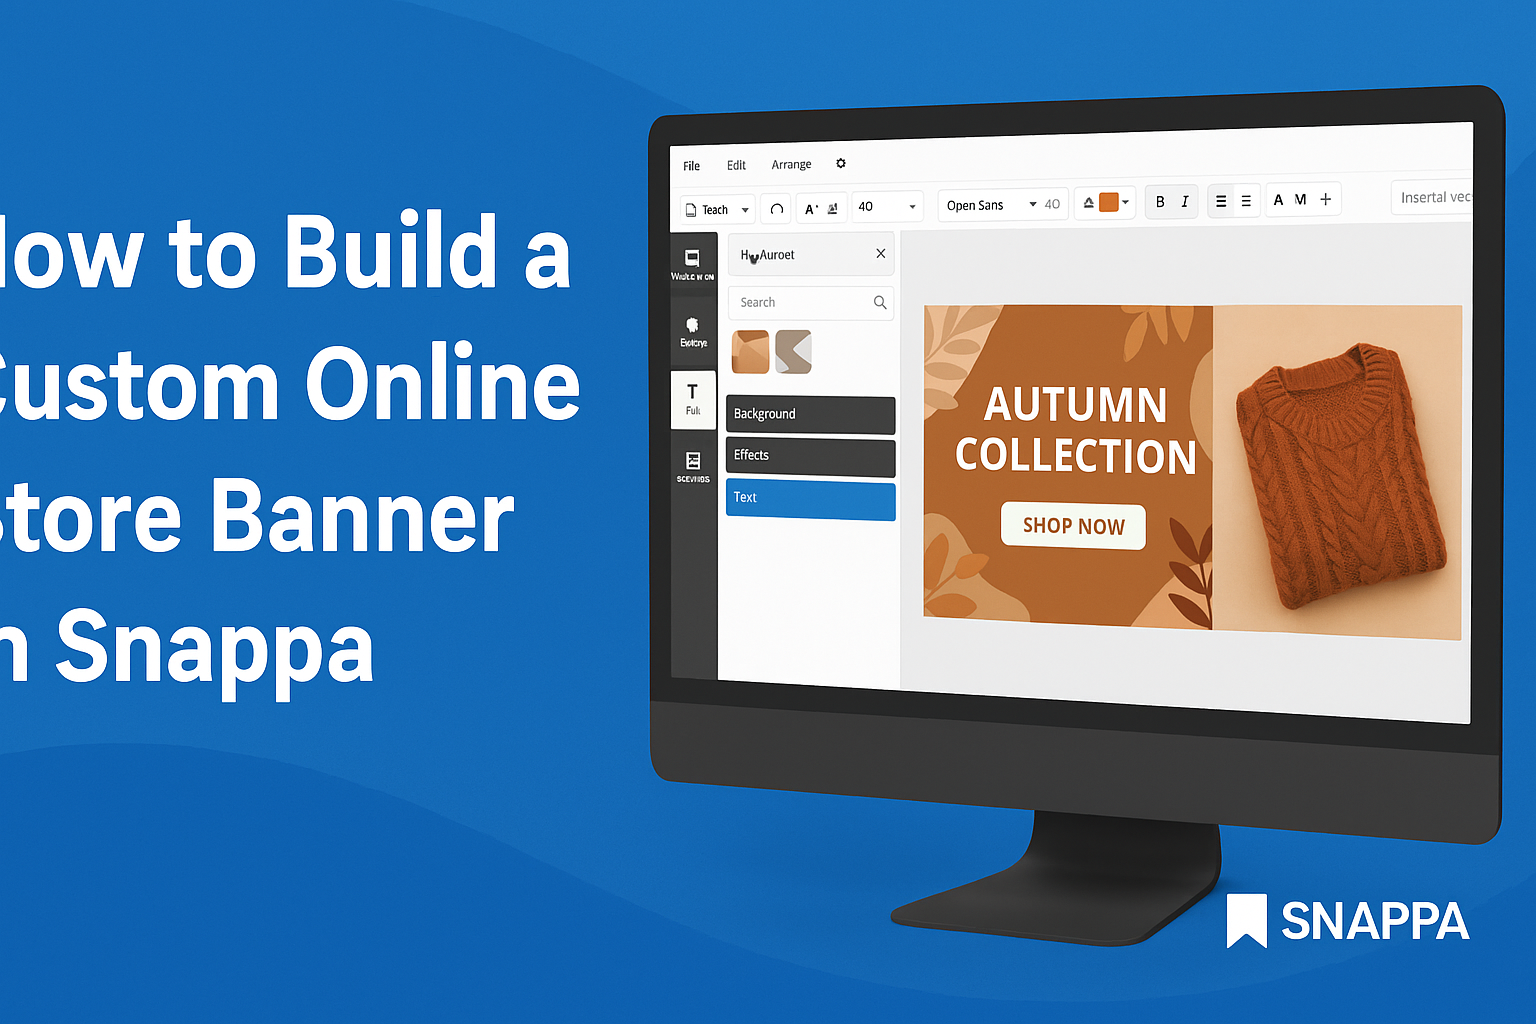
Creating eye-catching banners for an online store can greatly enhance its visual appeal.
Using Snappa, anyone can easily build a custom banner that reflects their brand and engages customers. This tool offers numerous templates and simple drag-and-drop features, making design accessible for everyone.
Not only does Snappa streamline the design process, but it also provides preset dimensions for various online platforms. This means users can quickly create banners suited for their specific needs, whether for social media or their website.
With a little creativity and the right tools, designing a professional-looking banner is possible without prior graphic design experience. Readers will discover how Snappa can transform their ideas into attractive visuals that grab attention.
Setting Up Your Snappa Account
To create stunning banners in Snappa, the first step is setting up an account. This process is straightforward, and understanding the dashboard helps users access essential features quickly.
Creating an Account
To begin, users need to visit the Snappa website. From there, they can click on the “Sign Up” button, which leads to a registration page.
Here, she must provide an email address and create a password.
Users can also sign up using their existing Google or Facebook accounts for convenience. Once the account is created, a confirmation email will be sent. Clicking the link in the email verifies the account. After successful verification, she can log in and start creating custom banners right away!
Understanding the Dashboard
Once logged in, users will see the Snappa dashboard. It features a clean layout for easy navigation.
At the top, there are options to create a new design or access saved projects.
On the sidebar, users can explore templates, stock photos, and graphics. This section offers many resources to simplify the design process.
The dashboard also shows recent designs, making it easy to locate past projects. Understanding these features is key to making the most of Snappa’s capabilities. This setup ensures users can quickly start designing their online store banners.
Designing Your Online Store Banner
Creating a custom online store banner requires attention to detail and a clear vision. The right dimensions, templates, images, and text will help create a banner that stands out.
Selecting the Right Dimensions
Choosing the right dimensions is crucial for an effective online store banner.
Common sizes include 728×90 pixels for a leaderboard or 300×250 pixels for a medium rectangle. It’s important to know where the banner will be displayed, as different platforms have specific requirements.
For example, Facebook recommends a size of 1200×628 pixels for cover photos.
When setting dimensions in Snappa, users can easily select preset options or enter custom sizes. Keeping the aspect ratio in mind ensures that the banner won’t appear stretched or pixelated.
Choosing a Template
Using a template can save time and enhance creativity. Snappa offers many professionally designed templates tailored for various online store needs.
Users can browse categories to find a style that matches their brand.
Once a template is selected, it can be further customized. Users can change colors, designs, and layouts while maintaining a professional appearance. Choosing the right template is essential for ensuring that the banner aligns with the brand’s identity.
Customizing Images and Backgrounds
Adding images and backgrounds enhances the visual appeal of the banner. Snappa allows users to upload their own images or choose from a library of stock photos. Selecting high-quality images can make the banner more eye-catching.
When customizing backgrounds, consider using colors that complement the brand. Gradient backgrounds can add depth, while solid colors can maintain simplicity. Users should ensure that images do not overpower the text but rather enhance the overall design.
Adding Text and Effects
Text plays a key role in delivering the banner’s message. It should be clear, concise, and easy to read.
Using fonts that reflect the brand personality is important. Snappa provides various font options to make the text stand out.
In addition to text, effects like shadows or outlines can be added for emphasis. This makes the text more readable against busy backgrounds. Keeping the text aligned and properly spaced ensures a polished look.
By focusing on these elements, users can create compelling banners that engage customers effectively.
Finalizing and Exporting Your Banner
Before finishing the banner, it’s essential to ensure everything looks perfect. This includes a thorough review and understanding how to export the design correctly for web use.
Reviewing Your Design
He or she should take a moment to step back and look at the banner as a whole.
Start by checking the alignment of all elements. Are images and text spaced out evenly?
Colors should complement each other, so it’s helpful to ensure that the palette is consistent. If any elements seem off, adjustments can be easily made.
It’s also a good idea to preview the banner at different sizes to ensure it remains attractive and readable. This helps catch any issues that might not be visible at the design size.
Lastly, ask for feedback. Sharing the design with a friend or team member can provide a fresh perspective and valuable input.
Exporting for Web Use
Once satisfied with the design, the next step is exporting the banner for web use.
In Snappa, you can choose between various formats, such as PNG or JPG.
For high-quality web images, PNG is often the best choice, especially if the banner contains text or transparent backgrounds. Meanwhile, JPG is usually better for colorful images, as it can compress file sizes more.
Next, select the appropriate dimensions. Most social media platforms require specific sizes.
Snappa offers preset dimensions, making it easy to export the banner correctly.
Finally, click the export button, and the banner will be ready to download. You can now share it online or use it for marketing campaigns.

