Animating a walk cycle in Krita can be a fun and rewarding skill for anyone interested in 2D animation. The key to creating a simple walk cycle is breaking it down into a few basic steps and understanding the movement involved. By mastering these basic movements, animators can bring their characters to life with just a few drawings.
Krita is a versatile tool for creating animations, and it’s especially good for beginners. The interface and features are designed to be user-friendly, making it easier to focus on creativity rather than technical challenges. Walk cycles are a great starting point, as they form the basis for more complex animations later on.
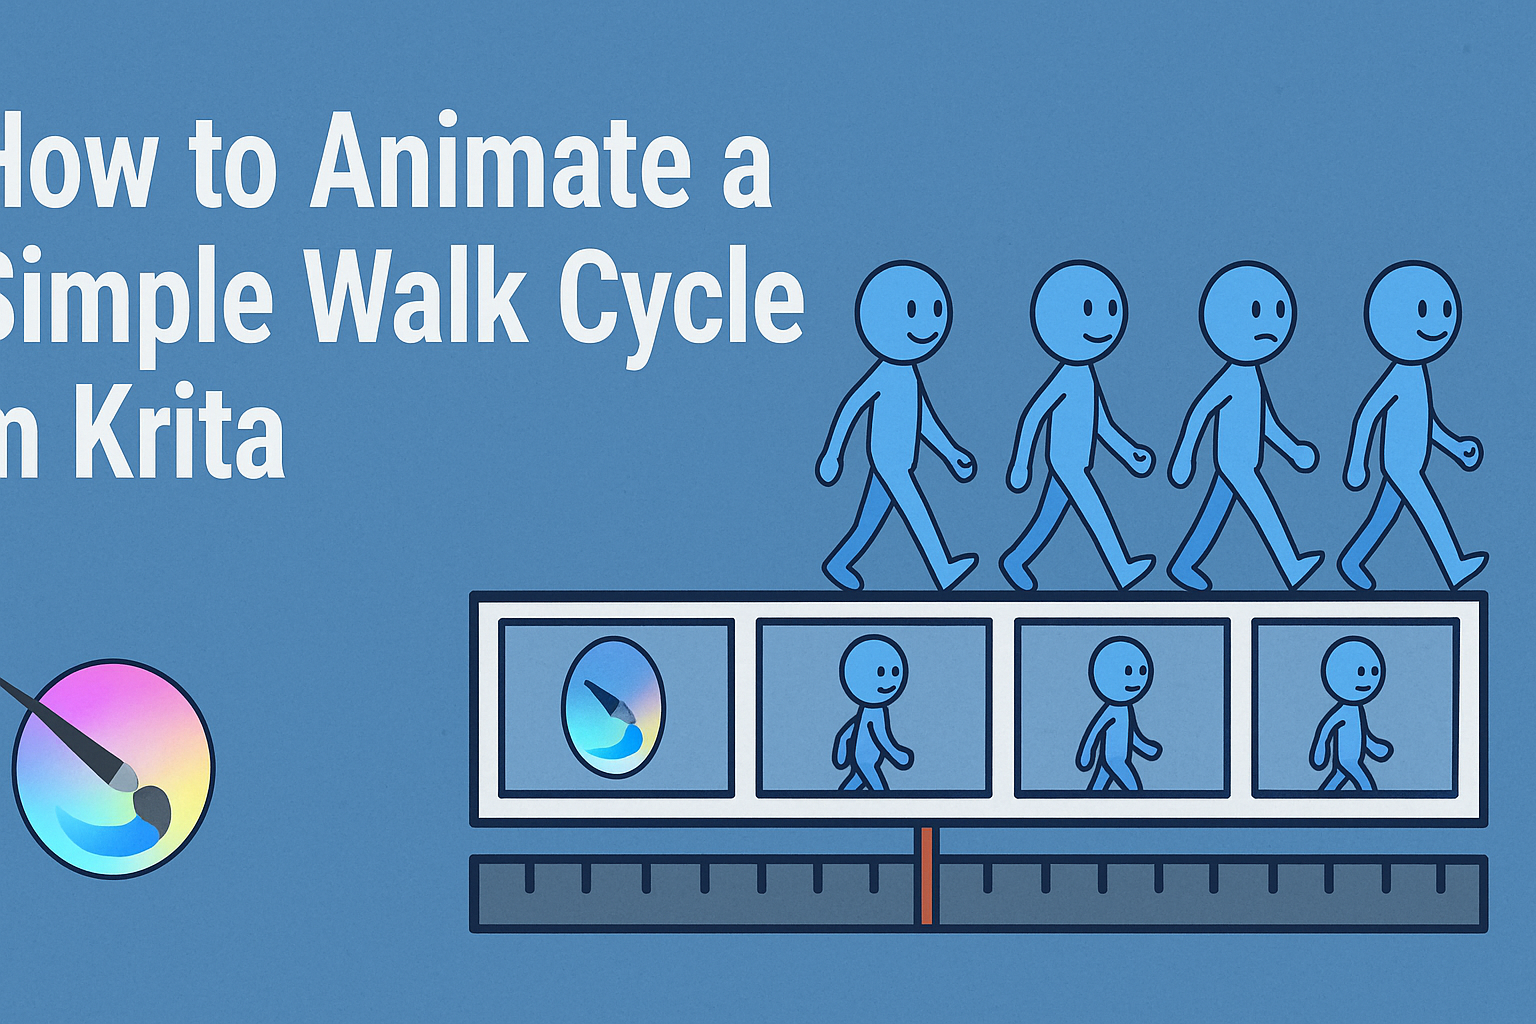
For those looking to get started, it’s easy to find resources and tutorials online. Some guides focus on animating a walk cycle with only four drawings, which can be a great exercise for beginners. This streamlined approach ensures that animators can quickly grasp the essentials without feeling overwhelmed.
Getting Started with Krita
Before diving into animation in Krita, it’s essential to familiarize yourself with its interface, set up your workspace for animation, and create a new animation file. This will help streamline the creative process.
Understanding the Interface
Krita’s interface is designed to be user-friendly and customizable. The main window is divided into areas like the canvas, toolbox, and layers panel. The canvas is the main area where drawings are made. The toolbox located on the left, holds essential tools like the brush and eraser.
The layers panel, on the right, helps manage different parts of your animation separately. This setup allows users to focus on one element without affecting others. At the top, the menu bar gives access to various file and edit options.
Setting Up the Workspace for Animation
To prepare for animation, adjust the workspace to fit animation needs. Begin by opening the Animation Workspace through Window > Workspace > Animation. This brings up the animation timeline docker, which is crucial for frame-by-frame animation.
Organize frequently used tools in easily accessible locations. Customize the size of panels to your preference. The timeline at the bottom of the screen helps in managing frames effectively. By setting the workspace suited for animation, users can work more efficiently and stay organized throughout the process.
Creating a New Animation File
Opening a new animation file begins by selecting File > New. Choose the animation template that suits your project. For a walk cycle, a basic frame size can be selected. Adjust settings like resolution and frame rate as needed.
Frame rate is an essential setting that determines how smooth the animation will appear. For simple animations like walk cycles, a lower frame rate such as 12-15 frames per second is suitable. Once all settings are in place, hit Create to begin. This setup ensures all foundational elements are ready for animation.
Character Design Basics
Designing a character for animation requires careful planning and creativity. These steps help shape a unique character who moves naturally through a walk cycle.
Sketching Your Character
Sketching a character is the first step in bringing it to life. It’s important to start with simple shapes, such as circles and rectangles, to establish the basic structure. These shapes act as a guide, helping to maintain proportions. Artists often use a pencil for this phase to allow easy modifications. This rough sketch evolves as details like facial features, clothing, and accessories are added.
Line quality matters too, as thicker lines can emphasize certain areas, while thinner lines can highlight subtle details. Focus on creating a character with distinct traits, such as a unique hairstyle or outfit, to make it stand out. Paying attention to character silhouette can also enhance recognizability. A clear silhouette ensures the character is distinct, even in motion.
Defining the Walk Cycle Poses
Creating a walk cycle involves breaking down movement into key poses. The main poses to consider are the contact pose, down position, passing position, and up position. Each one plays a role in the fluidity of the animation. The contact pose is where both feet touch the ground.
Next, the down position shows the character at its lowest point. While the passing position captures mid-step, the up position reflects the character’s highest point. Drawing each pose consistently ensures smooth transitions. It’s crucial to focus on limb placement and balance throughout these poses. The flow between frames should look natural, capturing the character’s personality in its movement. Attention to detail in these poses helps create a believable walk cycle.
Keyframes for Walk Cycles
Creating a simple walk cycle involves several keyframes that define important poses during the motion. By correctly identifying these keyframes and understanding their timing, animators can produce smooth and believable motion.
Identifying Key Poses
Key poses are essential to animating a walk cycle. Typically, a walk consists of four main keyframes: the contact position, the lowest position, the passing position, and the highest position. Recognizing these poses helps to create a natural flow.
Animators should study how each pose transitions into the next. This understanding helps in crafting realistic movements and maintaining proper balance throughout the walk cycle. Analyzing reference videos or images can be beneficial to capture the nuances of each key pose.
Drawing the Contact Position
The contact position marks where one foot first touches the ground. In this pose, both feet are usually in view, providing the foundation for the cycle. The back foot would be about to lift off while the front foot has just landed.
Attention to detail is important here. Consider how the character’s body weight shifts from one foot to the other. Pay attention to the arms and how they naturally swing opposite to the feet. This position is crucial as it sets the stage for the motion that follows.
Drawing the Passing Position
The passing position is where one leg moves past the other. At this point, the body weight shifts to the supporting leg. The non-weight-bearing leg is in the air, and the arms are midway in their swing.
Drawing this pose accurately is key to maintaining fluidity. Pay attention to the body’s vertical movement and the natural sway that occurs. The torso might lean slightly forward, and the hips may swivel as the leg moves forward.
Understanding Timing for Smooth Motion
Timing is vital in animating keyframes for a walk cycle. Deciding how long the character spends on each keyframe influences the smoothness. A consistent rhythm often results in a natural gait.
Animators adjust the timing to achieve different walk speeds or styles. For smoother animations, increasing the number of frames between keyframes can be effective. Considering how each frame contributes to the overall rhythm and pace can significantly enhance the realism of the motion.
Inbetweening
Inbetweening is a crucial step in creating smooth animations. It involves adding intermediate frames between key poses to make movements more fluid and natural. This process can transform a basic animation into something dynamic and lifelike.
Creating Breakdown Drawings
Breakdown drawings are the key to developing smooth transitions between poses. They define important actions, such as twists or turns, that occur between two main keyframes. When creating these drawings, the focus should be on maintaining the character’s consistent proportions and anatomy.
Use breakdown drawings to capture pivotal changes in movement. They help depict quick motions or subtle shifts that a basic inbetween might miss. A common technique is to use onion skinning in Krita, which allows the animator to see multiple frames at once, providing a guide to align the action fluidly. Mastering these can enhance the realism of the animation.
Adjusting Spacing for Dynamics
Adjusting the spacing between the inbetweens affects the perception of motion speed and fluidity. Closer spacing results in slower, more deliberate movements, while wider spacing creates fast, sharp actions. Understanding this balance is critical to crafting dynamic scenes.
Use a technique known as easing, which involves varying the space between drawings to control speed. This technique makes movements appear more lifelike and less mechanical. In Krita, experimenting with different numbers of drawings and tweaking their positions can make a significant difference in animating complex motions like a walk cycle. Proper spacing enhances the viewer’s experience and adds depth to the animation.
Refining the Animation
Refining your animation involves cleaning up the initial sketches, adding important features for realism, and applying color and shading to bring your work to life. Paying attention to details ensures a smooth and polished final product.
Cleaning Up Lines
Cleaning up lines is an essential part of refining any animation. Once the rough sketch is complete, the animator should work on correcting any shaky or uneven lines. This step focuses on enhancing the clarity and fluidity of the animation.
Using tools like Krita’s stabilizer helps smooth out lines. Animators can also utilize the eraser tool to refine edges and remove unwanted marks. Pay attention to line thickness, making sure it is consistent throughout the walk cycle. A clean line makes the animation easier to understand and gives it a professional look.
Adding Details and Secondary Motion
Details and secondary motion can significantly impact the realism of an animation. Secondary motion refers to the subtle movements that occur alongside the primary action, such as clothes swaying or hair bouncing as a character moves.
Attention to these details can make a walk cycle more dynamic and engaging. Adding small movements to a character’s limbs or accessories can enhance lifelike motion. Using Krita, apply new layers to experiment with different elements without affecting the main structure.
Additionally, simple details like facial expressions or the slight turn of a head can add emotion and depth to the character’s walk.
Coloring and Shading
Coloring and shading breathe life into the animation by defining shapes and creating depth. Start by choosing a color palette that suits the character and scene.
Krita offers various brushes and tools to fill in colors smoothly. Apply base colors in a separate layer, which allows easy adjustments. Then, add shading to highlight dimensionality by understanding the light source direction. Shadows and highlights enhance the three-dimensional feel.
Experimenting with different shading techniques adds realism. Soft shading gives a subtle gradient, while cell shading creates a cartoon style. Balancing these elements provides a visually appealing result.
Previewing and Editing
Animating a walk cycle in Krita involves checking how the animation plays and making necessary adjustments. It’s important to learn how to loop the animation for a seamless walk and adjust the animation curves for smoother transitions.
Looping the Walk Cycle
When creating a walk cycle, it’s crucial to make sure that the animation loops smoothly. Krita offers features to help with this. First, users should open the Animation Docker. This tool allows animators to see their frames in sequence.
Once the frames are set, they can be looped to preview the animation. To do this, they need to set the number of frames that repeat by selecting the looping options in the animation settings. By doing so, the walk cycle repeats in a continuous loop, giving the feeling of a consistent walk.
Previewing the loop is essential as it helps to identify any jerky movements or inconsistencies in the animation. If any issues are identified, users can adjust individual frames to ensure everything flows together seamlessly.
Tweaking the Animation Curves
Next, they focus on adjusting the animation curves for natural motion. Animation curves help refine the movement by adjusting the speed and flow between frames. Users can access the Curve Editor in Krita, which allows for precise adjustments.
By modifying these curves, they can control ease-in and ease-out effects, making the walk cycle appear more natural. For example, adding slight ease-in at the start of a step can create a gentle transition from one foot to another.
Careful tweaking of these curves gives the character’s walk more life and can help in achieving a smooth animation that resembles real-life walking patterns. Regularly playing back the animation during this process is important to check progress and make further adjustments as necessary.
Exporting the Walk Cycle
After creating a walk cycle in Krita, the next step is to export it. Selecting the right options ensures the animation maintains quality. Rendering makes the animation playable outside the software.
Choosing the Right Export Options
When exporting in Krita, file format is crucial. For video files, MP4 is popular due to compatibility with most devices. GIFs are great for simple web animations. Make sure to choose the format that fits your project’s needs.
Resolution also matters. Higher resolutions offer better clarity but result in larger file sizes. Krita allows control over aspects like frame rate and end time, which affect animation smoothness and length. Balancing quality with file size keeps your animation accessible.
Testing various settings is helpful. Export a short segment at first to ensure everything looks right. This approach saves time and avoids rendering a whole animation if mistakes are found.
Rendering the Animation
In Krita, rendering is straightforward. Start by finalizing the layers and timeline of the animation. Ensure all elements are set in their correct positions. To begin rendering, navigate to the File menu and select the rendering option available.
Choose the output location carefully. This helps in organizing files, especially when managing multiple animations. Krita offers options to export individual frames or the entire sequence, making it flexible for different project requirements.
It’s important to preview the animation after rendering. This ensures the frames play as intended, without any glitches or freezing. If issues arise, revisiting settings might be necessary for a successful export. Rendering multiple copies can also be useful for experimenting with different styles or formats.