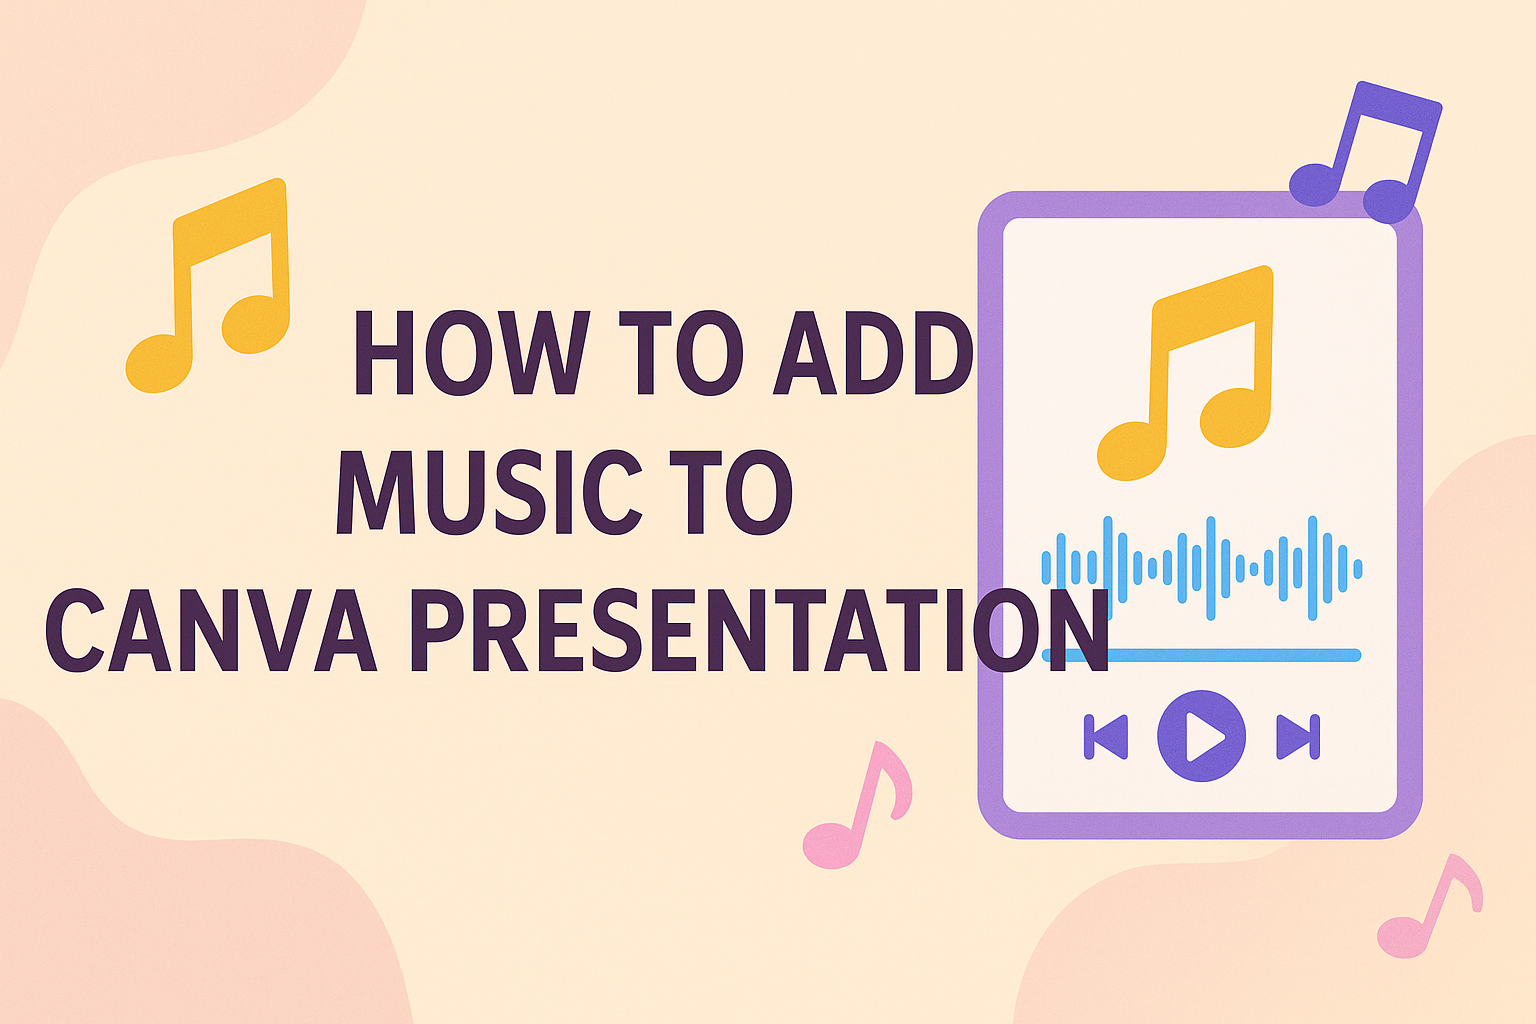
Adding music to a Canva presentation can transform it into an engaging experience. It helps set the mood and keeps the audience interested throughout the presentation.
Whether it’s a subtle background tune or an upbeat track, the right music can enhance the message being delivered.
Many users find that incorporating audio makes their projects stand out. It’s simple to import tracks or use one of Canva’s available options.
With just a few steps, anyone can elevate their presentation with music that resonates with their audience.
As they explore the features of Canva, users will discover how easy it is to enhance their visual content. By following some straightforward guidelines, they can create a polished presentation that captivates viewers.
This article will provide useful tips to make the most of music in Canva presentations.
Getting Started with Canva
Canva is a user-friendly platform that makes creating presentations easy.
Knowing how to create a new presentation and navigate the interface is essential for getting started.
Creating a New Presentation
To create a new presentation in Canva, a user should first log into their account. They can either choose the “Presentation” option from the homepage or use the search bar by typing “Presentation.”
After selecting the desired template, users can customize it to fit their needs.
They can add text, images, and other design elements by using the drag-and-drop functionality.
Don’t forget to save the work regularly. Canva auto-saves, but manually saving ensures that no changes are lost during the design process.
Navigating the Canva Interface
The Canva interface is designed to be intuitive. On the left side, users will see a panel with options like templates, elements, and text.
Each section allows for easy access to tools. Users can click on “Elements” to find shapes, lines, and illustrations to enhance their designs.
The top bar includes options for sharing, downloading, and presenting. It is important for users to familiarize themselves with these tools to streamline their design experience.
By exploring the various features, users can create stunning presentations that fit their desired style.
Adding Music to Your Presentation
Adding music to a presentation can enhance the overall experience and engage the audience. Choosing the right tracks, uploading personal audio files, or using Canva’s built-in library are crucial steps in this process.
Choosing the Right Music
Selecting the appropriate music sets the tone for the entire presentation. First, identify the mood you want to convey. For instance, upbeat music can energize, while softer melodies can create a calm atmosphere.
Consider the content of the presentation. A business pitch may benefit from professional tracks, while a creative project might shine with more artistic tunes.
Always ensure the music doesn’t overpower the message. It should complement the visuals and spoken word, allowing the audience to focus on the key points.
Uploading Your Own Audio Files
Canva allows users to upload their own audio tracks, giving them complete control over the sound.
To upload, navigate to the ‘Uploads’ tab on the left panel in the editor. Click the “Upload Media” button and select the audio files from the device.
Supported formats are typically MP3 and WAV. After uploading, simply drag and drop the file onto your presentation.
Users can adjust the timing to fit specific slides. This feature is ideal for those who want a personal touch or need specific tracks not available in libraries.
Using Canva’s Music Library
Canva has a diverse music library filled with various tracks suitable for numerous themes and moods.
To access the library, click on the “Audio” tab in the side panel. Users can browse through categories or use the search bar for specific genres.
Once a track is found, users can preview it by clicking on the play icon. To add it, simply click on the track, and it will be placed in the design.
This option is great for those who want quick access to ready-made music without the hassle of searching for external sources.
Customizing Music in Your Slides
Customizing music in a Canva presentation can enhance the viewer’s experience. Adjusting audio settings and setting music for different slides allows for a tailored approach to each part of the presentation.
Adjusting Audio Settings
To make the music fit perfectly, adjusting audio settings is crucial.
In the Canva editor, once the music track is added, users can click on the audio icon. This will bring up options to control volume, trim the track, or loop it.
- Volume Control: This allows for increasing or decreasing the sound level to match the presentation’s mood.
- Trimming: Users can cut the track to focus on specific sections that best fit the slide’s message.
- Looping: If a continuous background is desired, the looping feature can play the music repeatedly, creating a smooth audio experience.
These settings can drastically affect how music complements the visual content.
Setting Music for Different Slides
Setting music for different slides adds variety and engagement. Users can assign unique tracks to separate slides for different themes or sections.
- Select the Slide: Click on the desired slide in the presentation panel.
- Add Music: Use the “Audio” section to search for a new track or upload a personal audio file.
- Customize: Each track can have its own audio settings adjusted, similar to the previous section.
This method keeps each part of the presentation fresh and interesting. By matching music to specific content, it enhances the overall message.
Finalizing and Sharing Your Presentation
After completing the Canva presentation, it’s time to make sure everything is set for sharing. This section covers how to preview the presentation, export or download it, and share it online with others.
Previewing Your Presentation
Before sharing, it’s important to preview the presentation. This allows for checking the flow and ensuring all elements, like music, are functioning correctly.
To preview, click the “Present” button in the top right corner of the screen. This opens the presentation in full screen.
While viewing, take note of slide transitions, timing, and audio playback. If anything seems off, adjustments can be made directly within Canva.
A good practice is to collect feedback from a friend or colleague during the preview. They might catch details that were missed.
Exporting and Downloading
Once the presentation is finalized, the next step is to export or download it.
Canva offers several formats for downloading, including PDF, video, and image files.
To download, click the “Share” button on the top right, then select “Download.” Choose the desired file type from the dropdown menu.
For presentations with music, downloading as a video file is recommended. This format ensures that all audio and visual elements play together smoothly.
Keep an eye on the file size; larger presentations may take longer to export. Once the file is ready, it can be saved directly to a computer for later use.
Sharing Online
Sharing the presentation online is a great way to reach a wider audience. Canva makes this simple with its built-in sharing options.
After clicking the “Share” button, users can choose to share via a link.
Control who can view or edit the presentation by adjusting the link settings.
Presentations can also be shared directly to social media or through email. Clicking the social media icons allows for quick sharing with just a few clicks.
This ease of sharing ensures that anyone can access the presentation instantly, making it perfect for collaborations or presentations to clients.