Adding music to a project can make it more engaging and enjoyable. Many people want to know how to enhance their videos with sound using the Canva mobile app.
With a few simple steps, anyone can easily add music from Canva’s extensive audio library.
Users can start by creating a design or selecting a video template. Once in the project, they simply tap the “+” symbol to access audio options.
From there, they can browse through various tracks to find the perfect fit for their creation.
Whether it’s for a presentation, social media post, or personal project, adding the right music can elevate the overall experience. This guide will walk through the quick and easy process of integrating music into Canva mobile projects.
Getting Started With Canva
Canva offers a user-friendly platform for creating stunning designs. To begin, it is essential to download the app, create an account, and get familiar with the interface.
Downloading the Canva Mobile App
To start using Canva, he should first download the Canva mobile app. The app is available on both iOS and Android devices.
- For iOS, he can visit the App Store and search for “Canva.”
- For Android, the Google Play Store is the right place to look.
Once he finds the app, tapping the download button will install it on the device. After installation, he can open the app to start designing right away.
Creating an Account or Logging In
After opening the app, he will need to either create an account or log in. If he is a new user, tapping “Sign Up” allows him to choose a method like email, Google, or Facebook.
For returning users, tapping “Log In” makes it easy to enter credentials.
Canva may ask for a few basic details when signing up, like name and email. This process is quick and ensures he can access his designs anytime.
Navigating the User Interface
Once logged in, navigating the Canva interface is simple. The home screen presents different design templates, making it easy to start a new project.
On the bottom, there are several tabs:
- Home: Access recent projects and templates.
- Templates: Browse a wide range of design options.
- Uploads: Keep personal images and videos.
The side panel has tools for adding elements, text, and backgrounds. Each option is clearly laid out, so he can find what he needs without hassle.
Canva’s menu is intuitive, making it easy to begin creating designs effectively.
Selecting Your Design
Choosing the right design in Canva is an essential first step. It shapes the entire look and feel of the project. Users can either select a pre-made template or create a custom canvas size based on their specific needs.
Choosing a Template
When users open the Canva app, they will see a variety of templates. These templates are organized by categories such as social media, presentations, and videos.
To choose a template, users can browse through the options or use the search bar to find something specific. Once they find a suitable template, they can tap on it to start customizing.
Choosing a template helps users save time while ensuring a professional look. They can also see sample designs to get an idea of how their project will look.
Customizing the Canvas Size
If users prefer a unique size, Canva allows them to customize the canvas dimensions. They can select the “+” icon and choose “Custom Size.”
Here, users need to enter the width and height in pixels, inches, or millimeters, depending on their needs. This flexibility is helpful for projects that may need non-standard sizes, like posters or social media graphics.
Adjusting the canvas size correctly ensures that all elements fit well. It also prevents pixelation or cropping issues in the final design. This way, users can maintain high quality in their projects.
Adding Music to Your Design
Adding music to a design in the Canva mobile app is a simple process. Users can access a wide range of tracks to enhance their projects. Here are the steps to find and choose the perfect music for any design.
Accessing the Music Library
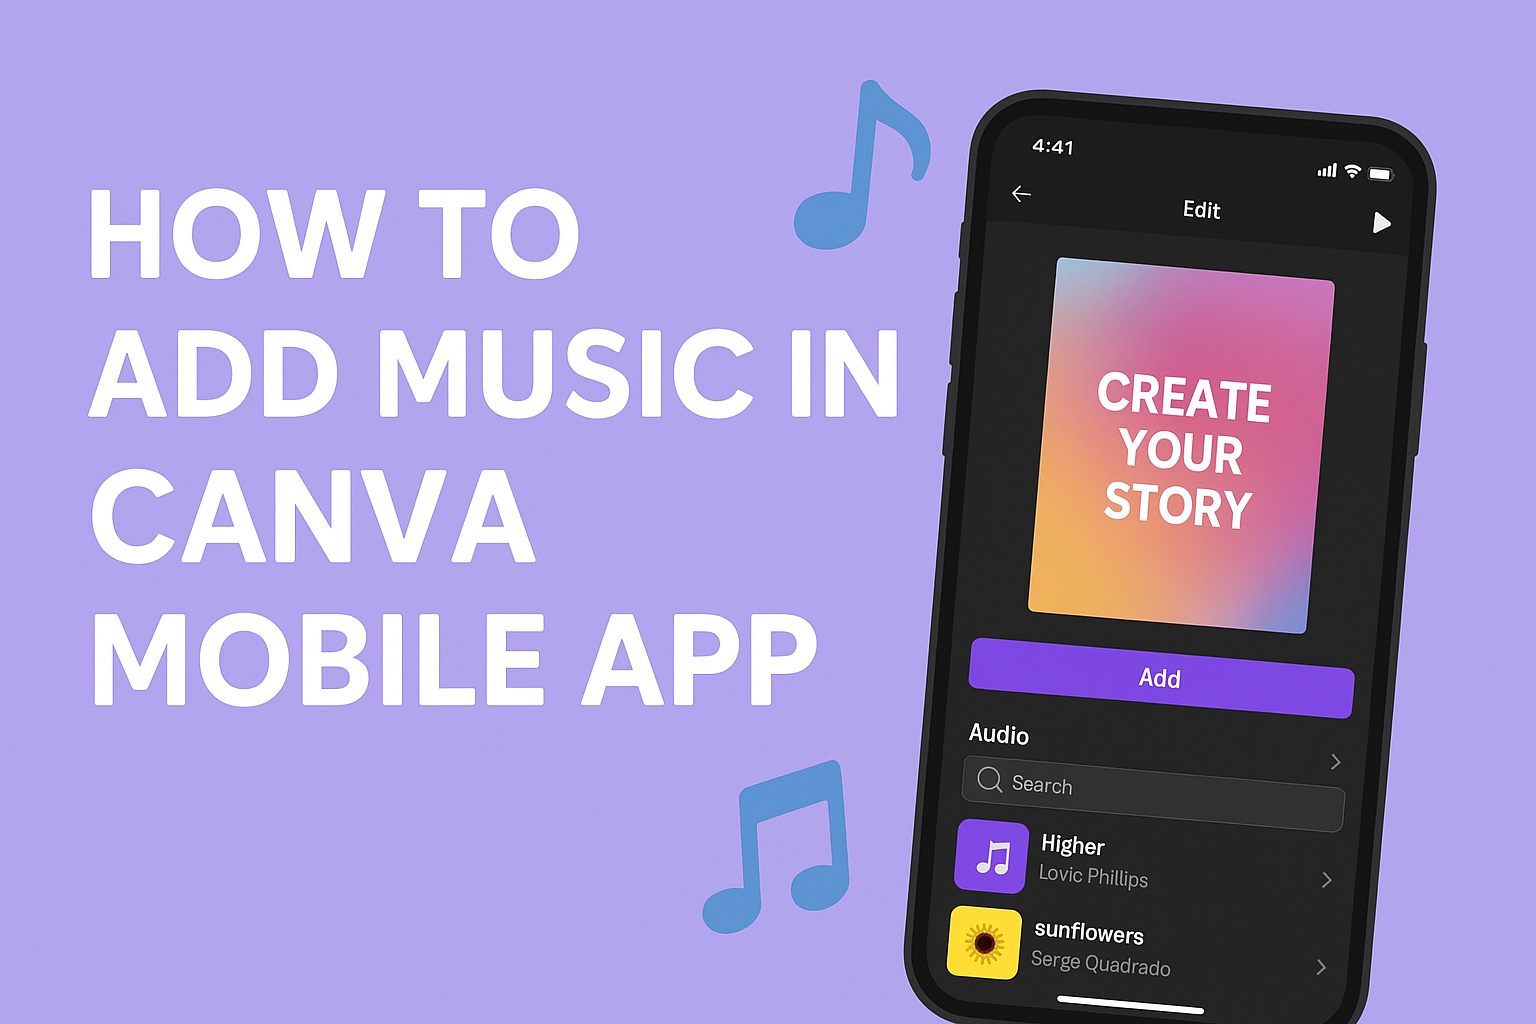
To start, users must open their design project in the Canva mobile app. They can find the audio options by tapping on the “+” button located at the bottom left corner of the screen.
From there, they should scroll down and select “Audio” from the menu.
This section will showcase a variety of music tracks. Users can also see categories to help narrow down their choices. If they have uploaded their own music, it will also appear here. Access to the music library opens up many creative possibilities for each design.
Searching for Tracks
Once in the music library, users can begin searching for tracks. They can either scroll through the categories or use the search bar at the top.
By typing in a specific song title, artist, or genre, users can find music that suits their tastes.
This feature makes it easy to locate the perfect soundtrack. It can be helpful to think about the mood desired for the design when searching. Finding the right track will enhance the overall appeal and effectiveness of the project.
Previewing and Selecting Tracks
When a user finds a track they like, they can easily preview it. Tapping on the track will start playing a short clip, allowing the user to determine if it fits their design.
If it’s the right choice, users can select the track, which will be added to their project.
After adding, they might want to adjust the music volume or trim the track for a perfect fit. This flexibility allows the user to integrate the audio smoothly into their design.
Customizing Your Audio
Customizing audio can enhance any project in the Canva mobile app. Users can trim music clips and adjust audio settings for the perfect sound experience.
Trimming the Music Clip
To trim a music clip, she should first select the audio track in her project. After tapping on the track, a timeline will appear. This timeline shows the entire length of the audio.
She can then adjust the start and end points by dragging the handles on either side. This allows her to keep only the parts of the track that she wants.
Once satisfied, she can tap “Done” or checkmark to confirm the changes. Trimming helps to remove unwanted sections and keeps the focus on the desired audio.
Adjusting Audio Settings
Adjusting audio settings improves sound quality and effects. To start, he can select the audio track and look for adjustment options.
Common options may include volume control, fade in, and fade out effects.
By tapping on the volume icon, he can slide the bar to set the audio to a suitable level.
Using fade effects can create a smooth entrance and exit for the sound. These adjustments make the audio blend well with visuals, enhancing the overall experience.
Finalizing Your Design
Before wrapping up, it’s important to check each detail of the design to ensure everything looks great. This includes reviewing audio placements and visual elements. Then, he or she must save the project and get it ready for sharing.
Reviewing Your Work
She should start by taking a close look at the entire design. This means checking that the music aligns well with the visuals. If there are any clips or images that seem out of place, adjustments can be made.
Key points to review:
- Audio Timing: Ensure the music starts and ends at the right moments.
- Volume Levels: Listen to the audio to confirm that it isn’t too loud or soft compared to other elements.
- Visual Elements: Check for any spelling mistakes or alignment issues in text.
This careful review can make a major difference in the final effect of the design.
Saving and Exporting Your Design
After reviewing, the next step is to save and export the work. To save, tap on the “Save” icon usually found in the upper corner of the screen.
He or she can name the project something memorable for easy access later.
When exporting, they can choose the desired format. Options might include MP4 for videos or PNG for images.
After selecting the format, she should tap “Export” to begin the process.
Using proper settings ensures the final product is ready for sharing on different platforms. This step helps in achieving a high-quality design that looks professional.
Sharing Your Creation
Once a creation is complete in the Canva mobile app, sharing it with others is easy. Users can choose to share directly through various platforms or download their work for further use. Here’s how to do both options effectively.
Direct Sharing Options
Canva offers several direct sharing options, making it simple to showcase designs. Users can tap the share button located at the top right corner of the screen.
From there, they can select from different platforms like Facebook, Instagram, Twitter, or via email.
Each option allows users to add a message before sharing. This makes it personal and engaging.
Additionally, Canva provides settings to adjust who can view or edit the design. This means they can share it with friends or even collaborators for teamwork.
Moreover, while sharing on social media, users can choose to include a caption or description. This can help highlight the purpose of the design, be it for a personal project or promoting a business.
Downloading for External Use
If users prefer to have their designs offline or use them in other projects, Canva allows downloading.
After tapping the download button, they can choose the file type, such as PNG, JPEG, or MP4 for videos.
Before downloading, users can adjust settings like image quality or video resolution.
This ensures that the final product meets their specific needs.
Once the download is complete, it can be saved directly to the device’s gallery.
The download option is perfect for those who want to print their designs or use them in presentations.
By downloading files, users maintain full control over their work, making it easy to access and utilize anytime.