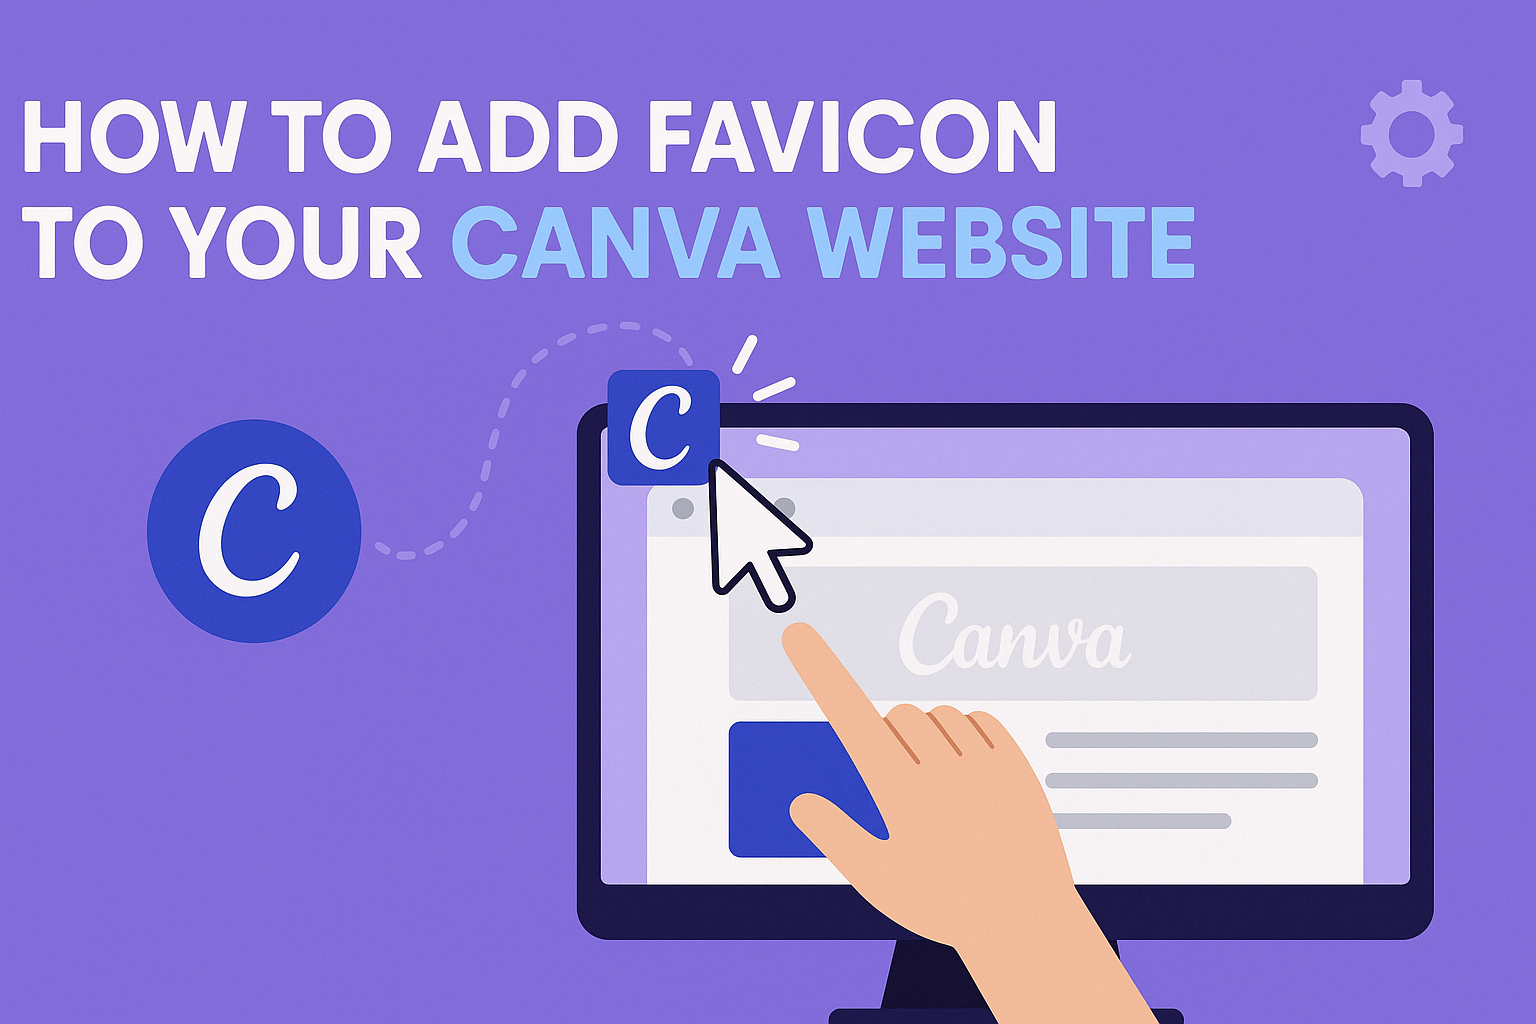
Adding a favicon to a Canva website can make it stand out and enhance its professional appearance.
A favicon is a small icon that appears in the browser tab, helping visitors easily identify your site among others. It adds a personal touch and can improve overall user experience.
With a few simple steps, anyone can create and upload a favicon that represents their brand. Users will find that this small detail can make a significant difference in how their site is perceived. Having a unique favicon helps in keeping the brand memorable for visitors.
In this guide, readers will discover how to create a custom favicon using Canva. They will learn easy methods to upload it to their website, ensuring their site looks polished and professional.
Understanding the Importance of a Favicon
A favicon is a small but powerful element of a website. It can significantly enhance brand visibility and create a better browsing experience for users. Here are two key areas where a favicon makes a difference.
Boost Your Brand Identity
A favicon helps establish and strengthen brand identity. This small icon appears in browser tabs, bookmarks, and history lists.
Consistency in branding is vital. When users see the same favicon across platforms, it reinforces brand recognition. A unique and well-designed favicon can make a website stand out among many tabs open in a user’s browser.
For example, iconic brands like Google and Facebook have distinct favicons that immediately convey their identity. Creating a favicon that reflects the style and colors of the brand can build trust and loyalty.
Improve User Experience
A favicon greatly enhances user experience by making navigation easier. Users can quickly locate their favorite sites among multiple tabs. This feature is especially useful for those with many tabs open.
With a recognizable favicon, users don’t have to read each page title. Instead, they can spot the icon and navigate with ease. This efficiency can lead to increased website traffic and longer visits.
Furthermore, a favicon helps people identify the website in their bookmarks. A well-designed favicon can evoke positive feelings about the brand. By improving recognition and usability, a favicon ultimately contributes to a smoother user journey.
Creating Your Favicon
Creating a favicon is an important step in branding a website. A good favicon is simple, memorable, and easily recognizable, even at small sizes. Here are some useful tips and steps for designing and creating a favicon using Canva.
Design Tips and Tricks
When designing a favicon, simplicity is key. It should be clear and recognizable, even when scaled down. Here are some design tips:
- Keep it Simple: Use basic shapes and limited colors. Detailed images don’t translate well at small sizes.
- Brand Representation: Incorporate elements of your logo or brand identity, like initials or a unique symbol.
- Test Visibility: View your design at a small size to ensure it remains recognizable.
Aim for a size of 280×280 pixels to meet standard favicon requirements. Using contrasting colors will help the favicon stand out in the browser tab.
Using Canva for Favicon Creation
Canva is a user-friendly tool for creating favicons. Here’s how to get started:
- Open Canva: Choose a custom design with the 280×280 pixel size.
- Create Your Favicon: Use shapes and text to design a simple image. Experiment with different layouts and colors.
- Download Your Favicon: Save your design as a JPG or PNG. Ensure it meets square dimensions, as favored by most browsers.
After creating the favicon, it can easily be uploaded to the Canva website settings. Remember to preview before publishing to ensure it looks great!
Adding the Favicon to Your Canva Website
A favicon is a small icon that represents a website. Adding one to a Canva website is straightforward and can enhance its branding. Here’s how to do it step by step along with some troubleshooting tips.
Step-by-Step Process
-
Access Website Settings: First, the user needs to log into their Canva account and open their website project. They should click on the “Publish” button located at the top right corner and select “Website Settings.”
-
Upload Favicon: Next, look for the option labeled “Favicon” within the settings. Clicking the “Edit” button allows them to upload their favicon file directly. Canva accepts JPG and PNG formats.
-
Choose File: After clicking “Upload,” they must select the favicon file from their device. It’s best if the favicon is sized at 280×280 pixels for optimal display.
-
Save Changes: Finally, once they upload the favicon, they should save the changes to ensure it appears on their website.
Troubleshooting Common Issues
Sometimes users may face issues when adding a favicon. Here are a few common problems and solutions.
-
File Format Issues: If the favicon does not upload, they should check that the file is in JPG or PNG format. Unsupported formats will cause errors.
-
Size Problems: If the favicon appears blurry or distorted, the user may need to resize their image. Ideally, it should be a square and sized at 280×280 pixels.
-
Refreshing the Browser: After uploading, if the favicon doesn’t show up, refreshing the browser can help. Sometimes, it takes a moment to reflect changes.