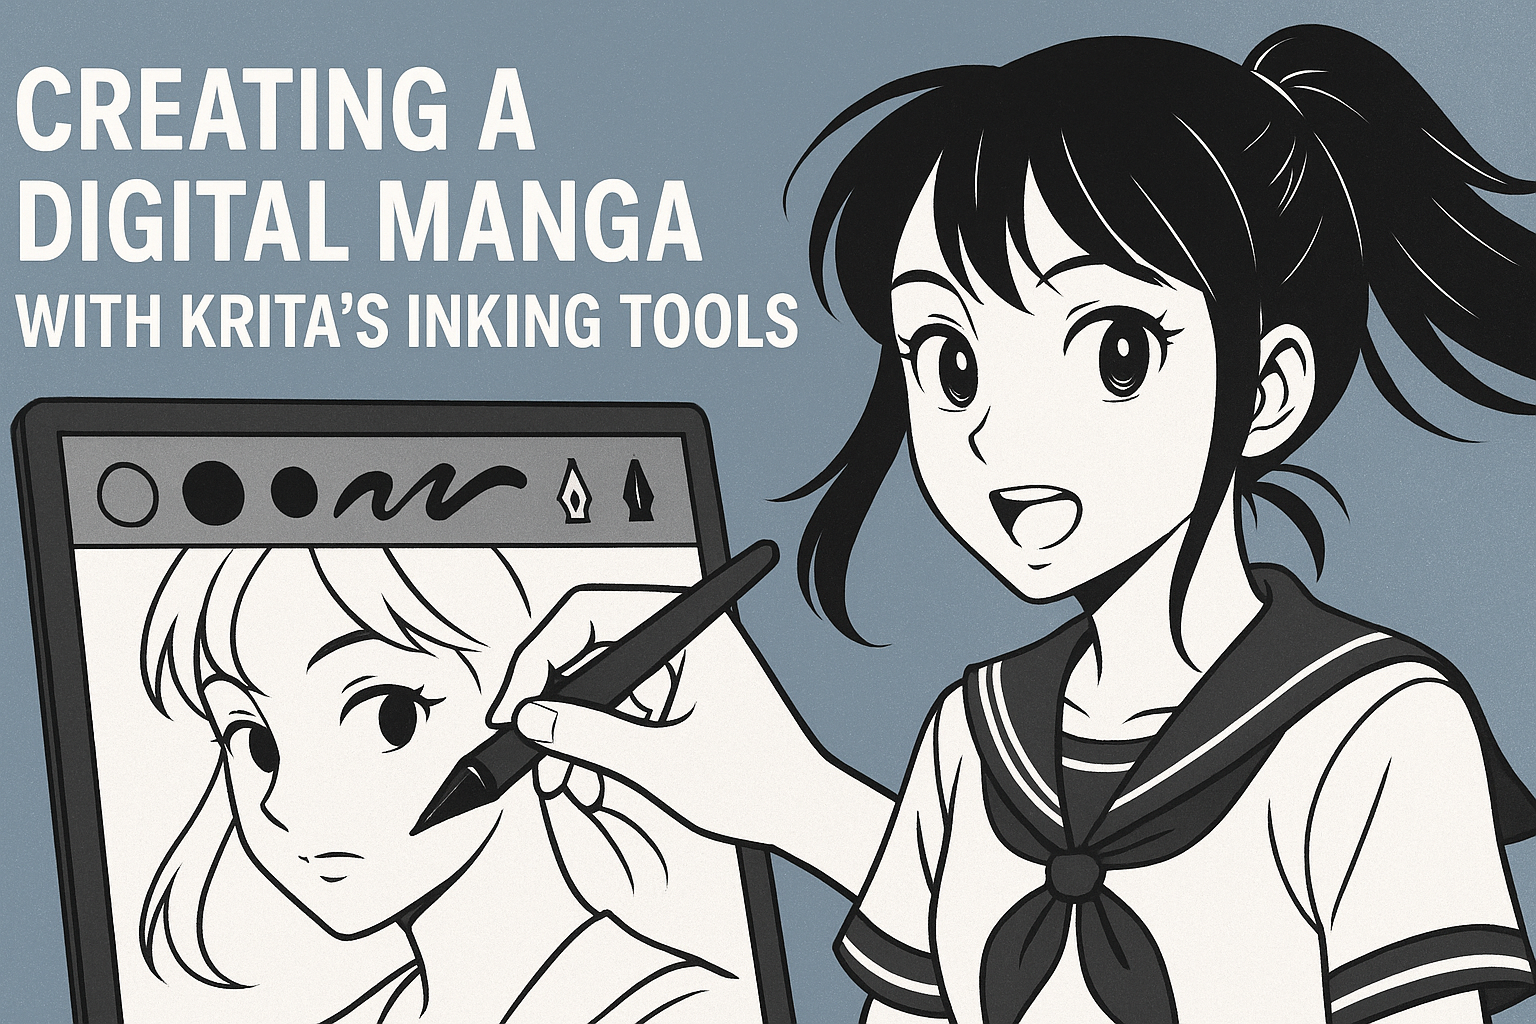
Creating digital manga can be both fun and rewarding when using the right tools. Krita offers an amazing platform with its inking capabilities, allowing artists to bring their unique manga stories to life with precision and style. One of the best aspects of Krita is its variety of brush presets that emulate real-world inking tools, making it perfect for comic enthusiasts.
Manga artists often seek out software that makes the inking process smooth and efficient. Krita stands out with features like brush stabilization that aid in producing fluid strokes, ensuring that the characters and scenes pop vividly off the screen. By experimenting with these tools, artists can refine their skills and develop their own style.
For those just starting out, using Krita can open up a world of creativity, particularly when making bold and characterful lines. Learning to ink in Krita not only enhances artwork but also deepens the artist’s engagement with their craft. With practice and exploration, anyone can create captivating digital manga with Krita’s intuitive inking tools.
Getting Started with Krita
Krita is a powerful tool for creating digital manga, offering versatile inking tools and customization options. To begin, you need to install Krita and set it up properly. Familiarizing yourself with its user interface and customizing your workspace specifically for manga creation are also key steps.
Installing Krita and Setup
Installing Krita is straightforward. First, head to the Krita website to download the latest version of the software for your OS. The site provides versions for Windows, macOS, and Linux. After downloading, follow the installation instructions provided on their site.
Once installed, open Krita and explore its settings. Adjust preferences such as language, performance options, and file handling to suit your needs. Access these by navigating to Settings > Configure Krita. Under the general tab, enable autosave to protect your work against unexpected crashes.
Check for any available tutorials within the program to help you learn more about its features. These resources can be valuable, especially for beginners looking to explore Krita’s potential.
Familiarizing with the User Interface
Krita’s user interface is designed with artists in mind. Key elements include the toolbar, brush palette, and layers panel. The main toolbar houses essential tools like the brush selector and color wheel. Experiment with these to see which suits your drawing style best.
Take a look at the brush presets; these emulate various real-world tools. You might also find the brush stabilization feature helpful for creating smooth lines in your manga.
The layers panel is another crucial feature, allowing for organization and flexibility in your drawings. Use it to separate line art, colors, and shading. Knowing how to effectively utilize layers will significantly impact your workflow and the final look of your manga.
Customizing Your Workspace for Manga Creation
Tailoring your workspace makes a huge difference in productivity. Krita allows you to customize the layout by rearranging the dockers—sections of tool panels around your canvas. To do this, drag and drop these elements depending on which tools you use most frequently.
Consider setting up a specific workspace layout geared toward manga creation. For instance, you might want to keep the layers panel and brush presets readily accessible. Adjust the size of your canvas to match common manga dimensions, like A4 or B4 sizes.
These customizations ensure you have everything you need at your fingertips, allowing for a more efficient and enjoyable manga creation process.
Understanding Krita Inking Tools
Krita offers a range of features for digital manga creation, focusing on inking tools that enhance line art quality and precision. With diverse brush presets, layer management, and stabilizing features, creating clean and expressive manga art becomes more accessible.
Exploring Brush Presets
Krita provides various brush presets designed specifically for inking. These emulate traditional tools like pens and brushes with different textures and styles. The variety allows artists to experiment and find the pen that best suits their style.
Some brushes might have pressure sensitivity, offering more expressive lines. This feature is particularly useful for creating dynamic line variation. Artists can filter through brush types or download additional ones from the online repository, expanding their toolset.
Using Layers for Inking
Layers are essential when working with inking tools in Krita. By separating sketch, ink, and coloring layers, artists maintain organized artwork. This separation allows easy modifications without affecting other parts of the piece.
Setting the ink layer to multiply can help when adding colors beneath it. This ensures the inking lines remain crisp and visible. Artists often use additional layers for special effects or highlights, enhancing the artwork’s depth and detail.
Stabilizers and Smoothing Techniques
Stabilizers in Krita help create smoother and more consistent lines. They are perfect for artists who struggle with unsteady hands or require precision in their artwork. By adjusting the stabilization settings, users can control the degree of correction applied to their strokes.
Krita also offers smoothing techniques that refine edges and make curves appear more natural. These tools are invaluable for creating polished line art that stands out. Artists can experiment with both features to see what fits their workflow best.
Inking Your First Manga Character
Inking a manga character involves defining outlines, playing with line weight, and adding textures. Each part is crucial to bring your character to life, focusing on both precision and creativity.
Sketching the Character Outline
Start by sketching a rough outline of your character. This stage is about getting the proportions and basic shapes right.
Use a light color or a thin brush for your sketch in Krita. This helps in distinguishing it from the final inked lines.
Keep shapes simple to maintain clarity. Circles, ovals, or rectangles can guide the overall design. Pay attention to posture and expression, which add personality.
Practice keeping your hand steady while sketching. This ensures smooth lines and reduces digital artifacts. Krita offers features like brush stabilization, which help make your lines smoother and more controlled.
Line Weight and Variation Tips
Line weight can add depth and interest to your character. Adjust the pressure on your pen to vary the thickness of the lines.
Thicker lines can emphasize parts like outlines or shadows. Thinner lines work well for interior details like facial expressions or clothing folds.
In Krita, you can use the pressure sensitivity setting. This allows dynamic line variation by changing how much pressure is applied with the stylus. Krita’s manual explains how to fine-tune these settings effectively.
Experimenting with different line weights helps in creating a focal point for your manga character, guiding the viewer’s eye.
Adding Details and Textures
Once the main lines are inked, add details to enhance complexity. Look at areas like hair, clothing patterns, and facial features.
Textures bring life to surfaces, making them look more realistic or stylized. You can mimic various textures using different brushes. Reference the Krita for Comics tutorial for ideas on using brushes.
Pay attention to light source direction, which affects shadows and highlights. Good inking captures these elements, adding volume and depth.
Adding intricate details requires patience, but the effort results in a character brimming with personality and charm.
Backgrounds and Environments
Creating impactful backgrounds and environments in digital manga involves mastering perspective, utilizing reference layers, and adding effects like speed lines. These elements enhance storytelling by providing context and dynamic visuals for the characters.
Creating Perspective and Depth
Drawing backgrounds with perspective adds realism and depth to manga art. Krita offers tools like the perspective grid, which helps artists align objects consistently. Using one-point, two-point, or three-point perspectives can dramatically change the atmosphere.
Artists should experiment with vanishing points to guide the viewer’s eye. Custom brushes can further enhance depth by adding textures and details. These techniques contribute to building immersive worlds that feel lifelike and engaging.
Using Reference Layers for Backgrounds
Reference layers can streamline the process of drawing consistent backgrounds. By using a separate layer for reference images, artists maintain the flexibility to adjust their work without affecting other layers. This is especially useful for repeating patterns or architectural details.
Krita’s Reference Image Tool allows placement of images directly into the workspace. Artists can then trace or use these images as guides. This feature ensures accuracy and can save time, especially when working on complex scenes and maintaining continuity between panels.
Incorporating Speed Lines and Effects
Speed lines add dramatic flair to action sequences in manga. Krita offers a variety of brushes designed specifically for creating these effects. By varying line thickness and direction, artists can convey movement and intensity.
Layers play a critical role in organizing effects separately. This separation allows easy modifications and enhances the creative process.
Additional effects, like motion blurs or atmospheric details, can be incorporated to elevate the scene. These techniques not only emphasize the action but also enhance the overall visual storytelling, making scenes both exciting and memorable for readers.
Mastering Manga Expressions
Mastering manga expressions is vital for creating characters that resonate with readers. By focusing on the eyes, facial features, body language, and the use of speech bubbles, artists can effectively convey emotions and enhance the storytelling experience.
Conveying Emotion Through Eyes and Facial Features
Eyes are often described as windows to the soul, and this is especially true in manga. They play a central role in expressing character emotions. Artists should experiment with the size and shape of the eyes to convey different feelings.
Large, sparkling eyes can express innocence or surprise, while narrow eyes might signify suspicion or anger. The eyebrows and mouth also add depth to expressions. Slight changes in a character’s eyebrows can suggest various emotions like worry or happiness.
It’s important to consider how other facial features like the mouth and cheeks emphasize these emotions. A small upward curve of the lips or a slight blush can dramatically change how a scene is perceived.
Dynamic Poses for Storytelling
Dynamic poses enhance the story by showing action and emotion. Manga artists often use exaggerated body language to make the characters’ actions and feelings clear. The angle and position of a character’s body can indicate their mood or intentions.
For instance, a hero can be shown in a powerful stance with their chest forward and fists clenched to emphasize determination. A curved, slumped pose can indicate sadness or defeat. Artists need to pay attention to anatomy to keep poses realistic.
Using reference images or practicing gesture drawing helps in creating diverse and interesting poses. The dynamic interaction between characters also tells a lot about their relationship and the tension within a scene.
Speech Bubbles and Typography in Panels
Speech bubbles and text add a unique layer to manga art. Their shape and size often reflect the volume and tone of the spoken words. Jagged bubbles can indicate shouting or excitement, while wavy ones suggest sarcasm or uncertainty.
Typography is equally important. Bold, large fonts might suggest loudness or urgency, while small, light fonts can depict whispering or hesitation. Placing the text correctly within the panel ensures it flows naturally with the artwork.
Balancing the bubble placement with the panel layout helps maintain readability. It’s essential to consider how the speech bubbles guide the reader’s eye and assist in pacing the dialogue within the story.
Final Touches
In the final stages of creating digital manga with Krita, there are several tasks to focus on. These include refining lines, adding depth with shading, and preparing the artwork for both web and physical formats.
Cleanup and Line Correction Techniques
When it comes to cleaning up your artwork, using Krita’s selection tools is key. Artists might find the Freehand Selection Tool helpful for isolating areas that need refinement. Additionally, using the Eraser Brush with a soft edge can correct lines without leaving hard traces.
Another valuable feature is the Layer Style options where you can add effects like drop shadows to enhance your lines. Don’t forget to zoom in and inspect every inch of your drawing for any mistakes. It ensures a polished look that meets professional standards.
Black Filling and Shading Methods
Adding black fills and shading can bring depth to your manga. Using the Fill Tool simplifies large areas that need solid black, while Custom Brushes allow more detailed shading, such as cross-hatching. Krita offers a variety of manga brushes, which can be obtained from resources like good manga brush packs.
Layering is essential for shading work. Artists often utilize Multiply Layers to add shadows over the base colors without altering the hue below. This method helps achieve a more realistic and dynamic look in the manga panels.
Exporting for Web and Print
Once the artwork is complete, exporting correctly is crucial. Krita supports various formats, ideal for both digital and print media.
For web use, exporting as JPEG or PNG at 72 DPI ensures fast loading times online while maintaining quality. Use sRGB color profiles as they are standard for the web.
For printing, exporting at a higher resolution, such as 300 DPI, in formats like TIFF is advisable. Always remember to adjust the color profile to CMYK for optimal print quality. This attention to detail ensures your manga looks its best in any medium.