Creating a professional design can be a breeze with the right tools, and Canva offers just that.
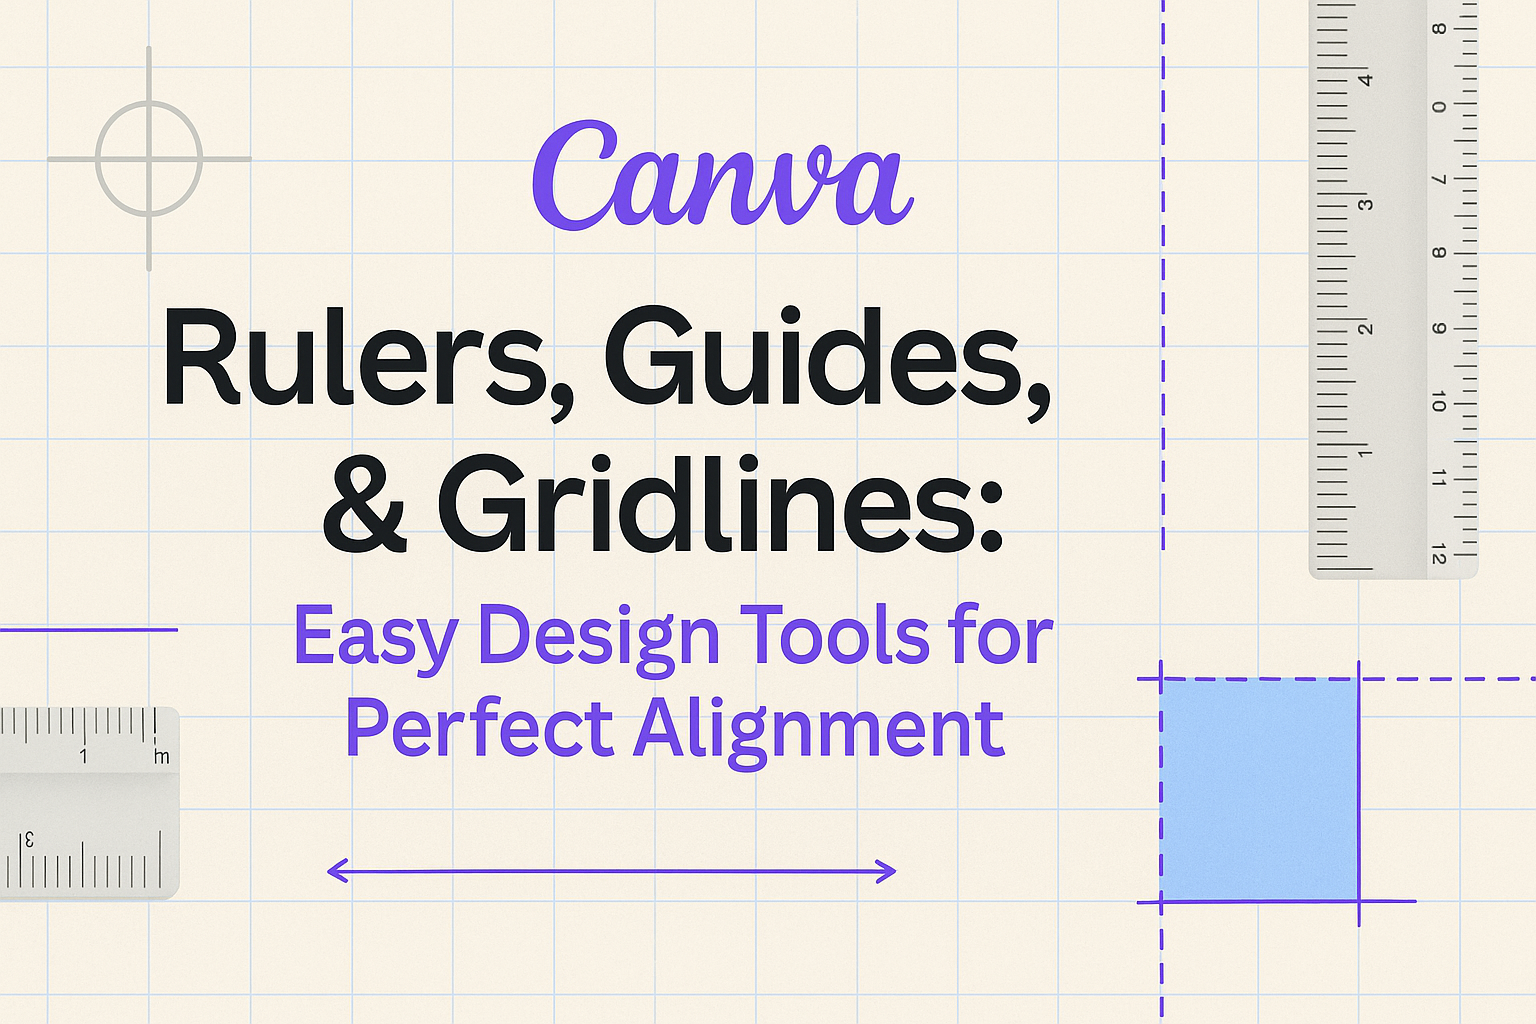
Canva Rulers, Guides, and Gridlines play a crucial role in helping designers align elements perfectly, resulting in visually appealing and consistent layouts.
By using these features, anyone can level up their design game without needing extensive graphic design skills.
For those looking to make sure their designs are well-organized and balanced, using Canva’s Rulers, Guides, and Gridlines is key.
These tools allow for precise placements on the canvas, making it easier to achieve that professional look.
With the addition of the Snap to Grid feature, users can quickly align objects, enhancing both alignment and symmetry in their designs.
Additionally, Canva’s user-friendly interface ensures that these tools are accessible to both beginners and advanced users.
By learning to use Canva Rulers, Guides, and Gridlines, designers can expect to create impressive layouts that leave a lasting impression. For more insights on these tools, visit Canva Rulers, Guides, & Gridlines for a detailed guide.
Getting Started with Canva
Canva is an easy-to-use graphic design tool perfect for creating everything from social media posts to business presentations.
Understanding how to use rulers, guides, and gridlines helps in crafting well-aligned and professional designs. Familiarity with the interface makes the workflow smooth and efficient.
Accessing Rulers, Guides, and Gridlines
Rulers, guides, and gridlines are essential for precise design work in Canva.
To access these tools, users should first open a new design. Once in the editor, they can find rulers under the “File” menu, which they can enable by selecting “Show Rulers.” These rulers help in measuring and aligning objects accurately.
Guides are used by dragging from the rulers. When placed, they act as reference lines to ensure elements are lined up perfectly.
Gridlines can be activated by navigating to the “Elements” tab. Here, users can choose the “Grids” option and drag a preferred grid style onto the canvas, creating a structured layout.
Overview of Canva’s Interface
The Canva interface is designed to be intuitive, with the main tools conveniently positioned for easy access.
On the left side, there is the options bar featuring tabs like Templates, Photos, Elements, and Text. These tabs allow quick insertion of design elements.
The center area is the canvas where users build their projects. On the top of the screen, key editing options like Undo, Redo, and Position can be found.
For finer edits, users can utilize the toolbar above the canvas that includes settings for fonts, colors, and alignment options. Understanding these areas ensures a smooth designing process.
Using Rulers
Understanding how to use rulers in Canva is vital for precise design work. Rulers help align elements and measure distances, making designs more professional.
This section will explore how to display rulers, read measurements, and use rulers to align elements effectively.
How to Display Rulers
To display rulers in Canva, start by opening your design project. Look for the “File” tab located at the top left corner of the screen. Clicking this will open a dropdown menu where you can find the “View Settings” option. Select “Show Rulers” from this submenu to activate the rulers on your workspace.
These rulers appear at the top and left sides of the design area. They provide a clear reference for measuring distances. Once enabled, they remain visible as you create and edit your project.
By showing rulers, users gain access to precise measurements. This makes it easier to align text, images, and other design elements accurately.
Reading Measurements
Reading measurements on Canva rulers is straightforward. The rulers display measurements in the unit set in your settings, like pixels, inches, or centimeters. Numbers increase as you move further from the origin, located at the top left corner.
Each marker on the ruler represents a specific unit of measurement. Larger marks indicate significant divisions such as full inches, centimeters, or larger pixel values. Smaller ticks represent fractions of these units.
Precision is key when dealing with spacing and sizing in design. The rulers help designers maintain this precision by offering a visual guide.
When specific measurements are needed, viewers can hover the cursor over the rulers to get exact values, aiding in creating balanced and well-proportioned designs.
Aligning Elements with Rulers
Aligning elements using rulers involves dragging them while keeping an eye on the ruler’s measurements.
Designers can achieve perfect alignment by matching the element’s edges to key measurements on the ruler.
Additionally, Canva offers tools like Snap to Grid, aiding alignment by snapping elements to the nearest gridline. This feature works seamlessly with rulers to ensure elements are placed precisely.
By combining the rulers with these alignment tools, designers create neat and organized layouts. This improves both the function and visual appeal of their projects, making rulers an invaluable part of the design toolkit.
Working with Guides
Guides in Canva help users align elements precisely, ensuring that designs have a neat and professional appearance. This tool is crucial for aligning text, images, and other design components accurately.
Adding and Removing Guides
To add a guide, users can drag from the ruler at the top or side of the Canva workspace. This creates a horizontal or vertical guide that can be placed anywhere.
If rulers aren’t visible, enabling them is the first step. Guides can be adjusted by clicking and dragging them to the desired position.
To remove a guide, drag it back to the ruler. It’s a simple process that keeps the workspace tidy.
Guides are invaluable for structured design, aiding in the creation of uniform layouts.
Snapping Elements to Guides
Snapping is an essential feature that helps users align elements with guides effortlessly. When an element approaches a guide, it automatically “snaps” into place.
This ensures precision, which is vital for designs requiring exact spacing.
Snapping is enabled by default in Canva, but users can toggle this feature in the settings if needed.
Adjusting an element’s position becomes easy, as users get visual feedback when it aligns with a guide. This feature is particularly useful for creating consistent layouts in more complex designs.
Using Guides for Consistent Spacing
Consistent spacing between elements is crucial for balanced designs. Guides in Canva are key to achieving this consistency.
Designers can set multiple guides to define margins and spacing rules throughout the project.
By aligning text boxes, images, and other elements to these guides, users maintain uniform spaces.
This technique is especially effective in multi-page documents and grid layouts. With careful placement, guides ensure that all parts of the design follow the same spacing criteria, which enhances the overall aesthetics.
Utilizing Gridlines
Gridlines in Canva help users align design elements for a more polished and organized appearance. This feature is key for creating balance and symmetry in projects.
With a few steps, you can enable gridlines, customize their settings, and use them to align items effectively.
Enabling Gridlines
To start using gridlines, first, open your design in Canva. Look for the “File” menu at the top left corner. From there, select “View Settings” and choose the gridlines option.
Gridlines appear as faint lines across your design, providing a guide to place your elements accurately.
These lines do not print on the final product—they are just there to help during the design process.
They ensure everything is lined up neatly and consistently, saving time on adjustments later. Without them, achieving precise alignment could be challenging, especially when dealing with multiple layers or complicated layouts.
Customizing Grid Settings
Canva allows users to tweak grid settings for more tailored use.
Access these options through “File” and “View Settings”.
You can modify the spacing between gridlines to fit your project’s needs. Depending on the intricacy of the design, denser gridlines can provide additional reference points for placing elements.
It’s also possible to adjust the visibility of the gridlines, making them more or less apparent.
This customization helps when working with detailed designs, where overly prominent gridlines might interfere.
For users who need centimeters or inches, you can change units by navigating the ruler settings, as explained on how to change the Canva ruler to cm.
Design Tips and Tricks
Using rulers, guides, and gridlines in Canva can make a big difference in creating clean and professional designs. These tools help with balancing elements, scaling them properly, and managing overlapping items with ease.
Balancing Design Elements
Balancing different parts in a design is key to looking professional. By using gridlines, designers can place elements evenly, making the design more visually appealing.
Gridlines act like a guide to make sure nothing looks out of place. Designers often use them to divide the page into even sections, allowing for uniform spacing.
Using guides is helpful when adjusting the placement of elements, like text boxes or images, to achieve symmetry. A balanced design feels complete and easy to follow. Incorporating these tools in the design process ensures consistency.
Maintaining Proportional Scaling
Proportional scaling is important to keep elements looking correct when resized. Canva rulers help in measuring the size of objects and maintaining their proportion as they change.
Designers often use Canva rulers to ensure that images and text maintain their relative size during adjustments.
This prevents distortion and keeps everything looking right.
Maintaining the right proportions is also crucial when working with logos and other branded materials.
Using these features, designers can easily hit size targets and maintain design quality across different outputs. These tools also help when working with different formats, such as posters or cards.
Navigating Overlapping Items
Handling overlapping items can be tricky but is vital for a neat design. Using guides and gridlines simplifies organizing overlapping elements, providing clarity in the workspace.
Canva offers alignment tools that allow designers to easily manage layers and overlapping pieces.
By using these tools, designers can make sure that each piece is where it should be, without clutter.
Guides play a big role by showing where elements intersect, helping to avoid unwanted overlap. Using these tips aids in creating seamless designs that are easy to view. Managing overlaps enhances the overall look and helps maintain focus on the main aspects of the design.
Advanced Techniques
Using advanced techniques in Canva allows designers to create precise and efficient designs. This section explores how keyboard shortcuts and custom guide layouts can enhance design workflows, helping users save time and achieve greater accuracy.
Keyboard Shortcuts for Efficiency
Keyboard shortcuts in Canva can speed up the design process significantly.
These shortcuts enable designers to quickly perform common tasks without navigating through menus.
For instance, using Ctrl + C to copy and Ctrl + V to paste can save time when working with multiple elements.
Designers can also use shortcuts like Ctrl + Z to undo and Ctrl + Shift + Z to redo actions. This allows for easier correction of mistakes.
Alt + Drag ensures duplication of elements, which is extremely helpful when aligning objects.
Exploring keyboard shortcuts can enhance productivity by decreasing time spent on repetitive actions.
Canva offers a variety of shortcuts for laying out designs, such as Ctrl + D for duplicating selected elements, which is useful in extensive design projects.
Having a handy list of these shortcuts can make design work smoother and more enjoyable.
Creating Custom Guide Layouts
Creating custom guide layouts is essential for achieving precise and consistent designs in Canva.
Guides help align elements and ensure they are proportionately spaced. Designers can access the rulers and drag guides onto their workspace, establishing a grid that meets the specific needs of the design project.
By organizing custom guide layouts, users can tailor their workspace to match their creative goals.
For example, setting margins and columns can aid in developing structured and professional presentations. This is crucial when creating designs that require exact spacing and alignment.
Utilizing custom layouts enhances the functionality of Canva’s built-in features like gridlines.
Integrating these guides with Canva’s snap-to-grid function ensures elements are precisely aligned, leading to polished and refined outputs. This practice not only saves time during the design process but also enhances the overall look of the finished project.