Creating stunning visuals in DaVinci Resolve can elevate any video project. Understanding how to use HDR (High Dynamic Range) tools is essential for achieving vibrant colors and deep contrasts.
With the right techniques, anyone can master HDR to bring their images to life.
The process begins with setting up the right project and ensuring that video settings match the desired HDR format.
Navigating through the various HDR tools within the program allows for detailed manipulation of highlights, shadows, and color saturation.
By following a few simple steps, videographers can transform their footage and produce breathtaking results.
Whether one is a beginner or an experienced editor, embracing HDR can open new creative doors. This blog post will guide readers through the key processes and tools needed to make their visuals truly stand out. Get ready to enhance your video editing skills and create captivating content!
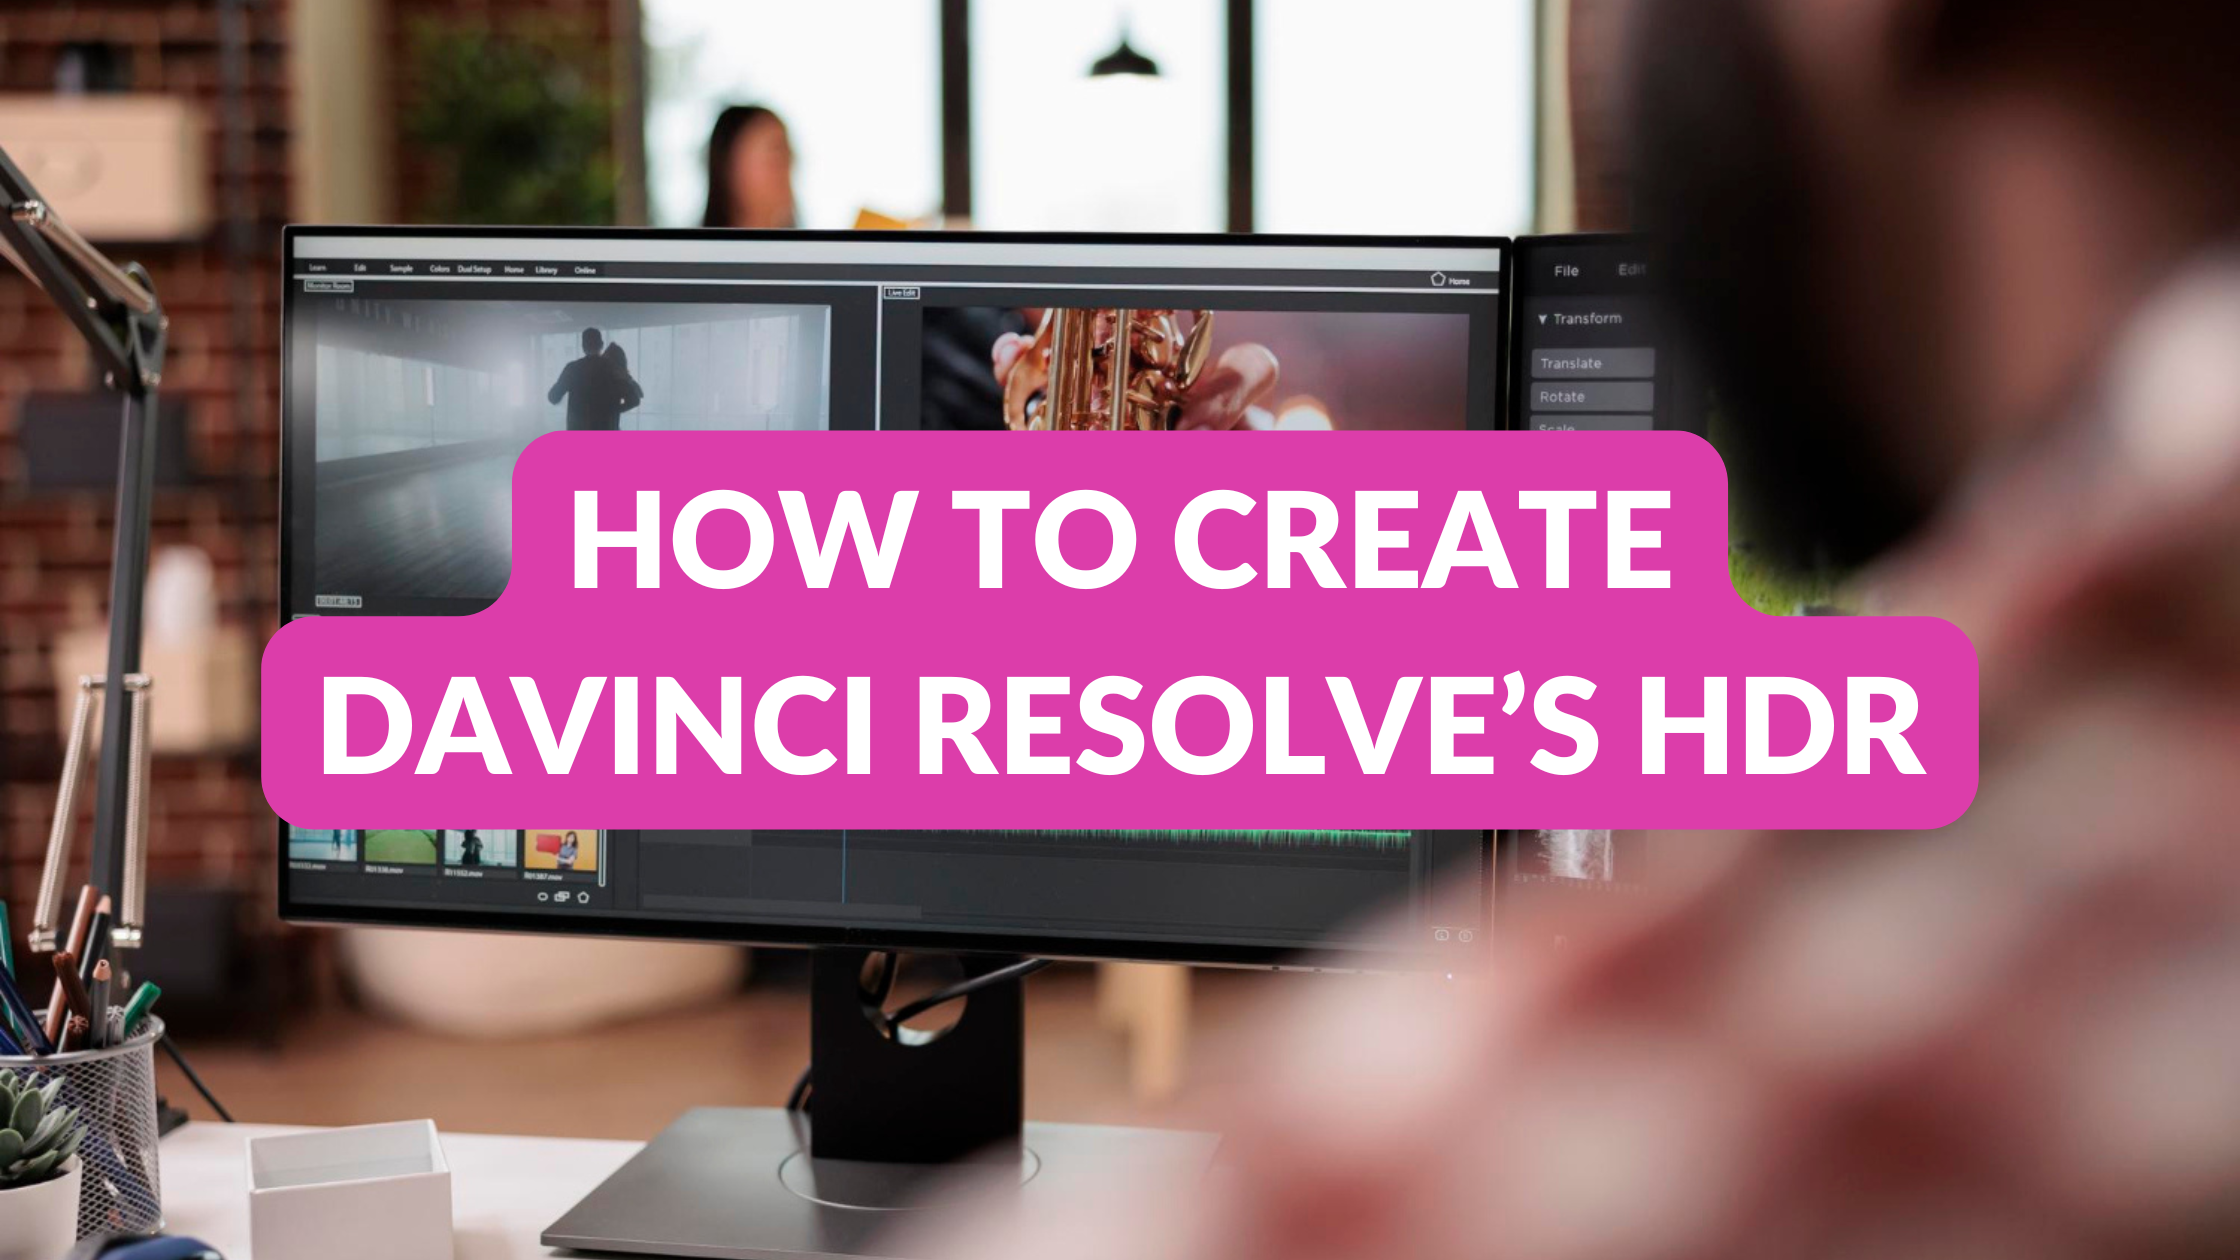
Understanding HDR in DaVinci Resolve
HDR, or High Dynamic Range, enhances visual content by capturing a greater range of brightness levels. This technology adds depth and realism to videos, making them more engaging and visually appealing.
In DaVinci Resolve, using HDR tools can transform standard footage into stunning visuals.
What Is HDR?
High Dynamic Range (HDR) refers to a technique that improves the contrast and color accuracy of images. It allows for a wider spectrum of brightness, enabling the representation of very bright areas and deep shadows in the same frame.
In terms of technical standards, HDR content often meets specifications like HDR10 or Dolby Vision. This ensures that colors appear vibrant and true to life.
When HDR is applied, it can display more details in both highlights and shadows. This leads to a richer visual experience for viewers, making scenes more immersive.
Benefits of HDR in Video Production
HDR brings many advantages to video production. One major benefit is improved color grading. This allows creators to enhance visuals, providing a more artistic touch to projects.
Additionally, HDR captures a broader range of light, which can create stunning contrasts. This makes dark scenes more thrilling and bright scenes more striking.
Another benefit is its compatibility with modern displays. As TVs and monitors become capable of showing HDR content, utilizing this technology ensures that videos look outstanding.
In summary, HDR helps video creators deliver high-quality outputs that satisfy audience expectations. Embracing HDR tools in DaVinci Resolve allows them to push creative boundaries.
Setting Up Your Project for HDR
Setting up a project for High Dynamic Range (HDR) in DaVinci Resolve involves precise adjustments to ensure that the visuals achieve their full potential. This process includes initial project setup and configuring color management specifically for HDR content.
Initial Setup
To start, he should launch DaVinci Resolve and create a new project. It’s crucial to select the right project settings to support HDR workflows.
- Navigate to the Project Settings by clicking the gear icon in the bottom right corner.
- Under Master Settings, set the timeline resolution to a minimum of 1920×1080.
- Change the frame rate according to the source footage, typically 24, 25, or 30 fps.
These steps prepare the project framework for HDR editing. He should ensure his monitor supports HDR for accurate color grading.
Color Management for HDR
Setting up color management is vital for HDR projects. He will need to emphasize this part in the project settings for optimal results.
- Go to the Color Management section in the Project Settings.
- Select Color Science and choose DaVinci YRGB Color Managed to ensure proper color processing.
- Set the Output Color Space to “Rec. 2020” to accommodate HDR content.
After these adjustments, the editing environment aligns with HDR color standards. By managing color effectively, he can achieve stunning, lifelike visuals in the final output.
Working With HDR Tools in DaVinci Resolve
Using HDR tools in DaVinci Resolve allows users to enhance their projects with rich colors and depth. By mastering key features such as color wheels and the HDR palette, editors can achieve visually stunning results.
Using the Color Wheels
The Color Wheels in DaVinci Resolve are essential for color correction and grading in HDR projects. Each wheel controls different attributes: Lift (shadows), Gamma (midtones), and Gain (highlights). Users can adjust these wheels to fine-tune their visuals.
For HDR content, starting with the shadows can create a stronger base. Making subtle changes to the midtones enhances the overall image. Finally, adjusting highlights adds brightness without losing detail in brighter areas.
Each adjustment is interactive and impacts other colors in the image, so it is important to work gradually. This method allows for a more balanced and natural look, which is vital in HDR grading.
Mastering the HDR Palette
The HDR Palette in DaVinci Resolve provides advanced control for HDR grading. It allows users to manipulate brightness levels across different ranges. This tool is not only for HDR content; it can enhance standard projects too.
Key features include HDR zones, which let users target specific brightness ranges. For instance, they can focus on highlights, allowing for more precision in adjustments.
The interface is intuitive, with sliders for adjusting the brightness and saturation of selected areas. This customization helps achieve desired looks while maintaining image quality. Learning to navigate the HDR Palette will elevate any editor’s skill in color grading dramatically.
Applying and Customizing HDR Grading
Applying HDR grading starts with setting up the correct color management settings in DaVinci Resolve. Users should ensure their project is configured for HDR output.
After setting up, the grading process involves selecting appropriate clips and applying adjustments based on desired effects. Customizing settings like contrast and saturation can highlight the dynamic range.
Users can also experiment with various looks by saving custom grades. This flexibility allows for quick adjustments across multiple clips or projects. Finding the right balance for brightness and color ensures that viewers are captivated by striking visuals.
By mastering these techniques, users can create stunning visuals that harness the full potential of HDR technology.
Exporting Your HDR Project
Exporting an HDR project in DaVinci Resolve involves specific settings to ensure the high dynamic range is preserved. It is essential to understand the render settings and how to deliver content in various formats to achieve the best results.
Render Settings for HDR
To start, it is vital to select the right render settings. Set the video format to a codec that supports HDR. Common options include DNxHR and ProRes 4444. These codecs maintain color quality and detail.
In the render settings, choose a resolution that reflects HDR quality, such as 4K (3840×2160). Ensure the frame rate matches the project settings, typically set to 23.976 fps for cinematic outputs.
Additionally, activate the HDR options in the Color Management settings. Review the Color Space Transform settings to keep the colors accurate across different platforms.
Delivering Content in Multiple Formats
When delivering HDR content, users should consider the platforms they plan to use. Each platform may have specific requirements for HDR videos.
For YouTube, the video must be in an HDR format, so following guidelines carefully is essential.
Check the requirements listed by Google for HDR uploads.
It is also wise to export a standard dynamic range (SDR) version of the video. Many platforms still display SDR content.
This ensures broader compatibility while maintaining the stunning visual quality of the HDR version.
By carefully managing these settings, creators can showcase their work beautifully across various media platforms.