Creating eye-catching real estate listing graphics can greatly enhance a property’s appeal.
By using Vectr, anyone can design stunning visuals quickly and easily, regardless of their design experience. This powerful tool allows users to create professional graphics that showcase properties in the best light.
In today’s competitive market, a great graphic can make a significant difference. Real estate agents and homeowners alike can engage potential buyers by presenting listings with stylish and informative visuals.
With the right approach and some guidance, anyone can master this skill and elevate their listings.
This blog post will guide readers through the steps of creating effective real estate graphics in Vectr. From selecting images to adding property details, the process is simple and rewarding, leading to visuals that grab attention and drive interest.
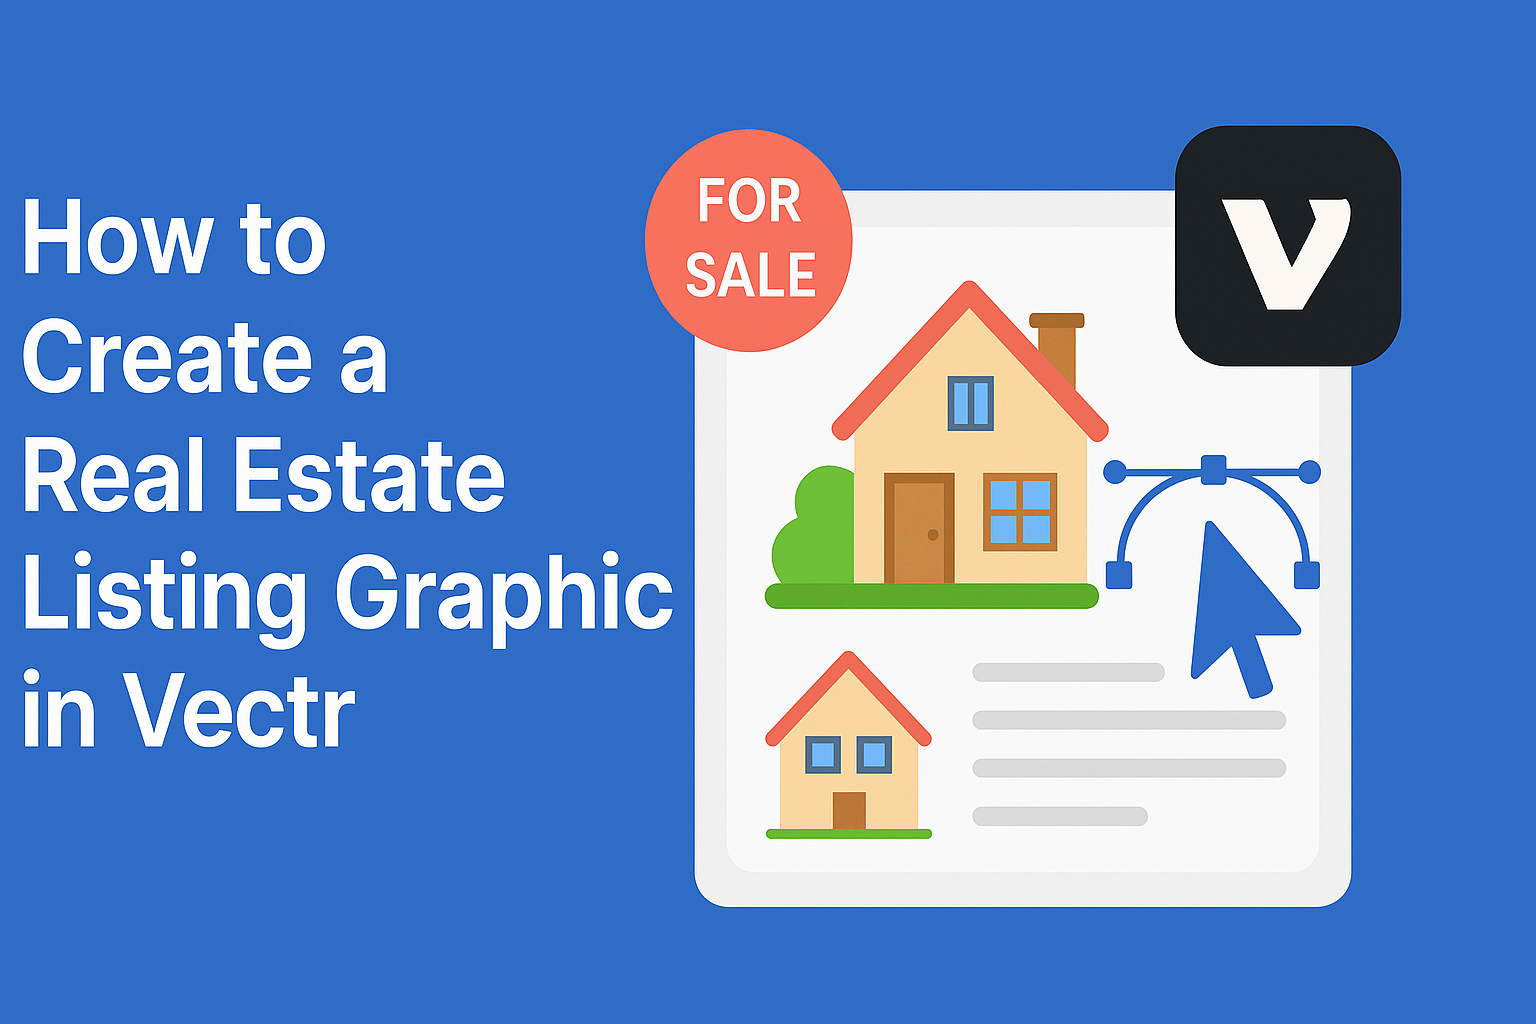
Getting Started with Vectr
Vectr is a user-friendly graphic design tool that allows anyone to create stunning visuals.
Starting with Vectr involves setting up a new project, familiarizing oneself with the interface, and preparing the canvas for design.
Creating a New Project
To begin, users need to create a new project in Vectr. This can be done by visiting the Vectr website or opening the desktop application.
- Click on “New File.”
- Choose the desired dimensions for the graphic.
For a real estate listing graphic, a common size is 1200 x 628 pixels. This size works well for sharing on social media. After selecting dimensions, users can name the project for easy access later.
Understanding the Interface
The Vectr interface is designed to be simple and straightforward. Users will find a toolbar on the left side with various tools for creating and editing graphics.
Key tools include:
- Selection Tool – for moving and resizing objects.
- Shape Tool – for creating basic shapes like rectangles and circles.
- Text Tool – for adding text to designs.
On the right side, there are options for layers, which help manage different elements of the graphic.
Familiarizing oneself with these tools and options will make the design process smoother.
Setting Up the Canvas
After creating a project and understanding the interface, it’s time to set up the canvas.
Users should consider the layout and elements they want to include in their design.
Here are steps to set up:
- Adjust Background: Choose a color or image for the background.
- Add Guidelines: Implement guidelines to help align elements accurately.
- Import Assets: Users can import photos of properties or logos.
These steps will lay a strong foundation for creating an appealing real estate graphic. Starting with a well-prepared canvas helps keep designs organized and visually appealing.
Designing the Layout
Creating an effective layout is crucial for making a real estate listing graphic attractive and informative. A well-organized design will draw attention to key property features and help potential buyers connect with the listing.
Choosing a Template
Selecting the right template can save time and ensure a professional look. Vectr offers various templates designed specifically for real estate listings.
Look for one that matches the style of the property. Ensure the template has sections for images, property details, and contact information. A clean layout with a good flow will enhance readability.
After choosing a template, start customizing it to reflect the property’s unique features.
Adding Property Photos
High-quality photos are essential in showcasing a property’s best attributes.
Select images that highlight important areas such as the living room, kitchen, and backyard. Using professional, well-lit photos will attract more interest.
Place these images strategically within the layout. It’s important to ensure they are sized correctly for the template.
Including a strong main image at the top can create an immediate impact. Additional images can be arranged in a grid or along the sides, keeping the layout visually balanced.
Customizing Text Elements
Customizing text elements helps convey important information clearly.
Include the property’s key details, such as price, size, bedrooms, and bathrooms, in a bold font. Using different font sizes can create a hierarchy, making it easy for viewers to scan the information.
Important details should stand out, while less critical info can be in smaller text.
In addition, using bullet points can make facts easy to read. You may also consider adding a brief description that highlights what makes the property special. This approach makes the graphic both informative and visually appealing.
Finalizing Your Graphic
Before wrapping up a real estate listing graphic, it is crucial to refine alignment, spacing, color scheme, and branding. These elements create a polished look that attracts potential buyers.
Alignment and Spacing
Proper alignment enhances the visual appeal of the graphic. It ensures that all text and images are organized, making it easier for viewers to understand the information.
You should align text to the left or center, depending on the layout. This helps create a consistent look.
Spacing is equally important. Adequate white space prevents the graphic from feeling cluttered. This makes each element stand out.
Set margins around text and images to enhance readability and visual flow.
Color Scheme and Branding
A consistent color scheme reinforces brand identity.
Choose colors that reflect the brand’s personality. For real estate, earthy tones can convey warmth, while bold colors can highlight unique features.
Aim for a maximum of three main colors to keep the design cohesive.
Include the brand logo prominently. This helps build recognition. Ensure the colors complement each other and maintain readability, especially with text.
Using color effectively can evoke emotions and draw attention to key elements.
Exporting and Sharing
Once the real estate listing graphic is complete in Vectr, the next steps involve exporting the design and sharing it effectively. This section dives into how to export files as an image or PDF and how to share them on social media.
Exporting as Image or PDF
To export a graphic from Vectr, go to the “File” menu. Here, you will find the option to Export.
Vectr allows users to choose between various formats like PNG and JPEG for images or PDF for a document.
- Select Format: Choose either an image or PDF according to the use case.
- Adjust Settings: Depending on the selected format, you can adjust settings such as image quality or PDF page size.
- Download: Click on Export and save the file to a preferred location.
This simple process ensures that the graphic retains its quality while aligning with your specific needs.
Sharing on Social Media
For sharing the graphic on social media, Vectr enables quick posting options.
Users can export the graphic first, then upload it to their chosen platform.
- Identify Platforms: Know where the audience is, whether it’s Facebook, Instagram, or LinkedIn.
- Upload the Graphic: After exporting, navigate to the social media site and select the option to add a post. Upload the graphic file.
- Add Captions and Hashtags: Enhance visibility by including relevant captions and hashtags. This helps in reaching a broader audience.
This method makes the listing more engaging and can attract potential clients effectively.