Creating an eye-catching web header graphic can set the tone for any website. Using Vectr, anyone can design a professional-looking header in just a few simple steps. This free tool makes the process accessible and enjoyable, perfect for beginners and experienced designers alike.
In this blog post, readers will discover how to easily navigate Vectr to craft custom header graphics that fit their unique style.
From selecting the right dimensions to adding personal touches, the guide covers all essential aspects of the design process. With helpful tips along the way, anyone can enhance their online presence with a stunning graphic.
Whether for a personal blog, business site, or social media profile, a well-designed header can grab attention and convey important information. Following this guide will empower readers to create visuals that impress visitors and elevate their online content.
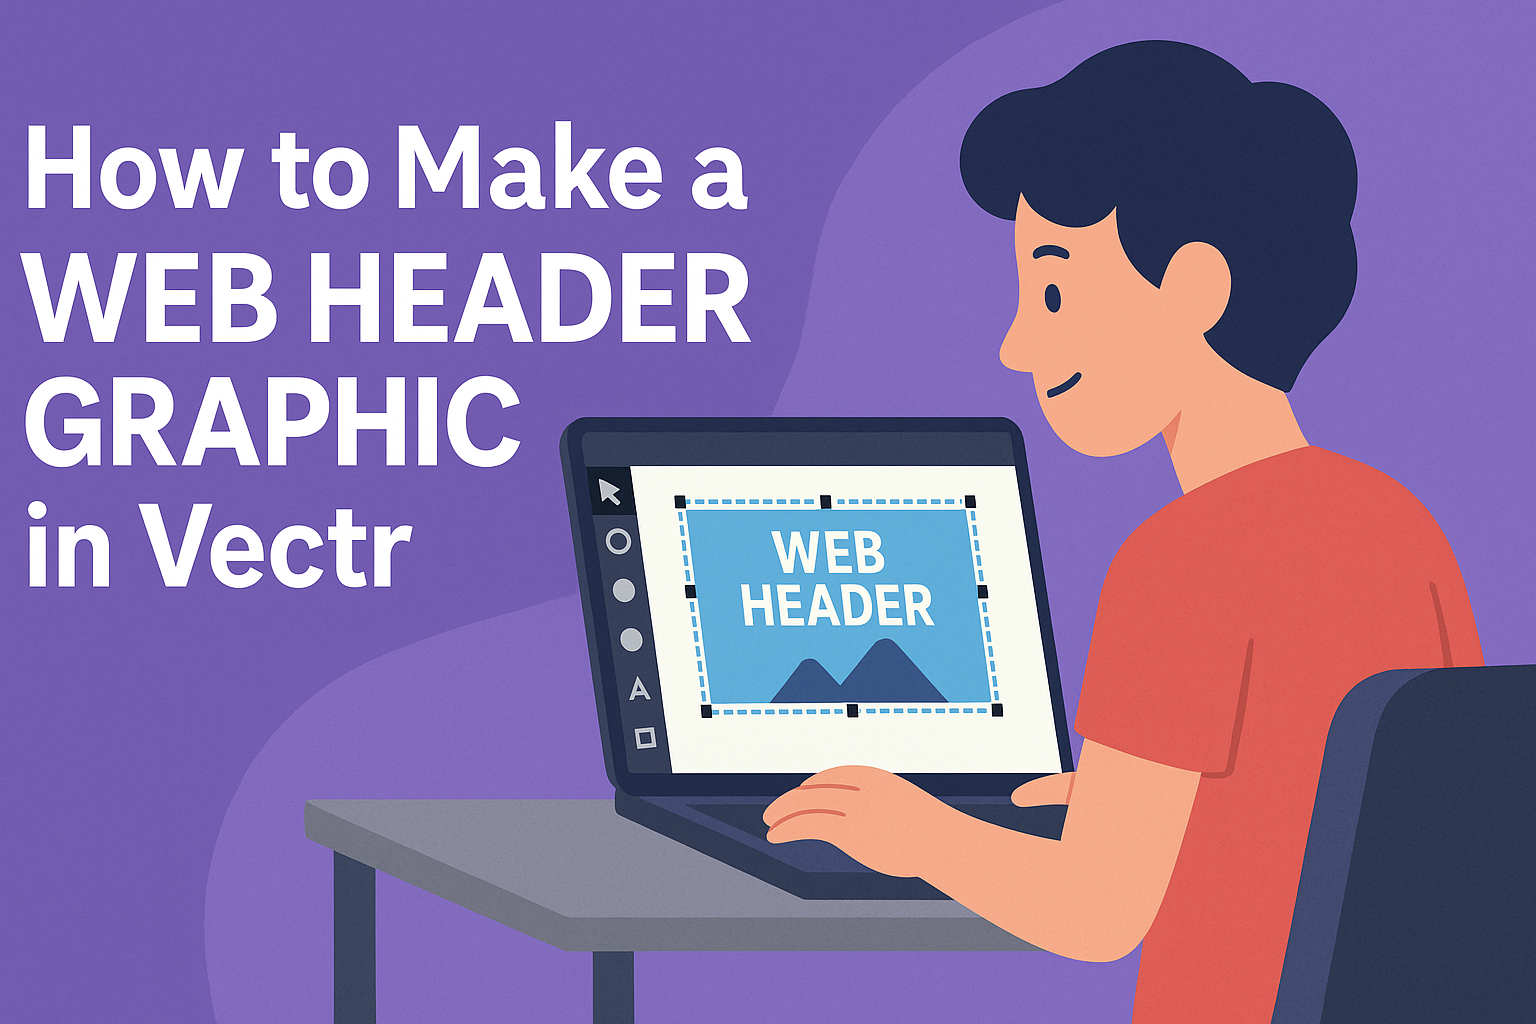
Getting Started with Vectr
Vectr is an easy-to-use graphic design tool that helps users create stunning web header graphics.
Understanding how to create an account and set up the canvas will make the design process smoother and enjoyable.
Creating an Account and Navigating the Interface
To begin using Vectr, the first step is to create an account.
Users can visit the Vectr website and click the “Sign Up” button. They can sign up using an email address or a Google account.
Once logged in, users will see a clean, intuitive interface.
The menu bar at the top offers options like “File”, “Edit”, and “View”. On the left, the toolbar contains essential tools for selections, shapes, and text. The right side displays properties for editing shapes and layers.
New users should take a moment to explore these features, as this will enhance their workflow. Knowing where everything is located will save time when designing headers.
Setting Up Your Canvas
After signing in, users need to set up their canvas. This step is crucial for designing effective web headers.
To create a new file, click the “Create File” button located at the top left of the screen.
A dialog box will appear, allowing users to choose a page size.
Common dimensions for web headers include 1920×1080 pixels or 1280×720 pixels. Selecting the right size ensures that the graphic will fit correctly on websites.
After choosing the size, users will enter the workspace. Here, they can use the toolbar on the left to select different shapes and text options.
They can drag and drop elements onto the canvas and reposition them as needed. This setup allows for easy customization and creativity in graphic design.
Designing Your Header Graphic
Creating a standout header graphic involves careful planning, thoughtful design choices, and a clear understanding of how each element works together.
By selecting the right theme and colors, choosing effective typography, incorporating relevant icons, and using layers wisely, a designer can craft an effective header that captures attention.
Choosing a Theme and Color Scheme
The theme sets the mood of the header graphic. It should reflect the website’s purpose and brand identity.
For example, a tech site might use modern, sleek designs, while a kids’ site might embrace bright colors and playful themes.
Color scheme plays a crucial role as well.
It’s best to stick to a palette of 2-3 main colors and 1-2 accent colors. Tools like Adobe Color or Coolors can help in finding harmonious color combinations. Using contrasting colors for text and backgrounds ensures readability.
Adding Text and Typography Tips
Text in a header must be clear and engaging. The main title should grab attention right away.
It’s helpful to use a bold font that aligns with the brand’s theme. Headers should be larger than any other text for emphasis.
Choosing the right font pairings enhances the design.
For example, a bold sans-serif for the title paired with a cleaner serif font for the tagline can create balance. Limiting the number of fonts to two or three ensures the design feels cohesive. Maintaining consistent font sizes is also important for clarity.
Incorporating Icons and Shapes
Icons and shapes add visual interest. They can illustrate key ideas or concepts in the header graphic.
Designers should choose icons that match the overall theme. Using vector icons ensures high quality at any size.
Shapes can also enhance the layout. Rounded rectangles or circles can soften the look, while sharp edges create a more modern appeal.
It’s effective to integrate these elements subtly, ensuring they support the text rather than overpower it.
Utilizing Layers and Groups for Organization
Using layers effectively keeps the design neat and organized. Each element, like text and icons, should be on its own layer. This allows for easy adjustments without disrupting other components.
Grouping related elements can simplify editing. For instance, text elements can be grouped with their corresponding icons. This saves time when aligning or moving parts of the design. Always consider the hierarchy in layers, placing the most important elements on top for visibility.
Refining Your Design
Refining a web header graphic is essential for creating a polished and professional look. This process involves fine-tuning the alignment and spacing of elements, as well as exploring filters and effects to enhance visual appeal.
Adjusting Alignment and Spacing
Alignment and spacing play a crucial role in the overall design.
Proper alignment ensures that all elements are balanced and visually pleasing. Using Vectr, one can easily select different elements and align them to the left, center, or right.
For spacing, it’s important to maintain consistent margins around text and images. Use guides to measure and set fixed distances between objects. This helps create harmony within the design.
Additionally, some designers prefer to use grids, which can aid in achieving uniformity.
Checking the spacing helps avoid clutter. A clean layout will make the header graphic more legible and attractive.
Applying Filters and Effects
Applying filters and effects can add depth and character to a web header graphic.
Vectr offers various options such as drop shadows, blurs, and gradients. These tools can draw attention to key elements like the logo or call-to-action buttons.
For instance, using a subtle drop shadow can create a 3D effect, making the text stand out. Gradients can enhance the background, adding more dimension without overpowering the main content.
When applying effects, it’s important to keep it subtle. Overusing filters can make a design look busy and distract from the message. Testing different combinations helps find the right balance for a clear, engaging header.
Exporting and Implementing Your Header
Once the web header graphic is complete in Vectr, the next important steps are exporting the design and uploading it to a website. Each step is crucial for ensuring the header looks great and functions well on the site.
Exporting the Final Design
To export the header graphic from Vectr, the user should first click on the “Download” button located in the upper right corner.
They can choose the file format, such as PNG or SVG, depending on their needs.
For most websites, PNG is ideal because it supports transparency and is widely compatible.
Once the format is selected, clicking the “Download” button will save the graphic to the user’s computer.
It’s important to check the dimensions and make sure they match the required size for their website layout. Resizing can be done before or after exporting.
Uploading to Your Website
After exporting the header graphic, the user needs to upload it to their website.
Most content management systems (CMS) provide an easy way to add images. They should navigate to the section of the website where the header can be edited.
This might be under “Appearance” or “Theme Settings.” To upload the graphic, they click the “Upload” or “Add Image” button and select the exported file.
Once uploaded, they can adjust the positioning and perhaps add some CSS for further styling.
Finally, it’s good practice to preview the site to ensure the header displays correctly across different devices.