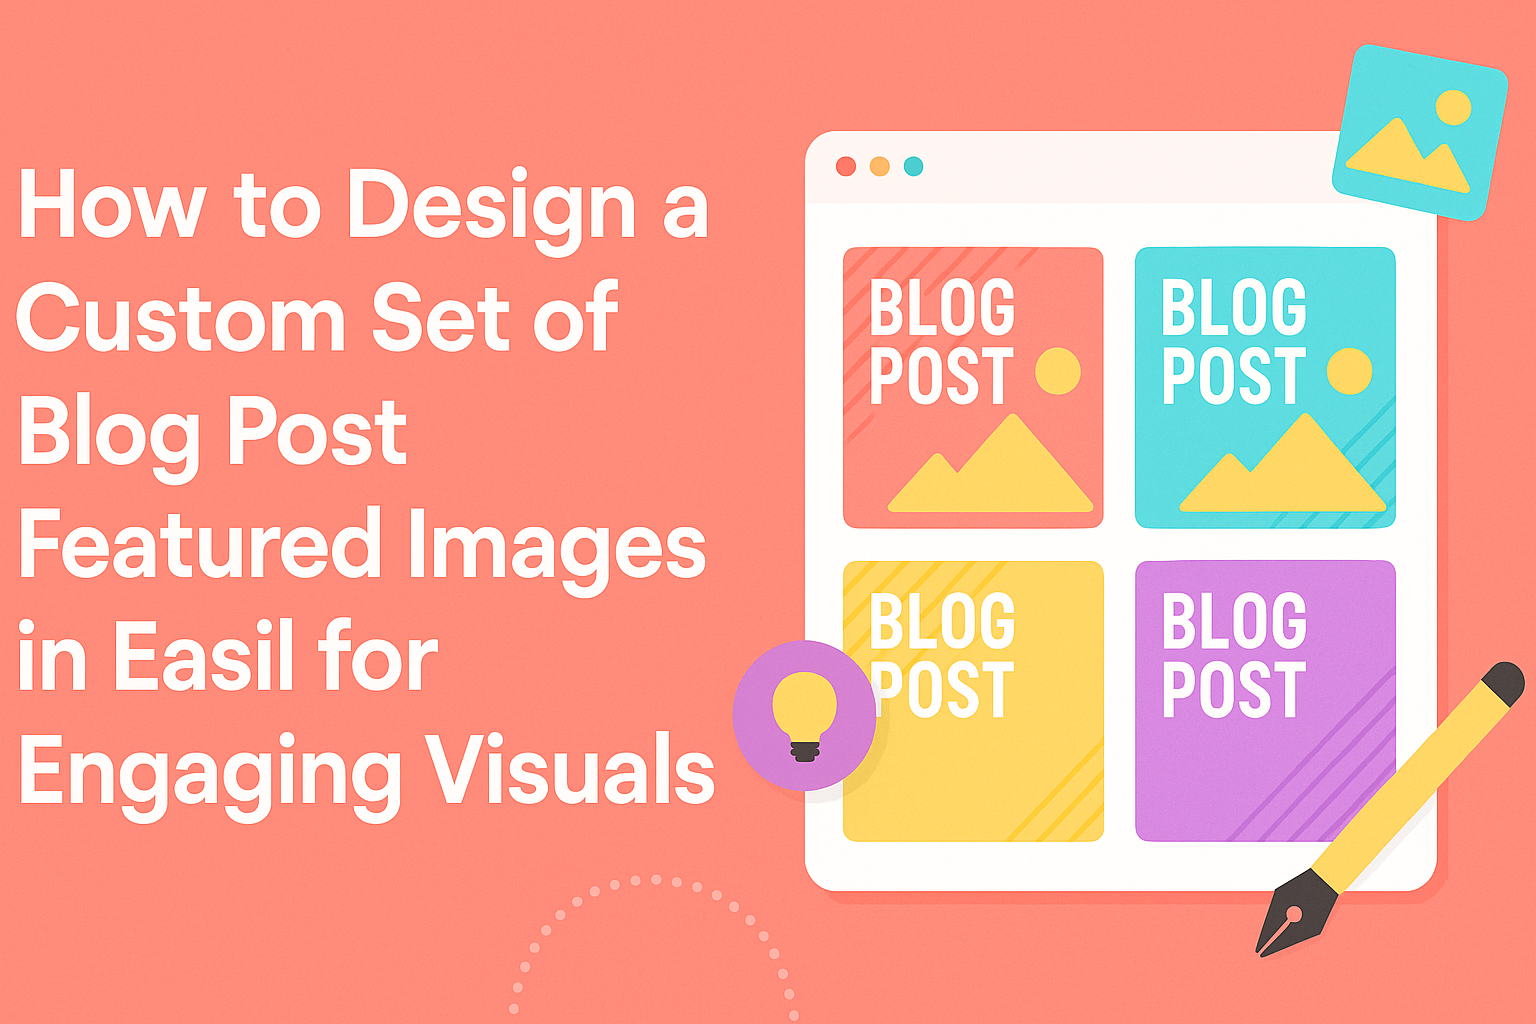
Creating a set of custom featured images for blog posts can make a big difference in attracting readers.
Using Easil, anyone can design eye-catching images that represent their content perfectly and keep their brand consistent.
With easy-to-use tools and templates, getting started is both fun and straightforward.
Many bloggers struggle with branding their images, often using stock photos that don’t reflect their unique voice. Easil helps solve this problem by allowing users to customize images to fit their style and message.
This tool ensures that each image enhances the blog’s overall look and feel.
In this article, readers will discover simple steps to create a cohesive set of featured images. They will learn how to utilize Easil’s design features effectively, making their blogs not only more appealing but also more professional.
Understanding the Basics of Blog Visuals
Visuals play a crucial role in making a blog stand out. They attract attention and help convey messages effectively.
Understanding how to use featured images and maintain consistency strengthens a blog’s overall impact.
The Role of Featured Images in Blog Design
Featured images serve as the first impression for a blog post. They grab readers’ attention and can encourage them to click on the article.
A well-chosen image should represent the content clearly, making it easier for readers to understand what to expect.
To create effective featured images, use high-quality visuals that align with the post’s topic. Consider using colors and styles that reflect the blog’s overall theme.
Images may also include text overlays for key points, but it should be easy to read.
Finally, using your brand’s logo can increase recognition. This helps build trust, showing the reader that they are looking at a professional, well-thought-out blog.
Consistency in Visual Branding
Consistency in visuals is vital for creating a strong brand identity. Regular use of specific colors, fonts, and image styles helps readers instantly recognize a blog.
It’s helpful to create a visual style guide. This guide can include:
- Color Palette: Choose 2-3 main colors to use across all images.
- Fonts: Select fonts that complement the blog’s voice.
- Image Types: Decide when to use photos, illustrations, or graphics.
By sticking to this guide, a blog can maintain a cohesive look. This makes it visually appealing and professional, which can lead to increased reader engagement and loyalty.
Planning Your Design Strategy
A clear design strategy is essential for creating engaging featured images for blog posts. Focusing on key elements like theme, style, color scheme, and typography can make a significant impact on how the audience perceives the blog.
Defining Your Blog’s Theme and Style
Before starting with the images, it’s important to define the blog’s overall theme and style. This choice will guide all design decisions.
For instance, a tech blog may prefer a sleek and modern style, while a travel blog might go for a vibrant and adventurous look.
Consider the following questions:
- What emotions should the images evoke?
- What message does the blog convey?
Choosing a consistent style for all featured images helps maintain brand identity. Using similar layouts and design elements allows readers to recognize posts more easily.
Choosing a Color Scheme and Typography
Color plays a significant role in design. It can enhance mood and make images stand out.
Selecting a color scheme that aligns with your blog’s message is crucial.
For example, warm colors can create a sense of passion, while cool colors can evoke calmness.
Typography should be clear and legible.
- Stick to one or two fonts to maintain a clean look.
- Use larger sizes for headings and smaller sizes for body text.
A good rule of thumb is to choose typefaces that complement each other. This combination adds clarity and reinforces the blog’s theme.
Creating Your Featured Images in Easil
Designing featured images in Easil is a straightforward process. Users can easily navigate the platform, select templates, and optimize their images for various platforms. Here’s how it can be done effectively.
Navigating Easil’s Interface
Easil features a user-friendly interface. Once users log in, they are greeted with a dashboard that showcases their recent designs and available templates.
To start a new project, they can click on the “Create New” button. This opens a selection of customizable templates.
Key tools are located on the left sidebar, including options for adding text, images, and graphics. The top toolbar offers settings for saving and publishing designs. Familiarizing oneself with these tools is crucial for an effective design process.
Selecting Templates and Customizing Elements
Choosing the right template is essential for creating engaging featured images. Easil offers various templates tailored for blog posts, social media, and other uses.
After selecting a template, users can customize elements such as colors, fonts, and images.
For instance, they can click on any text box to edit the text directly. They can also adjust the size or style using options provided in the top toolbar.
Adding filters to images enhances visual appeal. Easil’s pre-set filters make this easy. Simply pick a filter from the Filters tool to transform the image drastically.
Optimizing Images for Different Platforms
Each social media platform has specific size requirements for images. It is important to tailor images accordingly.
For example, an image for Instagram might differ in size and format from one intended for Facebook.
Easil allows users to adjust dimensions easily. They can enter custom sizes or choose from pre-set dimensions for specific platforms.
Additionally, saving images in formats like PNG or JPEG ensures compatibility. Using a transparent background can enhance versatility, especially for layered designs.
Best Practices for Blog Image Design
Creating effective blog images involves more than just aesthetics. It’s crucial to balance visual appeal with technical considerations and ensure that images are accessible to all users. Here are key best practices to follow.
Balancing Visual Appeal with Load Times
A visually striking image can capture attention instantly. However, high-resolution images can slow down website loading times. This can frustrate visitors and lead to higher bounce rates.
To combat this, optimize images before uploading. Use tools like Easil to resize and compress images without losing quality. Aim for file sizes under 100 KB when possible.
Additionally, consider using the correct file format. JPEGs are great for photographs, while PNGs work well for graphics with fewer colors. Lastly, choose the right dimensions for your blog layout. A size of 1200 x 628 pixels often fits well across various platforms.
Ensuring Accessibility in Your Images
Accessibility is essential in blog image design. It ensures that everyone, including those with disabilities, can enjoy your content.
Use descriptive alt text for every image. This helps screen readers convey what the image depicts.
Aim for clear, concise descriptions that explain the image’s purpose, such as “A graphic showing the steps to create a blog post.”
Color contrast is another key factor. Images should be legible for users who are color blind or have low vision.
Use tools to check contrast ratios and make adjustments as needed.
Lastly, avoid using images solely for conveying important information. Always provide textual alternatives to ensure that all readers can understand your content fully.