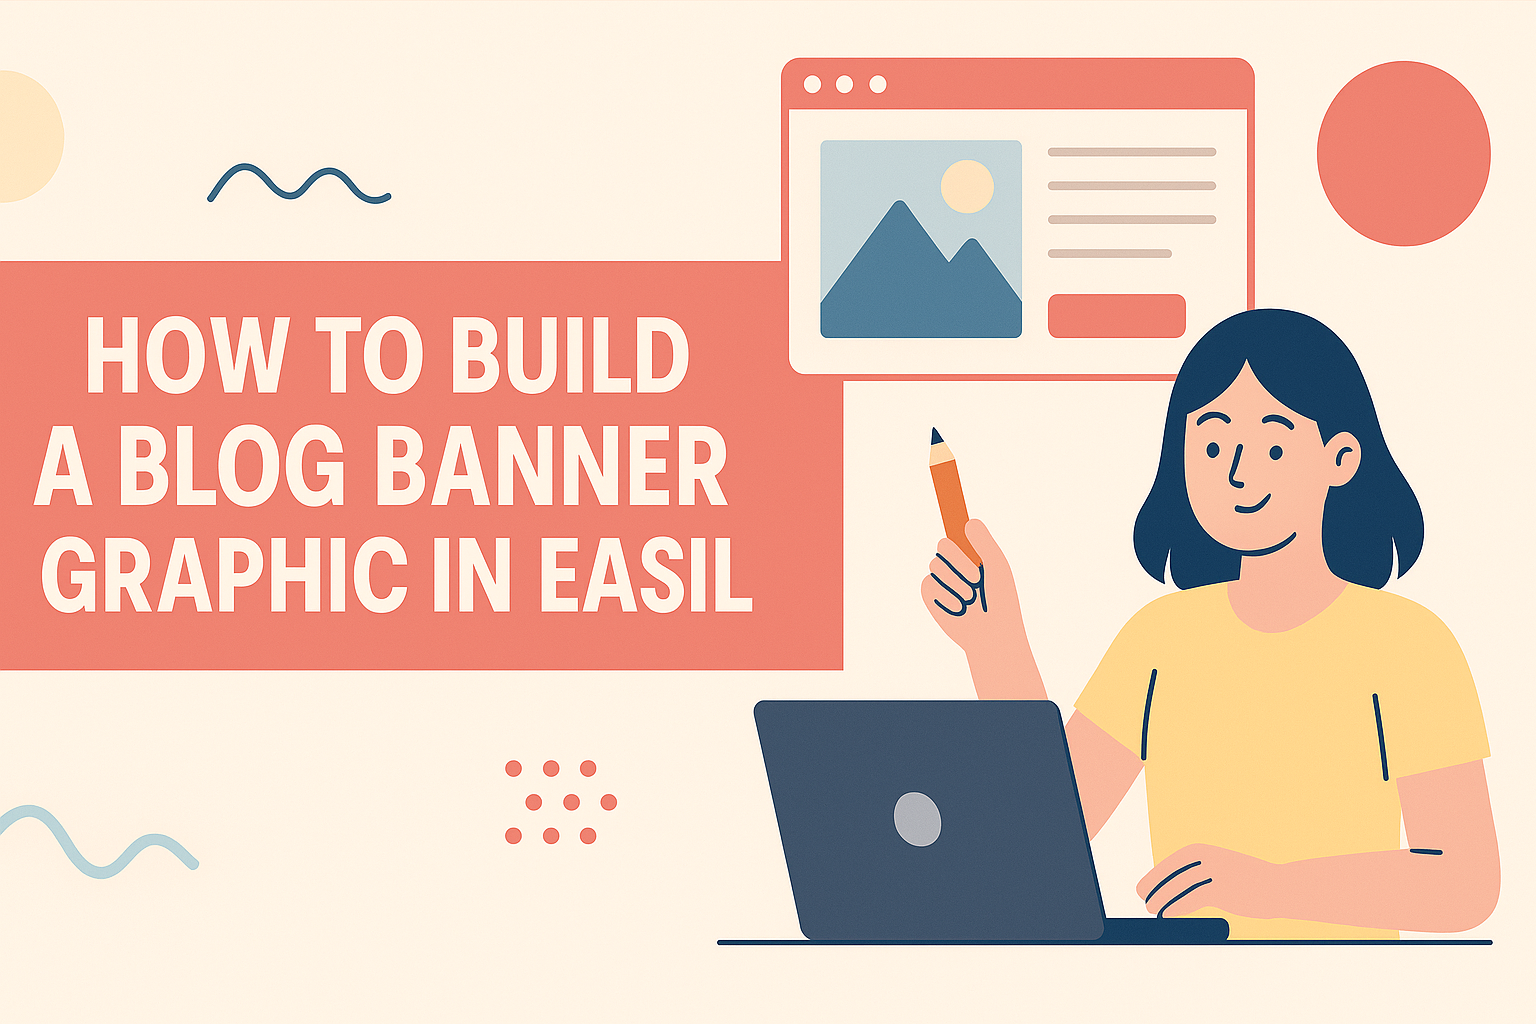
Creating an eye-catching blog banner graphic can set the tone for a blog and attract readers.
In Easil, building a stunning banner is simple and effective, allowing anyone to design like a pro in just a few steps.
With a wide range of templates and user-friendly tools, Easil makes it easy for beginners and experienced designers alike to craft the perfect visual.
Bloggers often overlook the importance of a well-designed banner, but it can make a significant difference in drawing attention to their content. Using Easil, they can customize colors, fonts, and images to match their brand and message.
This customization helps create a unique identity that resonates with their audience while maintaining professional quality.
Whether someone is promoting a new post or announcing an event, a visually appealing banner can enhance their message. Easil’s intuitive features mean that even those with little design experience can achieve impressive results quickly.
By following the simple steps outlined in the article, anyone can design a banner that stands out.
Understanding Blog Banner Graphics
Blog banner graphics are key visual elements that help capture attention and convey messages. A strong banner not only enhances the look of the blog but also serves specific functions, such as branding and communication. Below are important considerations for creating effective blog banners.
The Importance of a Strong Banner
A well-designed banner can significantly impact a blog’s first impression. It often serves as the first thing readers see, so it must grab their attention quickly. A strong graphic can communicate the blog’s purpose and establish credibility.
Different colors and images evoke various emotions. Therefore, choosing the right elements is essential for connecting with the target audience. Consistency in design across a blog helps in building brand recognition.
Additionally, a good banner can enhance shareability. When readers find a banner visually appealing, they are more likely to share the blog on social media. This increases exposure and can draw in more readers.
Standard Dimensions and Formats
Understanding the right dimensions and formats for blog banners is crucial for optimal display.
Common sizes for blog banners include 728×90 pixels for leaderboard ads and 1200×628 pixels for social sharing images.
File formats like JPEG, PNG, and GIF are commonly used. JPEGs are great for photographic images, while PNGs are better for graphics with text or logos due to their clear quality. GIFs can add animation but may not be suitable for all blogs.
It’s also important to consider responsive design. Banners should look good on both desktop and mobile devices. This ensures that readers have a pleasant experience, no matter what device they use.
Designing Your Blog Banner
Creating an engaging blog banner requires careful attention to color, imagery, and typography. These elements work together to attract readers and convey the blog’s message effectively.
Choosing a Color Scheme
Selecting the right color scheme is crucial for a blog banner. Colors have a strong impact on emotions and can set the tone for your content. Consider using a palette that aligns with your branding.
Primary Colors: Choose one or two primary colors that represent your blog’s theme.
Contrast: Use contrasting colors for text to ensure readability.
Trends: Look for current color trends that resonate with your audience. Websites like Canva and Adobe Express offer color palette generators that help in finding harmonious combinations.
Selecting the Right Imagery
Imagery plays a vital role in attracting attention. The images should be relevant and high-quality.
Types of Imagery:
- Photographs: Use real-life images that relate to your topic.
- Illustrations: Custom illustrations can give a unique touch.
Source Quality: Use royalty-free images or create custom graphics in tools like Easil or Canva.
Resolution: Ensure images are high resolution to avoid blurriness. Aim for at least 72 DPI for web use.
Typography Best Practices
Effective typography enhances readability and grabs attention. It’s important to choose fonts that reflect your blog’s style.
Font Selection: Stick to two or three fonts to maintain coherence.
Size and Weight: Use larger sizes for headlines and lighter weights for body text. The heading should be bold and clear.
Spacing: Good spacing between letters and lines improves readability.
Remember to consider accessibility when choosing colors and fonts. This will ensure that all readers can engage with your content.
Using Easil for Your Banner Creation
Easil offers a user-friendly platform for creating attractive banner graphics. With its intuitive interface and customizable templates, anyone can easily design an eye-catching banner for their blog.
Navigating the Easil Interface
When using Easil, users will first notice the clean and organized layout. The main dashboard displays several options like templates, colors, and graphics. To start creating, they can select “Create New Design” and choose the banner dimensions needed.
On the left side, there are various tools accessible to the user. These tools include text, images, and shapes. Each tool is easy to use; simply click, drag, and drop. Easil also provides a search bar to find specific templates quickly. This feature saves time and allows for a smooth design experience.
Customizing Templates in Easil
Easil provides many pre-designed templates perfect for banners. Users can choose a template that fits their style and purpose. Once selected, customizing is straightforward.
To modify a template, users can change colors, fonts, and images. Clicking on any part of the template opens options for editing. Users can also add their images or choose from Easil’s extensive library. For added creativity, text mask features allow the user to fill text with images or patterns. This unique approach can make their banner stand out.
Additionally, Easil allows for saving designs in various formats. Users can export their finished banners as JPEG, PNG, or PDF files. This feature ensures their banner is ready for online use or printing.
Exporting and Uploading Your Banner
After designing a blog banner graphic in Easil, it’s time to export and upload it to your blog. This process is important for maintaining image quality and ensuring the file size is manageable for web use.
Ensuring Image Quality
When exporting the banner, selecting the right file type is crucial. For blog banners, the most common formats are PNG and JPG.
PNG is preferred for images with text or logos, as it retains quality without losing details. JPG is suitable for photographs or more complex images, where slightly reduced quality isn’t noticeable.
In Easil, click on the “Download” button to see the available file types. Consider the dimensions of your banner as well. A resolution of 72 DPI is standard for web images, ensuring they load quickly without compromising clarity.
File Size Optimization
Optimizing file size is essential for faster loading times.
Large images can slow down a site, affecting user experience.
To reduce the file size, users can adjust the quality settings when exporting.
Easil allows for easy adjustments—choosing a balance between quality and size.
Another effective method is to use online tools like TinyPNG or ImageOptim after downloading the banner.
These tools can compress images without significant loss of quality.
Keeping the file size under 200KB is a good rule of thumb for faster uploads while maintaining good visibility.