Creating a thoughtful thank-you gift card can make any gesture of appreciation more special.
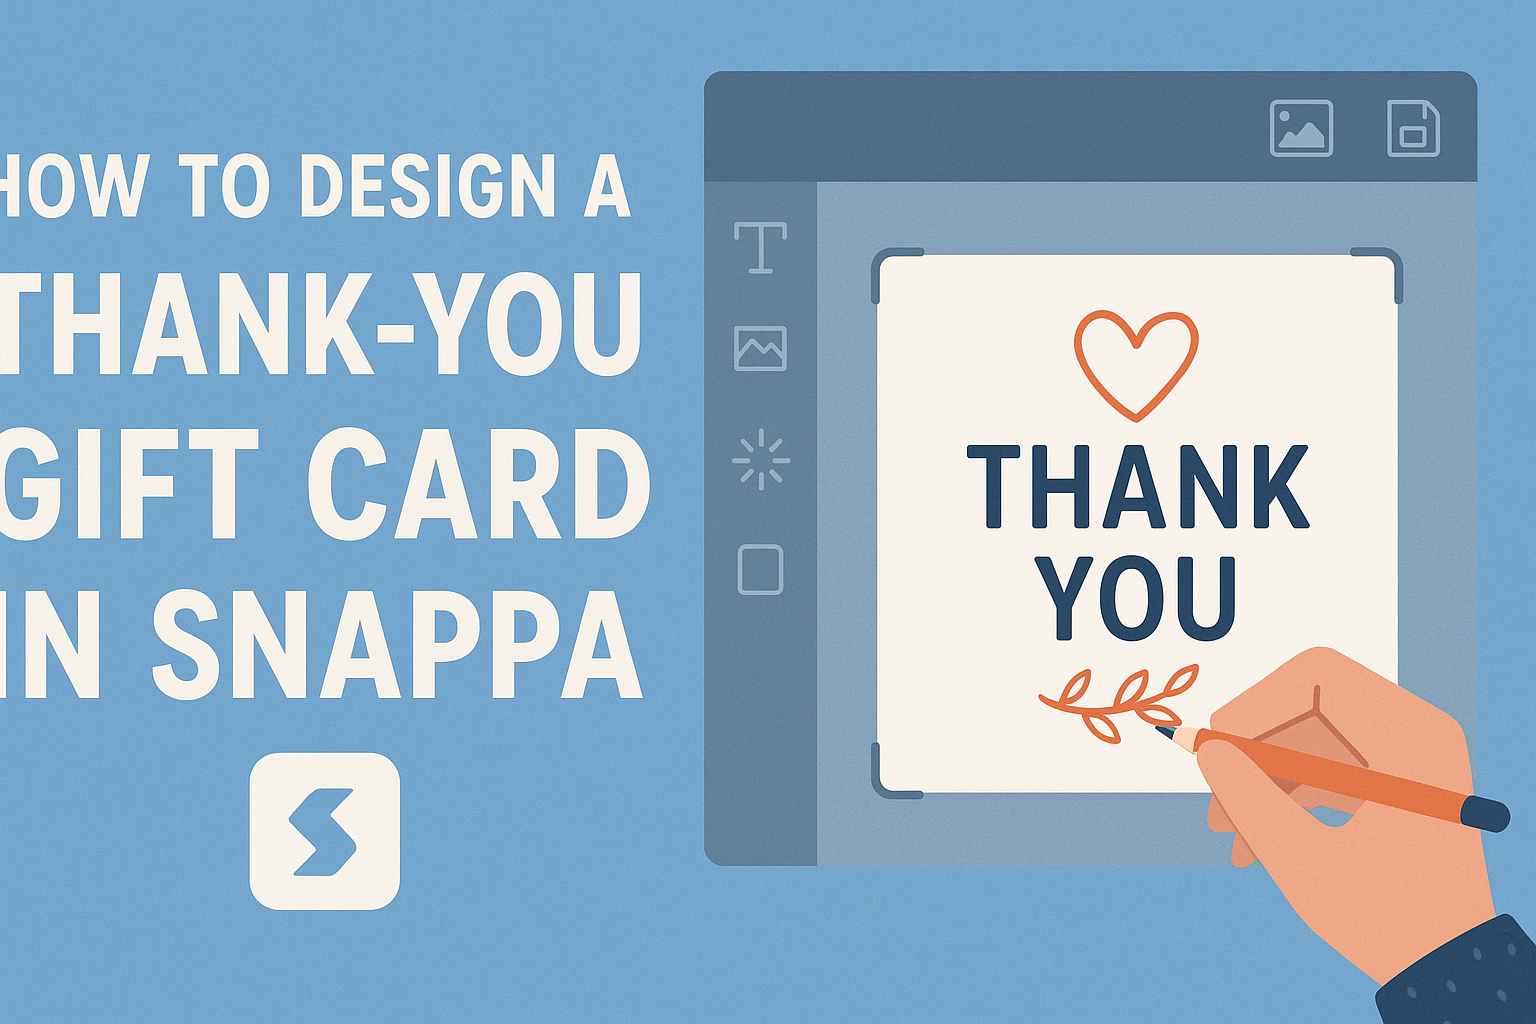
Using Snappa, anyone can design a personalized and eye-catching gift card in just a few simple steps. This graphic design tool offers user-friendly features that help bring unique ideas to life.
Whether it’s for a friend, family member, or colleague, a well-designed gift card shows that extra effort and care.
With a variety of templates and easy customization options, Snappa simplifies the process for even those with little design experience. It’s a fun way to express gratitude while showcasing creativity.
In this article, readers will discover how to navigate Snappa’s tools to create the perfect thank-you gift card. With clear instructions and helpful tips, they will gain the confidence needed to make something truly memorable.
Getting Started with Snappa
Learning how to use Snappa is easy and fun. This section covers how to sign up and what to expect from the dashboard, making the design process smooth and enjoyable.
Signing Up for Snappa
To start using Snappa, users need to create an account. They can sign up for free by visiting the Snappa website.
A valid email address is required, and users will receive a confirmation email. After clicking the confirmation link, they can log in to their new account.
Snappa also offers options to sign up using Google or Facebook for quicker access.
Once signed up, users will gain full access to Snappa’s features. This makes it easy to begin designing right away.
With a user-friendly interface, the platform is welcoming to both beginners and experienced designers.
Understanding the Dashboard
Once logged in, users will see the Snappa dashboard. This area provides all the tools needed for design projects.
Key features include:
- Templates: A wide selection of templates for various design types is available.
- My Designs: Users can view and manage their saved designs here.
- Graphics & Photos: Access to a library of images and graphics to enhance designs.
The dashboard is designed for easy navigation. Users can quickly locate what they need. Familiarizing themselves with this layout will help them find tools and resources efficiently, making it simpler to create stunning thank-you gift cards.
Design Fundamentals
Creating a thank-you gift card requires careful thought about design fundamentals. This includes selecting the right dimensions and choosing a template that fits the message and occasion.
Choosing the Right Dimensions
The dimensions of a gift card can greatly affect its overall impact.
Common sizes for gift cards include 3.5 x 2 inches for standard cards or 5 x 7 inches for larger, more decorative ones.
When designing, it’s important to consider the platform where the card will be used. If it’s for printing, choose high-resolution dimensions.
For digital cards, opt for dimensions that fit well on screens, such as 1080 x 1920 pixels, which works for most social media or email platforms.
Having the right dimensions ensures that the design appears clear, with all elements fitting neatly without overcrowding.
Selecting a Template
Using a custom template can save time and guide the design process. Snappa offers various templates tailored for thank-you gift cards.
When selecting a template, consider the theme of the occasion. For a simple thank-you, a clean and elegant design might work best. For more festive occasions, choose colorful and playful templates.
Each template in Snappa is editable, which means users can easily adjust colors, fonts, and images to fit their style.
Remember to match the template with the sentiment being conveyed. This way, the card will feel more personal and thoughtful to the recipient.
Customizing Your Thank-You Gift Card
Customizing a thank-you gift card allows for a unique touch that expresses gratitude effectively. This section covers how to add personalized text, incorporate brand elements, and adjust colors and fonts to create a card that truly stands out.
Adding Personalized Text
Personalized text is essential for making the thank-you gift card special.
You can start by selecting a heartfelt message that reflects your feelings. Using phrases like “Thank you for your support!” or “I appreciate you!” adds a warm touch.
Snappa offers text boxes where you can easily input your message. It’s important to keep the text clear and concise. Using a friendly tone will create a pleasant reading experience.
You might also consider adding the recipient’s name to make it more personal. Adjusting the text size will ensure it’s readable and well-placed on the card.
Incorporating Brand Elements
For a business thank-you card, incorporating brand elements is key.
This includes adding the company logo, colors, and specific taglines that represent the brand’s identity.
Including these elements helps maintain consistency across all marketing materials.
When you upload the logo to Snappa, it should be clear and in high resolution. Placing the logo at the top or bottom of the card allows it to stand out.
Using brand colors in backgrounds or text helps reinforce brand recognition. This not only makes the card look professional but also strengthens the connection with the recipient.
Adjusting Colors and Fonts
Colors and fonts play a significant role in the card’s appeal.
You can use colors that evoke the right emotions, like warm tones for gratitude. On the other hand, bright colors can energize the card, making it inviting.
In Snappa, there are various font options available. Choosing a friendly and readable font will enhance the overall look.
Mixing two contrasting fonts can create visual interest but should be done thoughtfully to avoid clutter. Ensuring the colors and fonts align with your message will make the thank-you card feel cohesive and engaging.
Finalizing and Downloading
Before finishing the design, it’s important to make sure everything looks perfect. This includes reviewing the overall design for any adjustments needed. Once satisfied, you will move on to exporting the final gift card for sharing or printing.
Previewing Your Design
The preview feature is essential for spotting any last-minute changes.
Before downloading, take a close look at your gift card layout, colors, and text placement.
It’s helpful to zoom in on specific areas to ensure all elements are clear and correctly aligned. Checking spelling and grammar is also crucial, as mistakes can detract from the card’s charm.
Additionally, using the preview can give a sense of how the card looks in its final form. Simple tweaks can make a big difference. Adjusting spacing and colors can enhance the visual appeal.
Exporting the Final Gift Card
Once everything looks good, it’s time to export the gift card. They can choose the file format that best fits their needs, such as PNG, JPG, or PDF.
Each format serves different purposes, so understanding the requirements is key.
For instance, PNG is great for sharing online due to its clarity. PDF is ideal for printing, as it maintains the card’s quality.
Lastly, before hitting the export button, the user can select the desired resolution.
A higher resolution is recommended for print quality, while lower settings may work well for digital sharing.
After finalizing these choices, the gift card is ready to be downloaded and enjoyed!