Creating a visually appealing pricing table can make a big difference in how customers perceive a product. Snappa makes this task simple and efficient, allowing users to design attractive pricing tables in just a few steps.
With a variety of templates and customization options, it’s easy for anyone to create a table that stands out.
Whether it’s for a website, brochure, or social media, a well-designed pricing table helps communicate value clearly. Snappa’s user-friendly interface ensures that even those without design skills can achieve professional results. This means more effective marketing and better engagement with customers.
In this article, readers will discover how to use Snappa to its full potential when crafting their pricing tables. They can learn about essential features, design tips, and tricks to make their tables visually striking and informative.
Understanding Pricing Tables
Pricing tables are essential tools that help businesses display their product options clearly. They guide customers in making informed decisions by showing the differences between plans or products in an easy-to-read format.
Importance of Pricing Tables
Pricing tables play a vital role in converting visitors into customers. They allow potential buyers to compare features, benefits, and prices at a glance. A well-designed pricing table can highlight the value of each option, making it easier for customers to see which choice suits them best.
Another key aspect is credibility. A neat and attractive pricing table can enhance a business’s reputation. Research shows that well-presented pricing information increases consumer trust. By focusing on visual appeal and clarity, businesses can encourage users to engage and ultimately make a purchase.
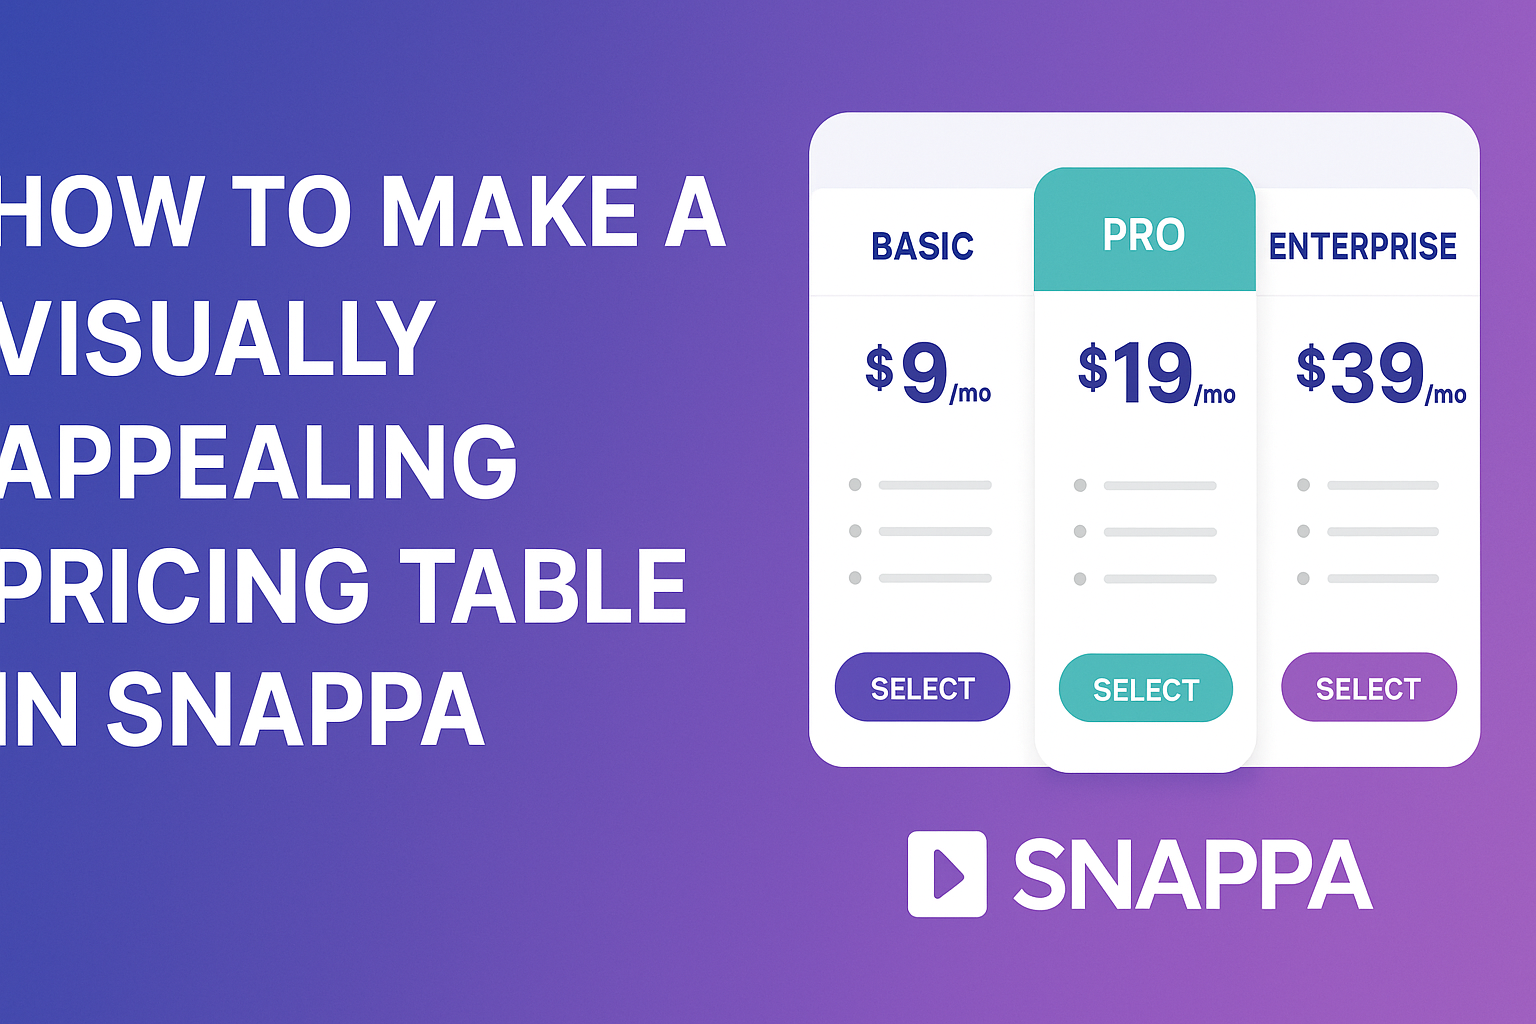
Elements of a Pricing Table
A strong pricing table includes several key elements.
First, clear headers identify each plan, making it instantly recognizable. Next, feature descriptions must clearly outline what each option includes, helping customers understand the differences.
Pricing details are crucial. Prices should stand out, potentially in bold or a larger font size. Adding buttons like “Buy Now” or “Get Started” in contrasting colors will direct users to take action.
Consider incorporating visuals. Icons or images can enhance comprehension and interest. It’s also helpful to highlight the most popular plan, encouraging users to consider that option.
Designing with Snappa
Creating a visually appealing pricing table in Snappa is simple and effective. With its user-friendly interface and powerful features, anyone can design a stunning table in just a few steps.
Getting Started with Snappa
To begin, the user needs to sign up for a Snappa account. This process is quick and requires only an email and password.
Once logged in, they will find a clean dashboard. From there, selecting “Create a New Graphic” is the first step.
Snappa offers various graphic types to choose from, such as social media posts or banners. For a pricing table, using a custom dimension or a template suited for web use would be ideal.
This sets the stage for an engaging design.
Selecting the Right Template
Choosing the right template is crucial for an appealing pricing table. Snappa provides numerous professionally designed templates tailored for pricing.
Filters can help narrow down options based on the desired style and layout. Users can preview each template to see how it fits their vision.
Once they find a suitable template, it can be easily customized. This flexibility allows users to make adjustments without starting from scratch.
Having a template saves valuable time, making the design process efficient and enjoyable.
Customizing Your Design
Customization is where creativity shines. After selecting a template, users can easily edit text, colors, and fonts.
They can replace placeholder text with their pricing information. Bold fonts might be effective for highlighting key features or prices.
Snappa also allows for the addition of icons or images. This enhances the design’s visual appeal and can make information clearer.
Adjusting backgrounds and spacing can create a balanced look. Ensuring the table is not overly cluttered helps readers focus on important details.
By using the intuitive tools, users can produce a professional-looking pricing table in no time.
Best Practices for Pricing Tables
Creating an effective pricing table is crucial for helping customers make informed decisions. Carefully considering elements such as offers, clarity, and design can significantly improve usability and appeal.
Highlighting Your Best Offer
To grab attention, it is essential to highlight the best offer in the pricing table. This can be done by using a different background color or a border that makes it stand out. For instance, if there are three plans, the most popular one can be emphasized by a bold outline or a bright color.
Additionally, he can use labels like “Best Value” to guide customers. This strategic placement can lead to a higher conversion rate as it naturally draws the viewer’s eye. Remember, the goal is to make it easy for potential buyers to see which option best suits their needs.
Simplifying Complex Information
Customers appreciate clarity. It’s important to keep the information in the pricing table simple and straightforward.
Bullet points can break down complex features, making it easier for readers to digest information quickly. He should avoid using technical jargon that may confuse users.
Instead, use simple language to describe each plan and its features. A clean layout with ample white space can help in reducing visual clutter. This way, customers can easily find what they need without feeling overwhelmed.
Using Visual Hierarchy
Visual hierarchy directs the viewer’s attention to the most important elements first. This can be achieved through size, color, and placement.
For example, larger fonts for prices can draw focus immediately to costs. Subtle color contrasts can help differentiate between plans. Tables should have clear headings and consistent spacing.
Using icons or images can also enhance understanding and retention. When done effectively, a good visual hierarchy leads customers to make decisions effortlessly.
Publishing and Testing Your Table
Once the pricing table is designed, it is important to publish and test it to ensure it performs well. Proper integration and testing can significantly improve user experience and conversions.
Integrating with Your Website
To start, the pricing table must be integrated seamlessly into the website. This could involve embedding it directly through HTML or using a plugin.
Here are some steps to consider:
- Choose the Right Format: Ensure the pricing table matches the website’s design.
- Responsive Design: Confirm that it displays well on mobile and desktop devices.
- Positioning: Place the table in a prominent spot where users can easily see it.
After integration, it’s wise to check for any visual issues or loading delays. Making sure the table is user-friendly will guide visitors towards conversions.
A/B Testing for Conversion Optimization
A/B testing helps determine which version of a pricing table works best. This method involves creating two or more versions of the table and showing them to different users.
Key points for effective A/B testing:
- Identify Metrics: Common metrics include clicks, sign-ups, and purchases.
- Test Different Elements: Change one element at a time, such as pricing, colors, or call-to-action buttons.
- Analyze Results: After gathering data, assess which version performs better. This insight can help make informed adjustments.
By continually testing and refining, a business can optimize its pricing table for better conversion rates.