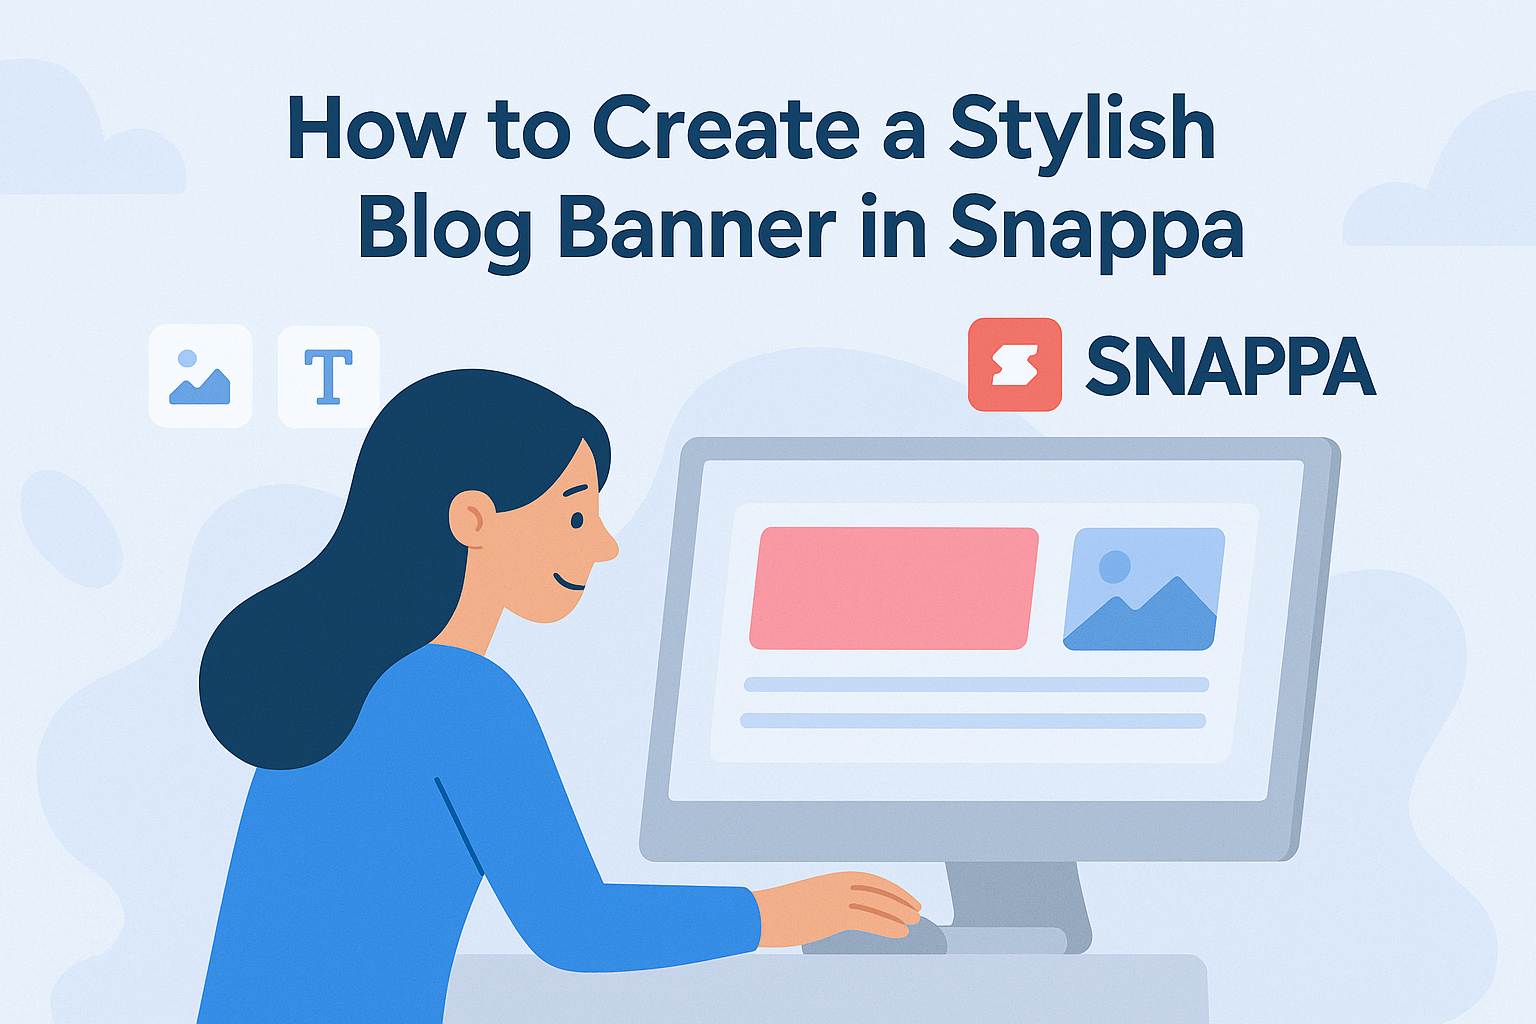
Creating a stylish blog banner is easier than it seems, especially with tools like Snappa.
With its user-friendly interface and a wide range of customizable templates, anyone can design a professional-looking banner in just a few simple steps. This allows bloggers to capture their audience’s attention immediately.
Using Snappa, one can start by selecting the right dimensions for their specific needs. They can choose from hundreds of templates or create their own design from scratch.
This flexibility helps in crafting a banner that truly reflects the personality and style of the blog.
Incorporating high-quality images and graphics will elevate the banner even further. Snappa provides access to free stock photos and design elements that can enhance the visual appeal.
Emphasizing a unique design makes a blog more inviting and engaging for readers.
Getting Started with Snappa
Getting started with Snappa is easy and straightforward.
Users will create an account and then navigate the dashboard to begin designing their blog banners. Here’s how to do it step by step.
Creating an Account
To begin using Snappa, a user must create an account.
Visit the Snappa website and click on the sign-up button. Users can register using their email addresses or connect with Google or Facebook for a faster setup.
After entering the required details, they will receive a confirmation email. Clicking on the link in the email activates the account.
Once registered, users can access Snappa’s free features and explore various design templates immediately. A paid plan is also available for those who want extra features.
Navigating the Dashboard
Once logged in, users will see the Snappa dashboard. It is clean and user-friendly, making it easy to locate needed tools.
The top menu includes options such as “Templates,” “Graphics,” and “Text.”
Users can start by selecting a template based on the desired size, such as social media posts or email headers. Clicking on a template opens the editor, where users can customize various elements like colors, fonts, and images.
To find stock photos or graphics, the search bar on the right side is handy. Here, users can input keywords to find the perfect images for their banners.
Utilizing these features makes designing a stylish blog banner simple and enjoyable.
Designing Your Blog Banner
Creating a blog banner requires thoughtful design choices. This section covers the essential steps to make a stylish and effective banner that captures attention.
Choosing the Right Dimensions
Correct dimensions are critical for a blog banner. The typical size is around 1200 x 628 pixels for a standard blog header. This size fits well on most blogging platforms.
Before starting, it’s wise to check specific dimension recommendations from the platform being used. Some sites may have unique requirements.
A well-proportioned banner ensures the visuals appear clear and engaging.
Snappa makes it easy to set dimensions using preset options. Users can select the needed size from a dropdown menu, which saves time.
Properly sized banners look professional and maintain the blog’s visual appeal.
Selecting a Template
Starting with a template simplifies the design process. Snappa offers a wide variety of customizable templates suited for different blog styles.
Choosing a template that matches the tone of the blog is crucial. For instance, a lifestyle blog might benefit from vibrant and playful designs. In contrast, a tech blog may require a more modern and sleek appearance.
Templates save time and provide a solid framework to build upon. Users can mix and match elements, allowing for personal touches without starting from scratch.
Customizing Images and Graphics
Custom images and graphics add a personal flair to the banner. Snappa offers access to a library of stock photos and illustrations.
When selecting images, consider relevance to the blog’s content. High-quality visuals create a strong first impression. Users should also ensure images align with the overall style of the blog.
Incorporating graphics, like icons or logos, enhances brand identity. Snappa allows users to easily drag and drop these elements into their designs. This simple action can transform a basic banner into something eye-catching.
Playing with Fonts and Text
Text is a key component of any banner design. Selecting the right font can convey the blog’s message effectively. Snappa provides a wide range of font options to choose from.
When opting for fonts, legibility is essential. Users should ensure text stands out against the background. Bold or contrasting colors can help achieve this.
Using a mix of font sizes adds visual interest. For instance, the blog title can be larger, while a tagline uses a smaller font. This variation creates a clear hierarchy of information, making it easy for viewers to grasp the main idea at a glance.
Refining Your Design
To create an eye-catching blog banner, it’s essential to use advanced tools for editing and to thoughtfully apply color schemes and filters. These steps can elevate the overall look and effectiveness of the banner.
Using Advanced Editing Tools
Snappa offers various editing tools to refine a design. Users can adjust size, position, and shapes easily.
Aligning elements helps create a balanced layout, making the banner visually appealing.
Layering is another useful feature. It allows users to bring certain elements to the front or send them to the back. This is important for achieving depth in the design.
Adding custom graphics can enhance the banner. Designers can use icons or shapes that relate to their blog’s topic. Snappa makes it easy to drag and drop these elements, enhancing creativity and customization.
Applying Color Schemes and Filters
Choosing the right color scheme can dramatically affect a banner’s impact. Snappa provides preset palettes that help maintain color harmony. Another option is to create a custom palette that matches the blog’s branding.
Applying filters can also give a unique touch. For instance, a subtle blur can create a dreamy effect, while brightness adjustments can make colors pop. Users should experiment with different filters to find the perfect look for their banner.
Contrasting colors help key elements stand out. It’s best to use bold hues for text against softer backgrounds. This ensures readability and draws attention where it’s needed most. With the right mix of these techniques, users can refine their banner design effectively.
Saving and Exporting
When creating a blog banner in Snappa, saving and exporting are key steps. These actions ensure the design is stored correctly and is ready for use on various platforms.
Export Options
Snappa provides several export options for users.
After completing the design, clicking the download button in the graphic editor is crucial. Users can choose from different file types, such as PNG, JPG, or even PDF.
For online use, a PNG format is often preferred because it offers a clear image with a transparent background if needed. JPG can be good for photographs but may lose some quality.
Selecting the right format helps maintain the design’s integrity for the intended platform.
Additionally, users can select the desired image size when exporting.
It’s important to choose dimensions that fit the specific requirements of the blog or social media platform where the banner will be displayed.
Sharing Your Banner
After saving the banner, sharing it is the next step.
Snappa allows users to share designs directly through social media or email. To do this, they can click on the share icon for quick access.
They will also find options to copy a link to the banner or post it directly on platforms like Facebook and Twitter.
This makes it easy to get feedback or collaborate with others.
For those who prefer to keep it simple, saving the banner to their device allows for easy access later.
They can simply upload it wherever needed, ensuring that the beautiful banner is showcased effectively everywhere.