Designing a transparent business card can elevate a professional’s image and make a lasting impression.
Creating an eye-catching card in Gravit Designer is simple and allows for both creativity and professionalism. With its user-friendly interface and powerful tools, even beginners can achieve stunning results.
In this blog post, readers will discover step-by-step instructions for crafting a transparent design that stands out.
Whether starting from scratch or using existing templates, Gravit Designer provides the flexibility needed to personalize every detail. By the end, they will understand how to make a business card that truly reflects their brand.
The process will cover essential techniques such as layering, transparency adjustments, and exporting the final design. With these skills, anyone can produce a unique card that captures attention and leaves a memorable impact.
Understanding Gravit Designer
Gravit Designer is a versatile design tool that provides users with an intuitive platform for creating graphics. Familiarizing oneself with its features and workspace can enhance the design process significantly.
Exploring the Workspace
The Gravit Designer workspace is designed with user-friendliness in mind.
At the top, users find the menu bar, which contains essential functions like opening, saving, and exporting files.
On the left side, there is a panel with various tools for selection, shape creation, and text. The right panel offers options for layers, styles, and properties, allowing users to organize their projects effectively.
By utilizing the workspace efficiently, designers can streamline their workflow and access all necessary features easily.
It’s important to explore these elements to maximize productivity.
Tools and Their Functions
Gravit Designer offers a range of tools that cater to various design needs.
The Selection Tool allows users to select and manipulate objects quickly. Meanwhile, the Shape Tool enables the creation of basic geometric shapes like rectangles and ellipses.
With the Pen Tool, users can draw custom paths, while the Text Tool facilitates easy text insertion and formatting. Additionally, the Raster Tool is useful for editing images.
Understanding these tools helps users choose the right one based on their project requirements, making the design process smoother.
Setting Up a New Project
Creating a new project in Gravit Designer is straightforward.
First, users can click on the “New Design” button in the menu.
A dialog box will prompt users to set their desired dimensions. For a business card, a common size is 3.5 x 2 inches.
Users can also choose the orientation and the color mode, whether RGB for digital use or CMYK for printing. This step is critical for ensuring that the designs will look correct in their final form.
With everything set up, users are ready to jump into the design phase and explore their creativity.
Designing the Business Card
Creating a transparent business card involves careful attention to dimensions, design elements, and text placement. Each step is crucial for making the card both visually appealing and functional.
Choosing the Right Dimensions
Selecting the correct dimensions for a transparent business card is essential. The standard size is typically 3.5 x 2 inches, but designers can adjust this based on personal style or branding needs.
It’s important to set up the project in Gravit Designer with these dimensions from the start. This ensures that all design elements fit perfectly.
Additionally, consider leaving a slight margin around the edges to avoid cutting off important visuals during printing.
Always check with printing services for any specific size requirements or recommendations. This will help in producing a professional-looking card.
Adding Backgrounds and Layering Elements
When designing a transparent business card, layering elements adds depth. A clear background can showcase unique colors and textures, enhancing the overall look.
Using Gravit Designer, creators can easily add colored layers or patterns behind the transparent card. Adjusting opacity levels will allow for a more subtle integration of colors without overpowering the design.
Consider using contrasting colors that complement the card’s intended message. This makes the text and graphics pop against the transparency. Also, think about the placement of each layer to create a balanced design.
Importing and Managing Text and Graphics
Text and graphics are integral to any business card. When importing these elements into Gravit Designer, it’s crucial to maintain quality. Use high-resolution images to prevent pixelation when printed.
When managing text, choose fonts that are clear and easy to read. Stick to two or three fonts to keep the design cohesive.
Designers can also utilize the alignment tools in Gravit Designer to ensure everything is perfectly placed. Proper spacing between text and graphics will make the information easier to digest. Remember, less can often be more in design, especially with transparency involved.
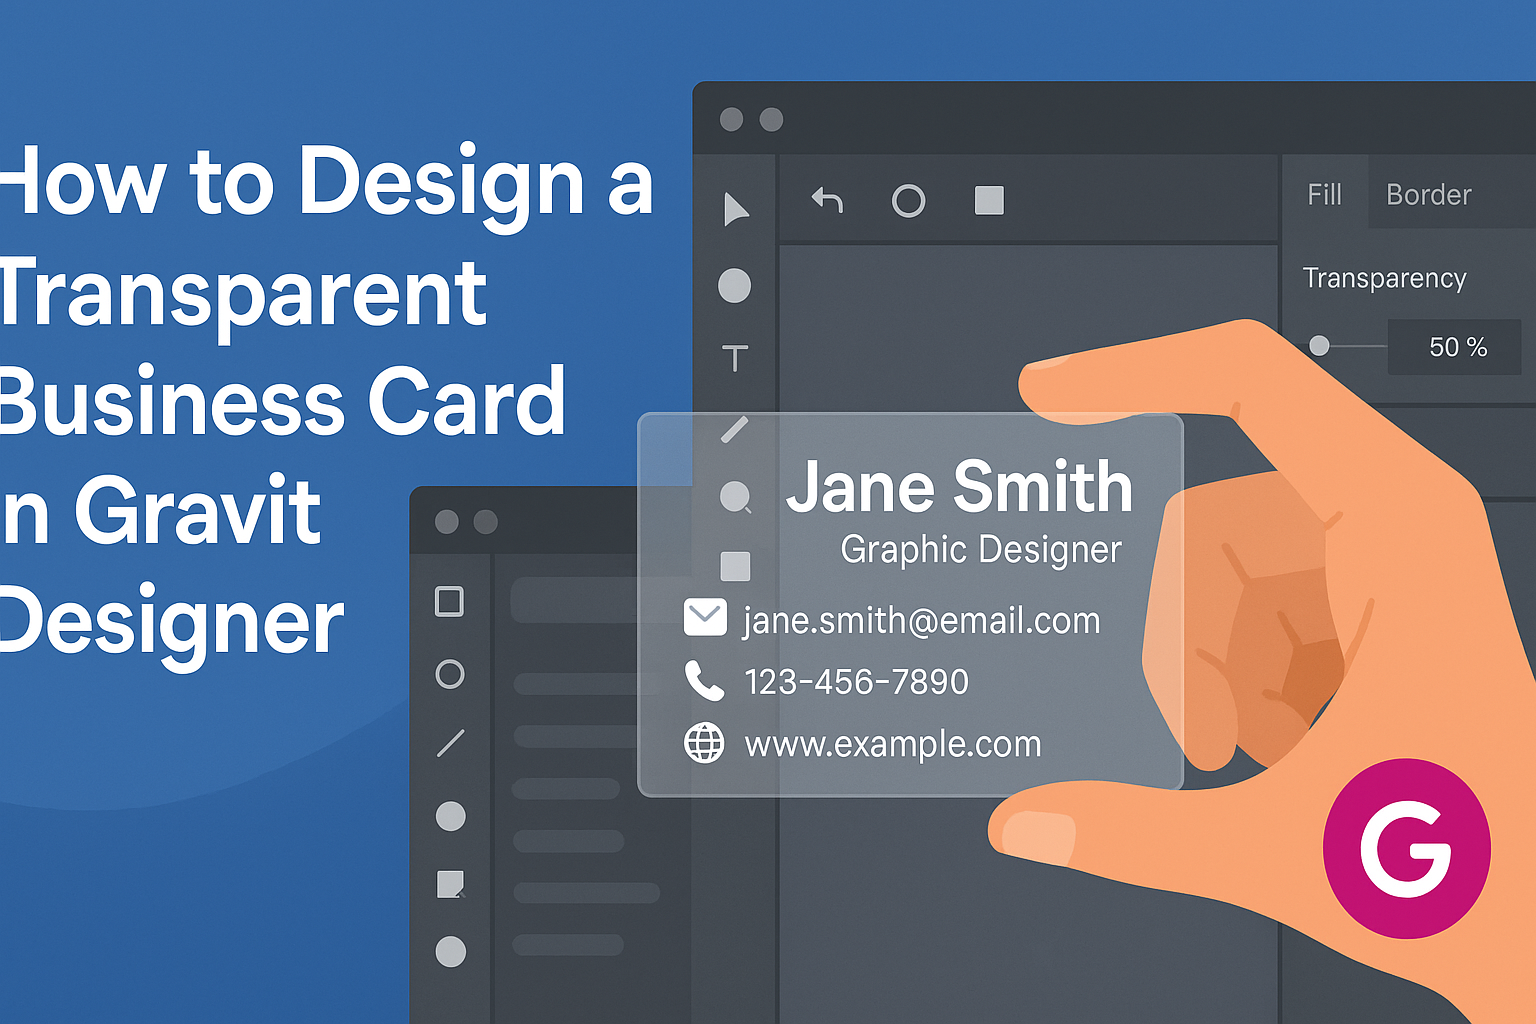
Applying Transparency Effects
Transparency effects can elevate the design of a business card. By using opacity controls and blending modes, designers can create striking visuals that stand out.
Utilizing Opacity Controls
Opacity controls are essential for designing transparent business cards. They allow designers to adjust how clear or see-through an element appears.
To use opacity in Gravit Designer, follow these steps:
- Select the element.
- Locate the opacity slider in the properties panel.
- Move the slider left to decrease opacity or right to increase it.
Adjusting opacity can help create layers. It lets part of the design show through, adding depth and interest. For example, a logo can have reduced opacity to not overshadow contact information.
A good starting point for opacity is around 70-80% for subtle effects. Experimenting within this range helps find the right balance for each design.
Experimenting with Blending Modes
Blending modes provide unique effects by altering how colors interact with each other.
They can significantly influence the look of a transparent business card.
In Gravit Designer, blending modes are accessible in the same properties panel. Here are some common modes to experiment with:
- Multiply: Darkens colors, useful for adding depth.
- Screen: Lightens colors, creating brighter images.
- Overlay: Combines both effects for a balanced result.
To apply a blending mode, select the element and choose a mode from the dropdown menu.
Testing out several modes can lead to surprising, creative results.
These simple adjustments can provide a professional touch.
Designers can create cards that leave a lasting impression with a little trial and error.