Creating a custom packaging box mockup can be an exciting project for designers. With Affinity Designer, he can easily bring his ideas to life and showcase his designs in a professional manner.
This guide will walk him through the essential steps to create a stunning mockup that enhances his branding and presentation.
Using the right tools and techniques is crucial for achieving a polished look. By following the process laid out in this article, she will learn how to incorporate special finishes and details that make her packaging stand out.
Whether he is preparing for a presentation or simply wants to impress clients, a custom mockup can make a significant difference.
Getting started is easier than it may seem. With a few simple techniques in Affinity Designer, they can create a beautiful representation of their product packaging.
This will not only help in visualizing the final product but also in marketing efforts.
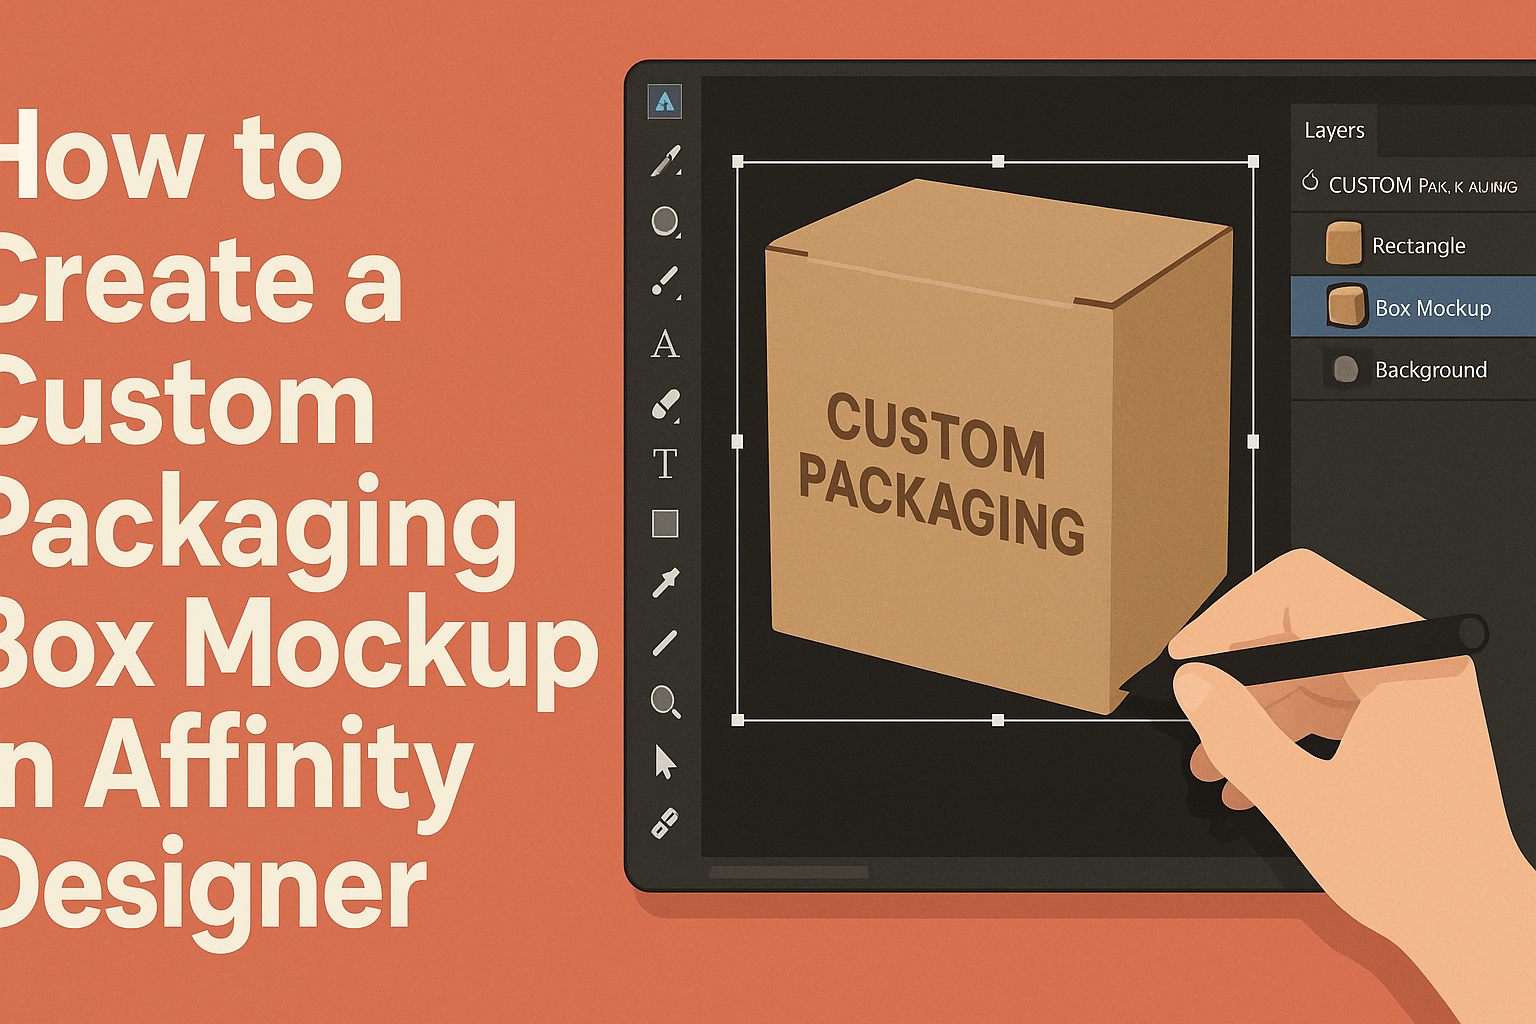
Getting Started with Affinity Designer
Affinity Designer is a powerful tool for creating custom packaging mockups. Understanding its system requirements, user interface, and how to set up the workspace will help streamline the design process.
System Requirements and Setup
Before installing Affinity Designer, it’s essential to check the system requirements. For Windows, the minimum requirement is Windows 10, while macOS users need at least macOS 10.7.
The software requires at least 2GB of RAM, though 4GB or more is recommended for better performance. A dedicated graphics card is also beneficial, especially for complex designs.
Users can download Affinity Designer from the official website. Once installed, he or she should update the software to the latest version to access new features and fixes. After installation, users can activate the software with a purchased license.
Familiarizing with the Interface
Understanding the Affinity Designer interface is crucial for efficient design work. The main components include the Toolbar, Context Toolbar, Studio Panels, and Canvas.
The Toolbar at the top contains tools for selection, shapes, and text. The Context Toolbar changes based on the selected tool, offering options tailored to each task.
Studio Panels on the right provide access to colors, layers, and other essential features. He or she can customize the workspace by moving panels around or collapsing them for better visibility.
A helpful tip is to explore the ‘Help’ menu for tutorials and guides specific to different tools.
Setting Up Your Workspace and Artboards
Setting up the workspace efficiently can enhance productivity. Users can adjust the layout according to individual preferences.
To begin, open a new document by selecting the correct size for the packaging box. Designer allows the creation of multiple Artboards within a single document, making it easy to design different views or components.
Under the Document Setup menu, choose the desired dimensions and units. For packaging mockups, common sizes include A4, A3, or custom dimensions based on needs.
It’s also helpful to set up guides to ensure elements align correctly. Using grids can make the design process smoother.
With the workspace tailored to his or her preferred style, designing custom packaging becomes a more comfortable and enjoyable experience.
Designing Your Packaging Box
Creating an appealing packaging box involves careful planning and execution. Key aspects include choosing the right dimensions, using layers and shapes effectively, and applying colors and textures that resonate with the desired brand image.
Choosing the Right Dimensions
Selecting the right dimensions is crucial in packaging design. Start by determining the product’s size and shape. Accurate measurements ensure the box fits perfectly, avoiding damage to the contents.
To get dimensions, measure the height, width, and depth of the product. This helps in visualizing the box structure.
For custom boxes, consider the material thickness. It affects the final size of the box, so adjust dimensions accordingly to achieve a snug fit.
Working with Layers and Shapes
Layers and shapes give depth to the design. Begin by creating the box shape in Affinity Designer. Use the rectangle tool to form the base, then build the sides.
Adding different layers for graphics and text is helpful. This keeps elements organized and allows for easy adjustments.
Experiment with shapes to add unique features, like cut-outs or dividers. This enhances both appearance and functionality.
Using these techniques, creators can develop intricate designs that stand out.
Applying Colors and Textures
Colors and textures play a vital role in making the packaging appealing. Start by choosing a color palette that aligns with the brand image.
Utilize color theory to evoke specific feelings. For instance, warm colors can create excitement, while cool colors can suggest calmness.
Textures can add a tactile dimension to the design. Use patterns or gradients for visual interest. Affinity Designer offers various tools to apply these effects easily.
Incorporating logos and text in contrasting colors helps them stand out. This draws attention to essential information and enhances brand recognition.
By focusing on these aspects, the packaging can effectively capture the brand’s essence and attract customers.
Adding Details and Finishing Touches
Once the basic structure of the packaging box mockup is complete, it’s time to enhance it with essential details. This includes adding graphics, logos, and applying effects to make the design stand out. Each step is crucial in preparing the mockup for presentation.
Incorporating Graphics and Logos
He should begin by importing any graphics or logos into Affinity Designer. This can be done by dragging and dropping files directly into the workspace.
Using the Place Image function helps in positioning elements accurately. He can resize or rotate them to fit the design perfectly.
To ensure the logo blends well, it’s wise to use Opacity settings for a subtle overlay.
Adding textures or patterns can also enhance the visual appeal. Layer styles, like shadows or glows, can add depth.
Keeping brand colors in mind is important for maintaining a cohesive look.
Utilizing Effects and Adjustments
After adding graphics, applying effects can elevate the mockup’s quality. He can explore Layer Effects in Affinity Designer to create a polished finish.
For instance, adding a slight shadow can provide contrast and dimension. Using the Gaussian Blur effect will soften harsh edges, making designs more appealing.
Adjusting the brightness and contrast can also improve the overall look. He should constantly compare adjustments to the original design to ensure everything aligns well.
Consider using Color Overlay options to unify colors that may stand out too much. These small adjustments lead to a more professional appearance.
Preparing for Mockup Presentation
Preparation is key before showcasing the mockup.
He should group layers logically to keep the workspace organized.
Export the final design in formats like PNG or JPEG for easy sharing.
It’s best to check the resolution to ensure high quality when viewed.
When presenting, a clean background can make the mockup more impactful.
He might choose a simple color or gradient that won’t distract from the packaging design.
Using a mockup template can also help visualize how the box will look in real life.
Finally, reviewing the design for any last-minute tweaks is a smart move before finalizing.