Creating custom illustrations can enhance any presentation, making it more engaging and visually appealing. PowerPoint’s drawing tools allow users to easily design unique shapes and graphics that match their ideas and themes.
From basic shapes to freehand drawing, these tools offer a range of options for creativity.
Whether they are aiming for a polished look or a fun doodle style, anyone can find something that suits their needs. By learning how to use the various drawing features, users can transform standard slides into eye-catching visuals.
Embracing these capabilities turns PowerPoint into a powerful design tool.
This blog post will guide users through the process of creating custom illustrations, explaining how to make the most of PowerPoint’s features. With clear steps and helpful tips, readers will discover how simple it is to bring their ideas to life.
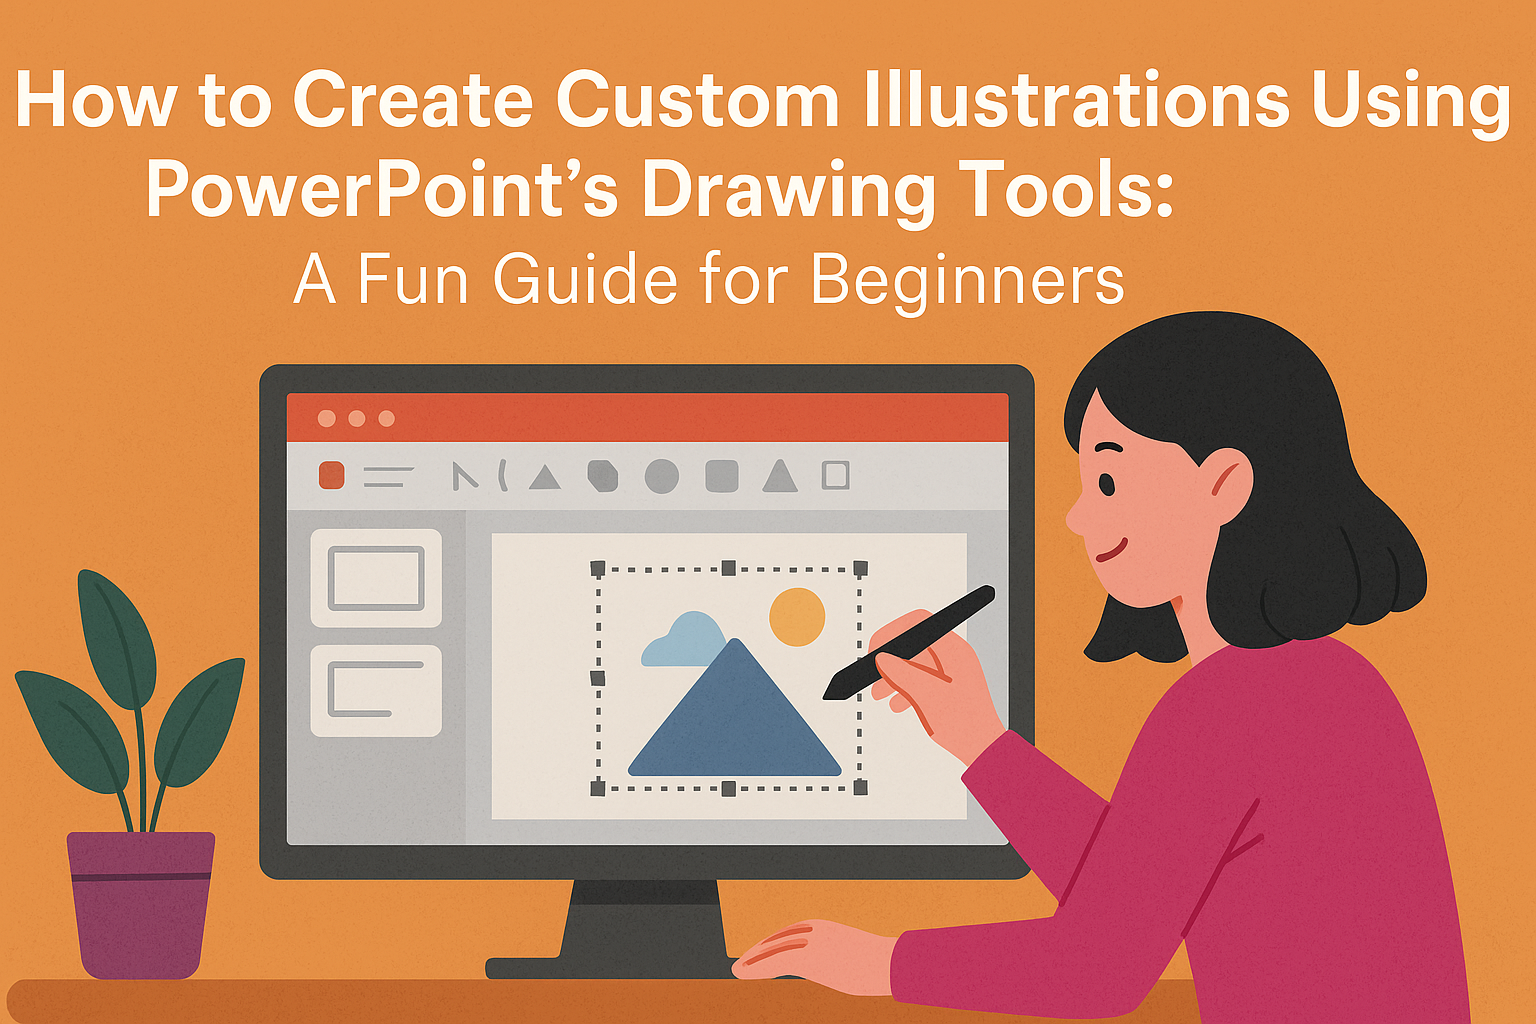
Getting Started with PowerPoint
Starting with PowerPoint can be exciting, especially for those looking to create custom illustrations. Understanding the interface, setting up the workspace, and accessing the drawing tools are crucial steps for a smooth experience.
Understanding the Interface
PowerPoint has a user-friendly interface designed for ease of navigation. The main components include the Ribbon, Slides Pane, and the Slide Area.
The Ribbon at the top contains tabs like Home, Insert, and Design, each with specific tools.
The Slides Pane on the left shows all slides in the presentation. This allows users to easily switch between slides to edit or view content.
The Slide Area is where the current slide is displayed, and users can work on graphics and text directly.
Setting Up Your Workspace
To maximize efficiency, it’s important to set up the workspace. This starts by selecting a blank presentation or a template that suits the project. The layout can be customized to show only the necessary tools.
Users can also adjust the size of the Slides Pane by dragging its edge. Additionally, setting the view to “Normal” allows for a clear look at both the slide and the outline of the presentation.
This set-up aids in better organization of ideas and visuals.
Accessing Drawing Tools
Accessing drawing tools is straightforward. Users can find these tools under the “Insert” tab in the Ribbon. Here, the “Shapes” button reveals a dropdown menu with various shapes like rectangles, circles, and lines.
Selecting a shape and clicking on the slide allows users to draw directly. After inserting a shape, options appear for customization, including fill color and border styles.
PowerPoint also offers tools like “Text Box” to add written elements easily, enhancing the overall design.
Basic Drawing Techniques
Learning basic drawing techniques in PowerPoint can significantly enhance custom illustrations. Understanding how to select shapes, utilize freeform tools, and apply colors and effects is essential for creating visually appealing designs.
Selecting Shapes and Lines
PowerPoint offers a variety of shapes and lines that can add structure to illustrations. To select a shape, the user clicks on the Insert tab and then selects Shapes. A dropdown menu appears, showcasing options like rectangles, circles, and arrows.
Once a shape is chosen, it can be inserted by clicking and dragging on the slide. The user can also adjust the size later by dragging the corners. Lines can be drawn similarly by choosing from the line options in the same menu.
Proper alignment and spacing can create a seamless look. Using the Align and Distribute tools under the Format tab helps arrange shapes evenly.
Utilizing Freeform Tools
The Freeform tools in PowerPoint allow for creative freedom when creating unique shapes. Users can find the Freeform tool under the Shapes menu. This tool combines the functionalities of the Curve Tool and the Scribble Tool.
To draw, a user can click to create points or click and drag for a freehand style. This flexibility enables the design of custom shapes that may not be available in standard options.
It’s a great way to add details or unique designs. Regular practice with these tools can improve skills over time and lead to more intricate designs.
Applying Color and Effects
Adding color and effects can make illustrations stand out. Once a shape is drawn, selecting it will show the Shape Format tab. Users can change the fill color and outline by choosing options from the Shape Fill and Shape Outline.
For added depth, effects like shadows and reflections can be applied. This can easily be done from the Shape Effects menu.
Color choices should complement the illustration’s theme. Simple color combinations can create a professional look. Using the Eyedropper tool allows precise color matching to existing elements, ensuring a cohesive design.
Advanced Drawing Functions
PowerPoint offers advanced drawing functions that enhance the creation of custom illustrations. These features empower users to combine, customize, and align shapes with precision.
Grouping and Layering Objects
Grouping allows the user to combine multiple objects into a single unit. This makes it easier to move, resize, or format them as one.
To group objects, select the shapes needed, right-click, and choose “Group.” Users can also use the “Format” tab and click on “Group” in the Arrange section.
Layering shapes is just as important. It lets users control which objects appear in front or behind others. They can right-click an object, hover over “Send to Back” or “Bring to Front,” and choose the desired option.
This functionality is crucial for creating depth in illustrations.
Customizing Shapes
Customizing shapes gives users creative freedom. After inserting a shape, they can use the “Shape Format” tab to adjust its appearance. Options include changing fill color, outline color, and effects such as shadows or reflections.
For more tailored designs, users can right-click on a shape and select “Edit Points.” This feature lets them modify the basic shape into a unique design by adjusting individual points.
It’s perfect for creating custom outlines and curves, helping to develop original illustrations.
Using Grids and Guides
PowerPoint includes grids and guides to assist in alignment. Activating the grid helps users maintain consistent spacing across the design.
Grids can be turned on through the “View” tab, allowing for accurate placement of elements.
Guides are also beneficial. Users can drag vertical or horizontal lines from the rulers for precise alignment. These guides can be moved or removed as needed.
Having a clear layout supports effective design organization, resulting in more polished custom illustrations.
Creating Consistent Illustrations
Creating consistent illustrations in PowerPoint is essential for a polished look. Careful attention to alignment, complexity, and style can enhance the effectiveness of the visuals. Here’s how to make those illustrations work together seamlessly.
Aligning and Positioning Elements
Proper alignment is key to making illustrations visually appealing. Gridlines and guides in PowerPoint help achieve precise placement of shapes and lines.
- Use Snap to Grid: This feature helps snap elements to the nearest grid line, ensuring that everything is neatly arranged.
- Centering Shapes: To center a shape, select it, then use the “Align” tool to center it vertically and horizontally on the slide.
Consistent spacing between elements contributes to a cohesive look. Keeping uniform margins around shapes helps maintain a balanced layout.
Creating Complex Illustrations
Complex illustrations can be made from simpler shapes. By combining various shapes, users can create more intricate designs.
- Group Elements: After combining shapes, group them so that they move as one. This keeps the design intact when adjustments are made.
- Layering Shapes: Use layering techniques to overlap shapes and add depth. For example, placing a semi-transparent circle over another can create interesting effects.
Utilizing colors and effects uniformly across shapes enhances complexity without making the design feel cluttered.
Maintaining a Unified Style
A unified style helps illustrations feel like part of a whole. Choosing a consistent color palette helps achieve this goal.
- Select a Limited Color Palette: Limit colors to three or four that complement each other well. Consistent use of these colors throughout illustrations gives a unified appearance.
- Use Similar Shapes: Stick to specific types of shapes or styles (like rounded edges or sharp corners) to create harmony.
Applying the same line weights and styles also improves consistency. If an outline is used on one shape, it should appear on all similar shapes for coherence.
Tips and Tricks
Creating custom illustrations in PowerPoint can be easier and more fun with some helpful techniques. These tips will help improve efficiency, streamline designs, and enhance visuals effectively.
Shortcut Keys for Efficiency
Using shortcut keys in PowerPoint can speed up the drawing process. Here are some essential keys:
- Ctrl + Z: Undo the last action, perfect for correcting mistakes.
- Ctrl + C and Ctrl + V: Copy and paste shapes quickly.
- Ctrl + G: Group multiple objects together, making them easier to move as one unit.
- Shift: Hold while drawing shapes to keep them proportionate, like squares or circles.
By incorporating these shortcuts into the workflow, designers can save time and focus more on creativity.
Combining Multiple Objects
Combining different shapes in PowerPoint offers more design flexibility. Here’s how to do it:
- Select Multiple Shapes: Hold the Shift key and click on the shapes to combine.
- Use the Merge Shapes Tool: Under the Format tab, select the Merge Shapes option. Choose from options like Union, Combine, Fragment, etc.
- Experiment: Try different combinations for unique creations.
This technique lets artists create complex designs, combining simple shapes into a single, more intricate illustration.
Enhancing Visuals with Textures and Gradients
Adding textures and gradients can elevate the look of illustrations. Here’s how to do this effectively:
- Select a Shape: Click on the shape to which you want to add texture or a gradient.
- Format Shape Pane: Open this pane to access fill options.
- Texture Fill: Choose from various textures available, like wood, metal, or fabric.
- Gradient Fill: This option lets designers create depth. Customize the gradient stops, colors, and transparency for the desired effect.
Textures and gradients can significantly enhance the visual appeal of projects, making illustrations more engaging and professional.
Finalizing Your Illustrations
Once the illustrations are created, it’s important to focus on refining and preparing them for the final use. Reviewing details and ensuring they are ready for different platforms are key steps to achieving polished artwork.
Reviewing and Editing
Careful review is essential for effective illustrations. Start by checking for consistency in shapes, colors, and sizes. Using the grid and guides in PowerPoint can help maintain alignment and proportions.
Editing can include adjusting colors for contrast and clarity. To fix any imperfections, one can use the editing tools available.
For instance, the Format Shape option allows the user to refine shadows, outlines, and fills.
Lastly, getting feedback from peers can provide valuable insights. They might spot mistakes that the creator overlooked. Collaboration often leads to stronger, more effective designs.
Exporting Illustrations for Different Media
Exporting is the final step in preparing illustrations for presentation or sharing.
PowerPoint allows users to save designs in various formats. Common options include JPEG and PNG for images, or PDF for printed materials.
To export, go to File, then Save As, and choose the desired format.
Each format serves different purposes; for example, PNG is great for online use due to its high quality.
Also, resolution is important.
For web use, 72 DPI (dots per inch) is sufficient, while print requires 300 DPI for crisp images.
Being mindful of these details ensures that the illustrations look their best, no matter where they’re displayed.