Creating detailed illustrations might seem like a challenge, but with CorelDRAW’s drawing tools, it becomes an exciting journey. CorelDRAW offers a versatile set of features that allow users to easily transition between styles, whether it’s crafting smooth curves or sharp lines. With the right techniques, anyone can harness CorelDRAW to bring their artistic visions to life.
Artists and designers value CorelDRAW for its ability to make every illustration unique and personal. From beginners to seasoned pros, the tools support creativity with flexibility. The ability to integrate various styles and elements empowers users to experiment and innovate like never before.
The toolbox in CorelDRAW is not just for experts; it’s intuitive enough for newcomers to grasp quickly. Users can find comprehensive guides, like those at the Corel Discovery Center, to explore fundamental tools and techniques. This makes learning the ropes of digital illustration engaging and rewarding.
Getting Started with CorelDRAW
CorelDRAW is a versatile tool for creating detailed illustrations. Users can customize their workspace, set up documents, and use a variety of tools to create stunning designs.
Understanding the CorelDRAW Workspace
The workspace in CorelDRAW is where all the magic happens. It consists of several key components: the toolbar, menu bar, property bar, and dockers. Each part has its own special function. The toolbar includes tools for drawing and editing, while the property bar changes based on the tool you select, providing extra options.
Dockers are panels that provide additional settings and tools. You can customize your workspace by moving these elements around to suit your needs. This setup allows users to tailor their workspace for specific tasks. Learning the layout helps users become more efficient, making the creative process smoother.
Setting Up Your Document
Before creating an illustration, it’s important to set up your document properly. CorelDRAW allows you to choose dimensions, resolution, and color mode. You can find these options when you open a new document. For illustrations, high resolution and RGB color mode may be ideal, especially if your project is for digital use.
The ability to create templates helps in setting fixed dimensions for repeated projects. This feature is useful for those working on multiple projects that require the same size. Taking time to set up your document saves time and keeps your work organized.
Navigating Through CorelDRAW Tools
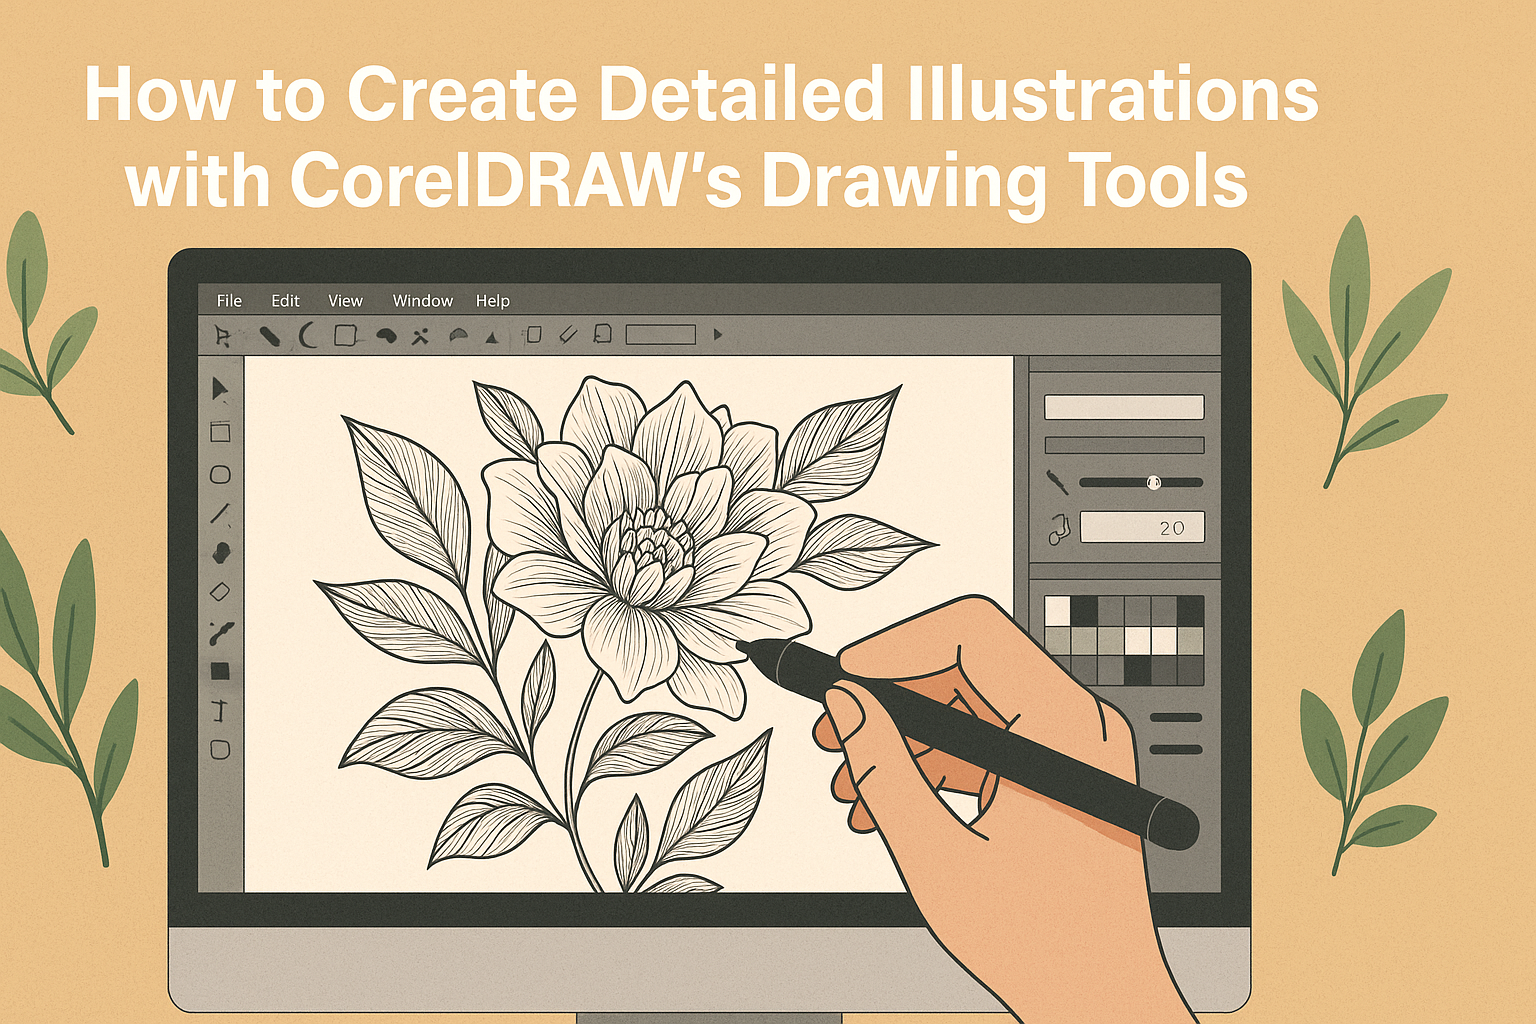
CorelDRAW offers a comprehensive set of tools to make illustrations come to life. The Drawing Window is where you do all your creative work. It’s important to familiarize yourself with the Shape Tool, Bezier Tool, and Pen Tool. These are some of the most frequently used tools for creating precise lines and shapes.
There are also tools for applying color and effects. You can find these under menus or by using shortcut keys. The ability to switch quickly between different tools enhances productivity. Practice using these tools to become more comfortable and efficient in creating detailed designs. Users can find more information on software functions and tutorials on the Corel Discovery Center.
Mastering Basic Drawing Tools
CorelDRAW offers powerful tools for creating detailed illustrations. Mastering essential tools like Freehand, Bezier, and Pick allows users to craft precise designs and easily manipulate objects within their projects.
Using the Freehand and Bezier Tools
The Freehand tool in CorelDRAW is ideal for quick sketches and drawing smooth curves. To use it, simply click and drag to create lines. For more control, use the Bezier tool, which helps in crafting complex shapes with precision by placing control points along the path.
With the Bezier tool, users can create both straight lines and curves. Click to create nodes and drag to form curves. Adjust the curves by manipulating the control handles. Both tools allow for a high level of customization with node editing options available to refine paths. Learning to use these tools efficiently can make a significant difference in design quality.
Creating Shapes with the Shape Tool
The Shape tool is versatile for making fundamental shapes like rectangles, circles, and polygons. Selecting the Shape tool brings up a menu to choose different geometries. Simply click and drag on the canvas to create the desired shape.
For advanced shapes, utilize options to adjust corners, sides, and angles. The tool also provides features to manipulate nodes of an existing shape, enabling the artist to reshape elements for more original designs.
CorelDRAW enhances this process with snapping features that help align shapes precisely. Such tools streamline the creation of geometric art and are crucial for structured designs.
Manipulating Objects with the Pick Tool
The Pick tool is essential for selecting and moving objects. Clicking on an object with the Pick tool allows users to move, rotate, or resize it. It’s the main tool for object manipulation in CorelDRAW.
Double-click to access rotation handles, enabling precise rotations. The tool also features a Transformations Docker, providing resizing, scaling, and positioning options for more complex adjustments.
Mastering the Pick tool involves understanding these options, allowing for efficient design processes. Ensuring that elements are correctly positioned and sized can drastically impact the balance and effectiveness of the final design, making this tool a key component in the illustrator’s toolkit.
Enhancing Illustrations with Advanced Tools
CorelDRAW offers a variety of advanced tools to elevate the quality of digital illustrations. These tools help artists add depth, apply gradients, and explore blending options, enhancing visual appeal.
Adding Depth with the Drop Shadow Tool
The Drop Shadow Tool in CorelDRAW is a powerful feature for adding dimension to illustrations. By casting shadows, artists can make elements appear lifted from the canvas. It’s important to choose the right angle and intensity to match the desired effect.
Adjusting settings like opacity and feathering allows users to create soft or dramatic shadows. This helps in achieving realism or artistic effects, depending on the need. Through this tool, illustrations gain a three-dimensional look that captivates viewers, making them more engaging and dynamic.
Applying Gradients and Fills
Applying gradients and fills is a key technique in CorelDRAW to bring color depth to illustrations. Gradients transition smoothly from one color to another, adding richness to design elements. This tool is essential for creating lifelike textures and dynamic backgrounds.
Artists can select linear or radial gradients, tailoring each blend to fit the composition. Modifying gradient stops and colors can emphasize light sources or create artistic expressions. With fills, they could use patterns to provide a unique texture or a uniform hue for a sleek look. This approach elevates the artwork by making it visually interesting and vibrant.
Exploring the Interactive Blend Tool
The Interactive Blend Tool in CorelDRAW is designed to merge two objects smoothly by blending their shapes and colors. This tool is ideal for creating complex transitions and animations. By adjusting the number of steps, artists control the blending process’s smoothness.
This feature can connect different paths, allowing dynamic flow within an artwork. Blending colors introduces a spectrum of shades, adding richness and creativity. This tool’s flexibility encourages experimentation, helping artists achieve innovative designs.
Working with Text and Fonts
In CorelDRAW, text and fonts play a crucial role in creating eye-catching illustrations. By using artistic and paragraph text, users can craft designs that stand out. Customizing typography further enhances the overall appearance of the project.
Adding Artistic Text
Artistic text is perfect for creating titles or decorative elements. To add artistic text, select the Text tool and click on the workspace. Type the desired text and use the Property Bar to change the font, size, and color. Artistic text can easily be resized and rotated by selecting it with the Pick tool.
Special effects like shadows and outlines can add flair to artistic text. Use the interactive features of CorelDRAW to tweak these effects until they match your vision. You can also experiment with various fonts to find the perfect style for your project.
Incorporating Paragraph Text
For longer text blocks, paragraph text is ideal. Click and drag with the Text tool to create a text frame. This frame can be adjusted to fit the layout. Once the text is inside, adjust fonts, spacing, and alignment using the tools available in CorelDRAW.
Paragraph text allows for more control over the formatting. Users can set line spacing and text alignment to create a neat and professional look. This is especially useful for flyers or brochures where readability is key.
Placing paragraph text inside columns can also improve readability. To do this, use the paragraph text frame’s options to split the text into multiple columns, enhancing the document’s design.
Customizing Typography
CorelDRAW offers a range of options for customizing typography beyond the basics. Creating custom fonts provides a unique touch to any design. By accessing the CorelDRAW Discovery Center, designers can learn to set up guides for font creation and work with symbols.
Kerning, tracking, and leading adjustments allow for fine-tuning the spacing between letters and lines. This can dramatically change the appearance of text, making it more visually appealing.
Exploring the OpenType features available in many fonts can further customize typography. These features let users choose stylistic sets and ligatures, adding an elegant touch to the text.
Fine-Tuning Your Illustrations
Fine-tuning illustrations in CorelDRAW involves adjusting nodes and lines, aligning objects, and applying transformations. These steps ensure the artwork is polished and precise, enhancing the overall quality and appearance.
Editing Nodes and Lines
In CorelDRAW, nodes are the building blocks of vector shapes. To make precise edits, artists can select a node and adjust its position. This helps in refining curves or angles.
Users can add or delete nodes to modify the shape. Changing line properties like width or style makes adjustments visible. The bezier tool is helpful for creating smooth curves, as it allows control over each segment.
Using these techniques enhances the flow and precision of artwork. Manipulating nodes gives artists the flexibility to bring their exact vision to life, ensuring that their designs are polished and professional.
Aligning and Distributing Objects
Proper alignment and distribution are key to maintaining balance in a design. CorelDRAW provides easy-to-use tools to align objects left, right, top, or bottom. This ensures everything is in its right place.
Objects can be spaced evenly through the distribute feature. It’s helpful when working with multiple items, like logo elements or repeated patterns. Select all the objects you want to align, then use the alignment toolbar options to find the best arrangement.
A well-aligned design makes a significant difference, boosting clarity and aesthetics. This feature is crucial for achieving a clean and professional look that appeals to the viewer.
Using the Transform Tools
Transform tools in CorelDRAW allow users to scale, rotate, skew, and mirror objects seamlessly. These transformations are essential for adjusting an illustration to fit different perspectives or styles.
Scaling retains proportion when resizing objects. This keeps artwork consistent and balanced. Rotating and skewing help create dynamic effects, adding depth to the illustration. The mirror function duplicates objects, creating symmetry and balance.
By mastering these tools, artists can modify elements quickly, adding variety and interest to their artwork. This ensures each piece is well-crafted and eye-catching, meeting the highest artistic standards.
Applying Color and Effects
Applying colors and effects in CorelDRAW can transform any illustration into a vibrant and engaging piece of art. By carefully selecting color palettes and applying various effects, you can add depth and dimension to your designs.
Choosing Color Palettes
Selecting the right color palette sets the mood and tone of an illustration. CorelDRAW offers a variety of preset color palettes that can be accessed through the Color Palette Manager. These include palettes like CMYK, RGB, and PANTONE.
Using harmonious colors helps maintain consistency throughout the illustration. Colors can be selected by clicking on desired swatches or by using the Color Eyedropper tool to match existing colors in the design. Custom palettes can also be created, allowing for unique combinations that fit the project’s theme.
Utilizing Effects and Filters
Effects and filters are powerful tools in CorelDRAW that enhance visual interest. The program includes numerous effects such as shadows, glows, and transparencies that can be applied to objects to create depth.
For instance, adding a drop shadow can make an object pop off the background. Users can explore the Art Style effects to give illustrations unique textures and finishes. It’s important to experiment with different effects to find the best combination that enhances the illustration without overpowering it.
Creating Custom Patterns and Textures
Creating custom patterns and textures adds a distinct feel to any artwork. CorelDRAW’s Artistic Media tool allows users to craft personalized brush strokes and patterns. These tools enable the application of textures that resemble real-world materials like fabric or wood.
Textures can be manipulated by adjusting transparency and blending modes, resulting in seamless integration with other elements. By layering different textures, users can create complex surfaces that captivate viewers. The Mesh Fill tool is another great feature for adding detailed color gradients to objects, further enhancing their realism and depth.
Vector Illustration Tips and Tricks
Creating detailed illustrations in CorelDRAW involves using various techniques and tools. Understanding cloning and duplicating elements, merging and layering shapes, and utilizing guidelines and snap-to features enhances the design process and results in more professional outcomes.
Cloning and Duplicating Elements
Cloning and duplicating elements can save time and ensure consistency in designs. CorelDRAW’s cloning feature allows designers to create copies of an element that update automatically whenever the original is changed. This is useful for repeating patterns or designs that need to maintain a uniform look across the entire illustration.
Duplicating, on the other hand, creates independent copies that can be altered without affecting the original. This is ideal for adding variety or individual elements that slightly vary from a base shape. Users can easily create duplicates by using keyboard shortcuts, like pressing Ctrl + D, to streamline their workflow.
Combining cloning and duplicating in designs makes it easier to manage complex illustrations, allowing for both consistency and creative variation.
Merging and Layering Shapes
Merging and layering shapes helps in developing complex and visually appealing designs. In CorelDRAW, the Combine feature is available to merge multiple shapes into a single object. This is particularly useful when a designer wants to create new, intricate forms from basic shapes.
Layering adds depth and dimension to illustrations. Designers can control the stacking order of objects to achieve the desired effect or visual hierarchy. The Object Manager in CorelDRAW simplifies this by allowing users to drag and reorder layers or objects.
By effectively using merge and layer techniques, designers craft more engaging graphics, manipulating simple shapes into astonishing pieces.
Using the Guidelines and Snap-to Features
Guidelines and snap-to features are crucial for precision in vector illustrations. Designers can set up guides by dragging from the rulers onto the canvas, which helps in aligning elements accurately. Guides assist in maintaining symmetry and balance within the design, ensuring every piece aligns perfectly.
Snap-to features make aligning objects even easier. By enabling these functions, objects automatically align with guidelines, nodes, or grid lines. This is especially helpful when placing objects at specific angles or in regular intervals.
Output and Exporting
Creating detailed illustrations in CorelDRAW is just the beginning. Ensuring these creations are ready for their intended use—be it print or digital—requires precise output and exporting steps. Learn how to prepare files for printing and export them for web use or other formats efficiently.
Preparing Files for Printing
When getting a design ready for printing, it’s important to check color settings. Using CMYK mode ensures colors look right on paper. Adjust the resolution to 300 DPI for clearer prints. Designs should include a bleed area to avoid cut-off edges, typically around 0.125 inches.
Next, it’s useful to review any text and convert it to curves. This stops fonts from changing if the printer doesn’t have them. If converting isn’t possible, embed the fonts in the file.
Using PDF is the standard format for print jobs. It captures high detail and maintains quality. Save your project with crop marks to guide the trimming process.
Exporting for Web and Other Formats
Exporting illustrations for the web involves different considerations. First, change the color mode to RGB since screens display colors this way. Adjust the resolution to 72 DPI to optimize file size without compromising viewing quality.
CorelDRAW offers multiple formats such as JPEG, PNG, and SVG. JPEG is good for photos, while PNG is better for images needing transparency. SVG files are scalable and ideal for graphics that need resizing without losing quality.
For other software integration, exporting to formats like Adobe Illustrator (AI) can be useful. This keeps vector paths intact for further editing. Ensure to double-check the exported file in its new environment to confirm everything displays correctly.