Organizing complex documents can often feel overwhelming, but using layers in InDesign can make this task much easier. By mastering layers, one can separate text, images, and graphics, leading to a clearer and more manageable workflow.
This powerful feature allows designers to control visibility and order, making it simple to adjust elements without disrupting the entire document.
Many users overlook the potential of layers, thinking they can simply work with a single layer. However, adding multiple layers can enhance organization and lead to better results.
With clear steps, anyone can learn how to leverage layers effectively to streamline their design process.
Whether working on a magazine layout or a business presentation, understanding how to use layers wisely can save time and headaches. Readers can discover practical tips and techniques to ensure their documents are well-organized and visually appealing, improving their overall design experience.
Getting Started with InDesign
InDesign is a powerful tool for creating various documents. Knowing how to navigate its workspace and set up a document correctly is essential for efficient work.
Understanding the Workspace
InDesign’s workspace is designed to help users manage their projects smoothly. When opened, the main features include the menu bar, control panel, and various panels like pages and layers.
Each panel can be moved and organized according to personal preference.
The Tools panel on the left side offers quick access to essential tools, such as the selection tool and text tool. This helps in adding elements to designs quickly.
Additionally, users can customize their workspace. Going to Window > Workspace allows for layout choices like Essentials or Typography. Finding a workspace that feels comfortable helps in focusing on creativity without distractions.
Setting Up Your Document
Setting up a document in InDesign is straightforward. First, users can start a new project by selecting File > New > Document. A dialog box will appear with options for page size, orientation, and margins.
Choosing the right settings at the start is crucial for a smooth workflow.
Users can select presets for common layouts like brochures or magazines. It’s also important to set the correct number of pages and columns based on the project’s design needs.
After creating the document, the Pages panel helps in managing the layout efficiently. Adding or removing pages can be easily done from this panel, ensuring that the document structure remains organized as work progresses.
Mastering Layer Basics
Understanding how to create and manage layers is key to organizing documents effectively in InDesign. Layer navigation and shortcuts can make the process faster and more efficient.
Creating and Managing Layers
To start, every new InDesign document has a default layer named “Layer 1.” Creators can easily add more layers to separate different elements like text and images.
To create a new layer, the user can go to the Layers panel and click the New Layer button. For those who want to add a layer below the selected one, holding down Ctrl (on Windows) or Command (on Mac) while clicking the button does the trick.
It’s also simple to rename layers. By double-clicking the layer’s name in the Layers panel, users can type a new name and click OK. This helps in identifying the layers quickly, especially in complex projects.
Layer Navigation and Shortcuts
Navigating between layers is essential for efficient workflow. InDesign offers various methods to help users manage this.
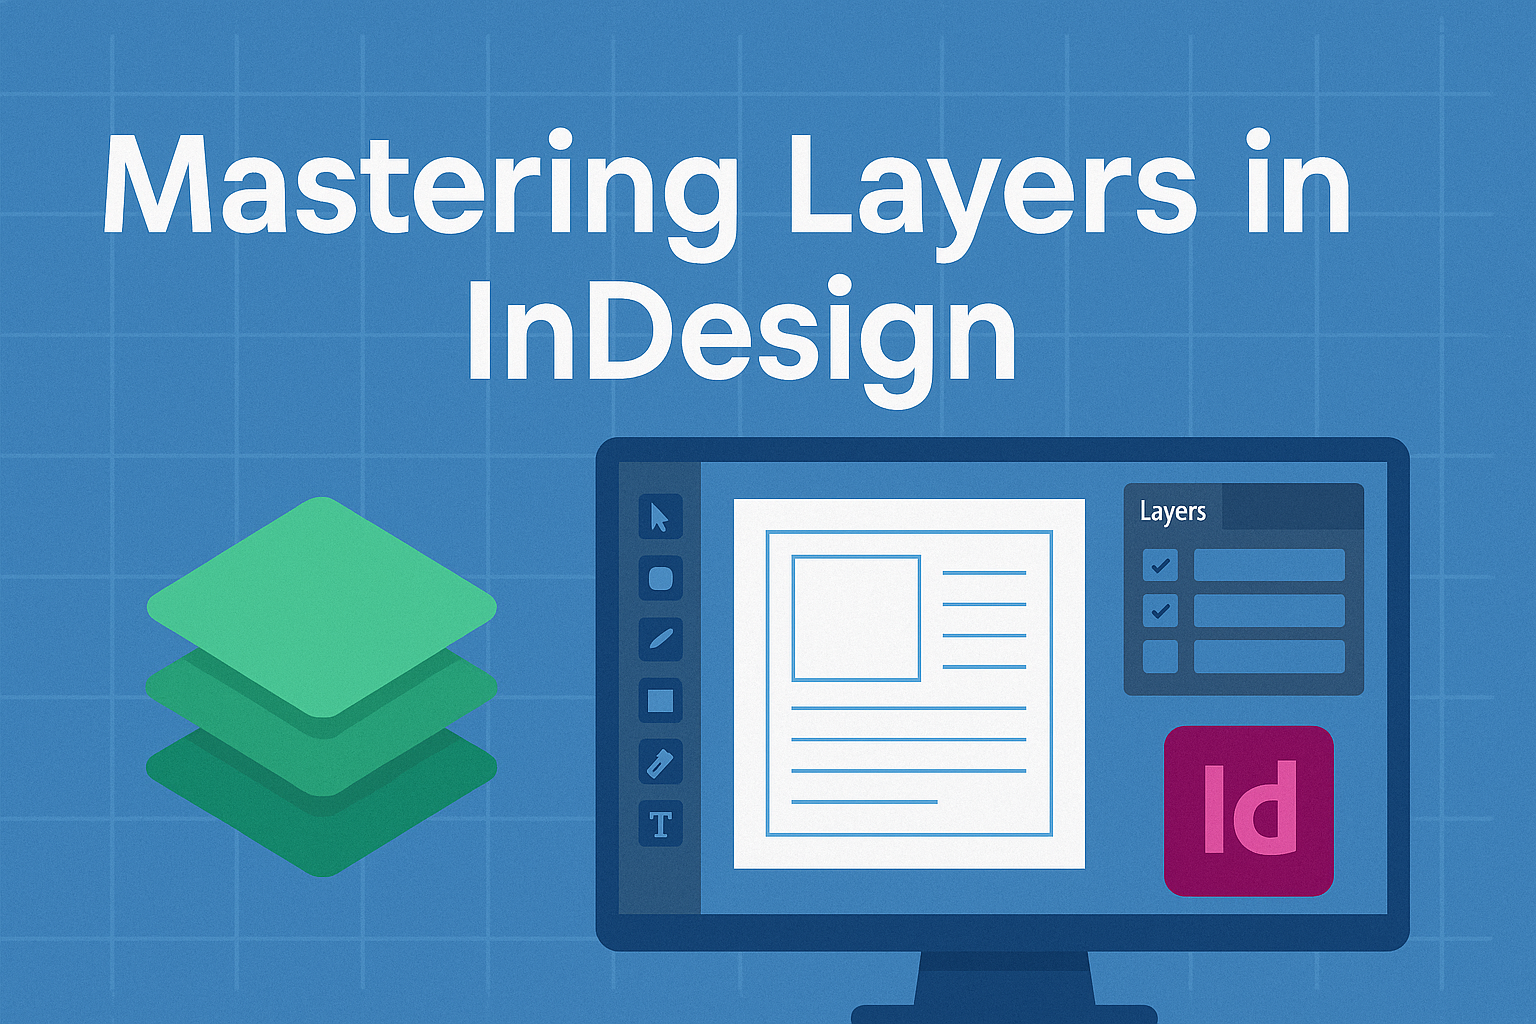
To open the Layers panel, one can choose Window > Layers.
Using keyboard shortcuts can make navigation even easier. For example, Alt + Click on a layer will select that layer.
Users can quickly hide or show layers by clicking the eye icon in the Layers panel. This feature allows for a clearer view of the workspace when working with many elements.
Knowing these shortcuts not only saves time but also enhances the overall design process.
Advanced Layer Techniques
InDesign offers several advanced techniques for working with layers that can greatly enhance document organization. These techniques help users efficiently manage complex projects, apply styles, and optimize workflow.
Layer Styles and Effects
Applying consistent styles to layers can improve both design and organization. InDesign allows users to create layer styles, which can be reused across multiple documents. This feature saves time and ensures a uniform look.
Users can add effects like drop shadows or gradients to entire layers. To do this, select the layer and navigate to the Effects panel. Adjust settings such as opacity and blending modes to achieve the desired appearance.
Creating styles using the Appearance panel further enhances flexibility. By saving these styles, it is easy to apply them later, making future adjustments quicker.
Managing Complex Layer Structures
For projects with numerous elements, a clear layer structure is vital. Users should maintain a consistent naming convention for layers. This helps in identifying elements quickly.
Using folders or groups within the Layers panel is also beneficial. Grouping similar elements keeps the panel organized and minimizes clutter. For example, all text layers can be grouped, making it easier to manage them.
Locking layers prevents accidental edits. To lock a layer, simply click on the square next to the layer name in the Layers panel. This action keeps original designs intact while still allowing work on other layers.
Layer Tools and Tips for Efficiency
Several tools and shortcuts improve layering efficiency. For example, assigning keyboard shortcuts for common actions can save time. Users can set shortcuts for locking, hiding, or selecting layers.
Utilizing the “Select Object” tool helps in quickly choosing multiple elements on a layer. This tool allows for easy adjustments without disrupting other layers.
It is also useful to create a layer template. By saving frequently used layers and organization styles, users can quickly start new projects. This method streamlines the workflow and maintains consistency across documents.
Best Practices for Layer Management
Effective layer management helps streamline the design process. By organizing layers properly, users can enhance collaboration and maintain consistency across various projects.
Organizing Layers for Collaboration
When multiple people work on a project, clear layer organization is vital. Naming layers intuitively allows team members to understand their purpose quickly. For example, naming layers “Text,” “Images,” or “Background” makes it easier for everyone to find what they need.
Using color coding for different types of layers can also improve visibility. For instance, users can assign specific colors to text layers and image layers. This visual cue saves time and reduces confusion.
Additionally, grouping related layers can help manage complexity. Users can create layer groups for similar components, making navigation simpler. This approach fosters collaboration by ensuring everyone can easily identify and work on the correct elements.
Maintaining Consistency Across Layouts
Consistency is key when working with layers.
Establishing a standard naming convention across documents ensures that layers remain organized. For example, if “Layer 1” is used for backgrounds, stick to that naming format in all projects.
Users should also maintain the same order of layers in different layouts.
When layers are in the same sequence, it minimizes errors during copying and pasting. InDesign recognizes layers by name rather than order, which can cause misplaced objects if not consistent.
Regularly reviewing layer organization is important to keep projects on track.
As designs evolve, updating layer names and groups can reflect those changes. This continual upkeep helps maintain document clarity and cohesion.