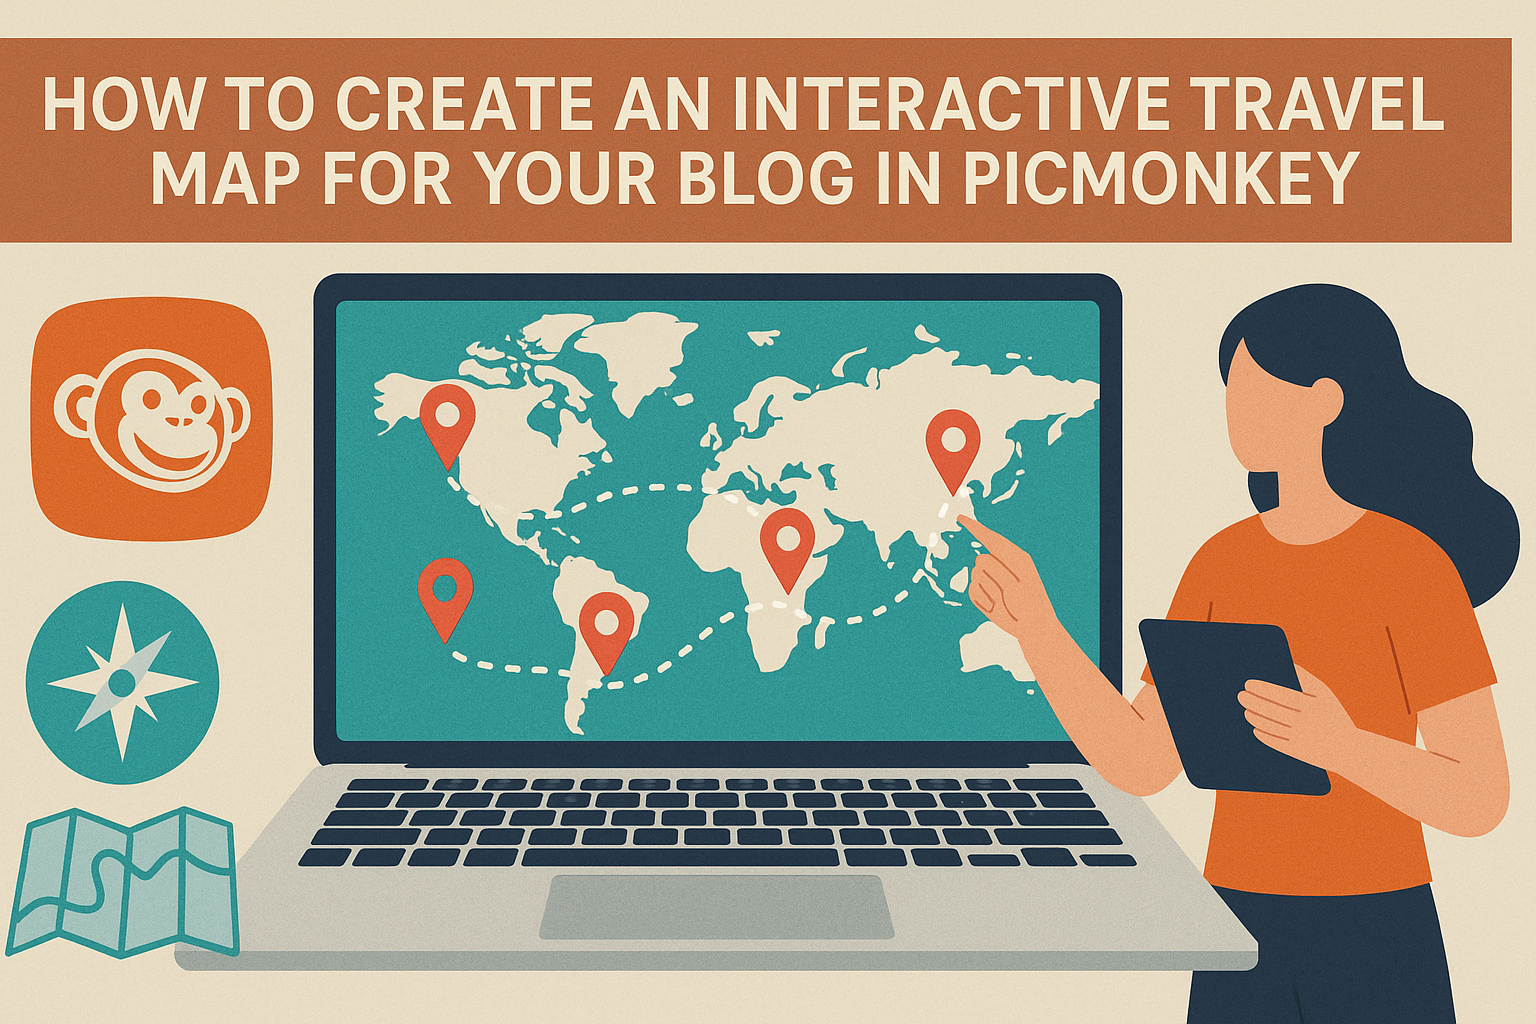
Creating an interactive travel map can greatly enhance a blog, making it easier for readers to follow along with travels and adventures. PicMonkey offers simple tools that allow anyone to design a visually appealing map that captures the essence of their journeys.
Using this platform, bloggers can not only showcase their destinations but also engage their audience in a unique way.
By incorporating vibrant visuals and personal touches, the map becomes more than just a guide; it transforms into an interactive experience for readers. PicMonkey’s user-friendly features enable bloggers to customize their maps to fit their style, ensuring that every trip is presented exactly how they envision it.
Whether they want to highlight favorite places or share a complete travel itinerary, creating an interactive travel map in PicMonkey is a fantastic way to connect with readers. With a few easy steps, they can bring their travel stories to life and inspire others to explore new locations.
Getting Started with PicMonkey
To create an interactive travel map in PicMonkey, users first need to familiarize themselves with the platform.
This involves signing up, selecting the right template, and navigating the interface effectively.
Sign Up and Overview
To begin, visit the PicMonkey website and click on “Sign Up.” Users can choose a free trial or select a subscription plan that suits their needs. After signing up, they will have access to the editing tools and features available.
Once registered, users can explore the dashboard. It is user-friendly and features various options for photo editing and design. The learning curve is minimal, allowing users to jump right into creating their projects.
Choosing the Right Map Template
PicMonkey offers a variety of templates that users can choose from. To start designing an interactive map, finding the right one is essential.
Users can browse through the templates by searching for “map” in the template section.
It’s key to pick a template that matches the user’s travel theme. For instance, if someone wants a vintage look, searching for vintage map templates can be helpful. Users can also customize these templates according to their preferences.
Understanding PicMonkey’s Interface
Navigating PicMonkey’s interface is straightforward. The main areas include the toolbar, image editing section, and design workspace.
The toolbar is where users can find tools for editing. This includes options for cropping, adding text, and inserting images.
The design workspace allows users to drag and drop elements, making the process friendly and intuitive.
Additionally, tools for layers and effects are available. These features help users to enhance their interactive maps by adding personal touches. With practice, anyone can become proficient in using PicMonkey for their travel maps.
Creating Your Map
Making an interactive travel map in PicMonkey is a fun way to showcase travel experiences. This section focuses on adding locations, customizing the visual elements, and enhancing the map with photos or graphics.
Adding Locations and Pins
To start, the user should select the map template in PicMonkey. Once the template is ready, they can click on the area where they want to add a pin.
It’s important to label each location clearly. This helps viewers understand the significance of each spot.
The user can choose different shapes for pins, like circles or stars.
After placing the pins, they should be sure to adjust the pin size to make them stand out. Using contrasting colors for the pins also aids visibility.
They can create a smooth journey by connecting pins with lines, showing the travel path.
Customizing Colors and Fonts
Customizing colors and fonts can make the map visually appealing. The user can access color settings to choose a palette that matches their blog’s theme.
Bright colors for pins and lines catch the attention, while softer colors can create a calming effect.
It’s best to use no more than three or four colors to keep it simple and cohesive.
Fonts are important too. The user should choose clear, legible fonts for labels.
It’s best to avoid overly decorative fonts that may be hard to read. Keeping text consistent in style and size will make the map look professional.
Inserting Photos and Graphics
To add personality to the map, inserting photos and graphics is a great idea. The user can include images of the destinations or activities at each location.
PicMonkey allows easy uploading of personal photos, adding a personal touch. They can click on the “Add” button and select images that represent the trip.
In addition, using graphics like icons for restaurants, parks, or attractions can enhance the map’s appeal.
Placing these graphics near the corresponding locations supports viewer understanding. Careful placement ensures the map remains uncluttered and easy to navigate.
Interactive Features
Interactive features transform a travel map into a dynamic tool for readers. By creating hotspots and adding links, bloggers can enhance user engagement and provide valuable context about each location.
Creating Hotspots
Hotspots are key areas on a map that invite users to click for more information. In PicMonkey, creating hotspots is straightforward.
- Choose Your Map: Start by selecting the map image you want to use.
- Add Shapes or Icons: Use shapes like circles or custom icons to highlight specific locations.
- Customize Appearance: Change the color, size, and style to ensure they stand out.
Remember to keep hotspots clear and easy to recognize. The goal is to make navigation simple for viewers.
Adding tooltips is also helpful. When users hover over a hotspot, a small message can pop up with brief details about the location.
Adding Links to Your Travel Spots
Links enhance the interactivity of the map by directing users to relevant content. They can connect to blog posts, photo galleries, or external resources.
- Select Hotspot: Click on the previously created hotspot.
- Insert Link: Use the link tool to attach a URL directly to the hotspot.
- Test the Links: After setting up, always preview the map to ensure links work properly.
These links provide additional context for each location, encouraging readers to explore more. Making maps interactive not only engages users but also boosts the overall appeal of the blog.
Sharing Your Map
Sharing the interactive travel map is crucial for engaging readers and enhancing the blog experience. By embedding the map directly into blog posts and using effective strategies to connect with the audience, bloggers can enhance their storytelling.
Embedding the Map in Your Blog
To embed the map in a blog, she should first ensure it’s published and accessible.
In PicMonkey, after creating the map, she can look for the “Share” option. This will provide an embed code.
Next, she needs to copy the HTML code. On her blog platform, she should locate the area for HTML editing in her post. Then, she can paste the code and adjust its size if necessary.
After saving and publishing the post, she can preview it to confirm the map displays correctly. This direct integration allows readers to interact with the map, making it easy to follow her journey.
Tips for Engaging Your Audience
To engage her audience effectively, she can include descriptive captions for key locations on the map. This helps readers understand why each place is significant.
Using colorful markers and icons on the map can grab attention.
She should also consider adding stories or tips related to each location.
Promoting the map on social media platforms can increase its visibility.
She can encourage her readers to share their thoughts or travel experiences related to the map.
Lastly, asking for feedback about the journey or inviting readers to share their favorite travel spots can foster more interaction.
This approach keeps the audience connected and invested in her travels.