Creating a custom photo booth backdrop can add a personal touch to any event. Using PicMonkey, it is easy to design a backdrop that reflects the theme of a party or celebration.
With various tools and templates available, anyone can craft an eye-catching background that enhances photos and entertainment.
Whether it’s for a wedding, birthday party, or corporate event, a unique backdrop helps set the mood. PicMonkey provides the flexibility to adjust colors, add graphics, and incorporate personal images. This makes the backdrop not just a background, but a creative expression of style and fun.
As guests gather for pictures, a well-designed backdrop can make lasting memories even more special. By following simple steps in PicMonkey, anyone can unleash their creativity and impress their friends. It’s a fun way to elevate any gathering without needing professional help.
Getting Started with PicMonkey
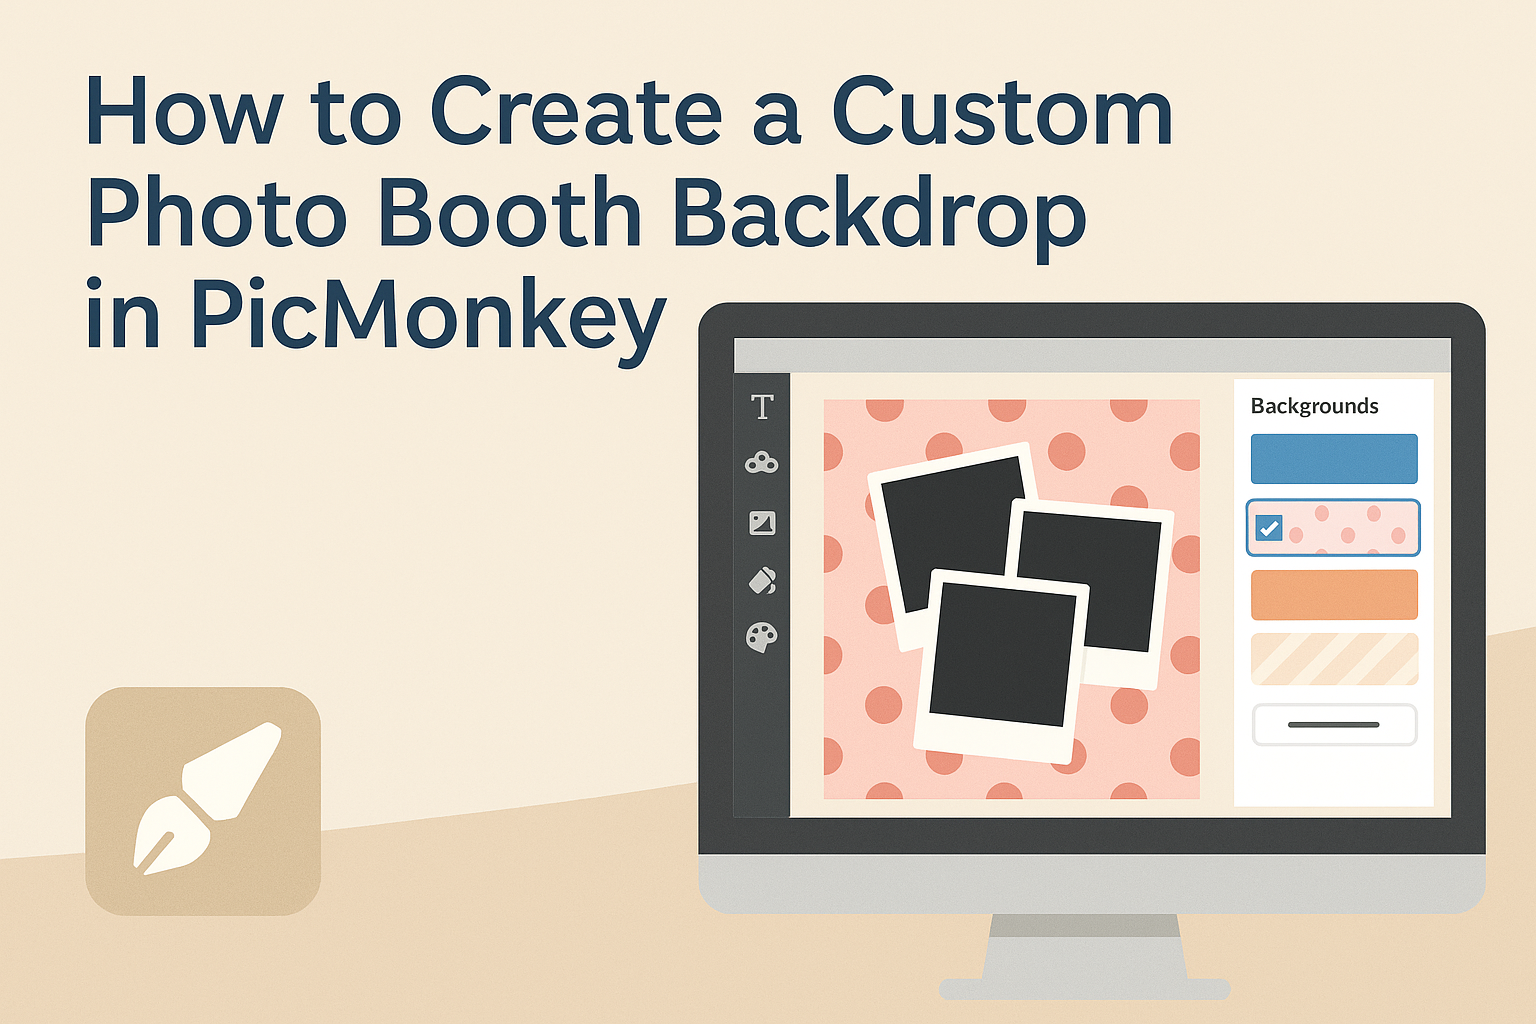
To create a custom photo booth backdrop, a user first needs to get familiar with PicMonkey. This includes signing up for an account and navigating the interface.
Signing Up for an Account
Getting started with PicMonkey requires creating an account. Users can visit the PicMonkey website and click on the “Sign Up” button.
They can choose between a free trial or a paid subscription for more features.
After entering their email and creating a password, users may also be prompted to add a name. Once the account is set up, they receive a confirmation email. Clicking the link in the email activates their account.
Now, they can log in and explore PicMonkey’s tools. The free version offers basic functionalities, while the paid version unlocks advanced features like premium templates and stock images.
Navigating the Interface
Once logged in, it’s important to understand PicMonkey’s layout. The top bar includes options for creating new projects, accessing the Hub, and exploring templates.
The left sidebar shows the editing tools, such as Basic Editing, Effects, and Text.
By clicking on these options, users can customize their designs easily.
A user can start by selecting “Create new” to open a blank canvas or choose from pre-made templates. The canvas area is where all the action happens. The user can drag and drop images or elements directly onto the canvas.
PicMonkey’s interface is user-friendly, making it easy to navigate. By exploring the tools in the sidebar, users can quickly get the hang of designing their backdrops for any event.
Designing Your Photo Booth Backdrop
Creating a custom photo booth backdrop requires attention to size, theme, and visuals. Each element plays a key role in making the backdrop appealing and fitting for the event.
Choosing the Right Dimensions
Choosing the dimensions of a backdrop is crucial. Standard sizes range from 6 feet by 8 feet to 8 feet by 10 feet.
Start by considering the space available at your event venue. It’s important to balance size with the setting.
A backdrop that is too small might look lost, while one that is too large could overwhelm the area.
Decide if the photo booth will be used for full-body shots or just headshots. This choice will influence width and height.
Selecting a Theme and Color Scheme
The theme and color scheme set the mood for the event. First, identify the purpose of the photo booth. Is it for a wedding, birthday, or corporate event?
Choose colors that complement the event’s palette. Harmonic colors enhance the backdrop and create a cohesive look.
For example, using pastels may suit a wedding, while bold colors can add energy to a birthday party.
Furthermore, consider adding elements that reflect personal interests, such as hobbies or favorite colors. This personalization makes the backdrop unique.
Adding Images and Graphics
Images and graphics add visual interest to the backdrop. Start by selecting high-quality images that match the theme.
Graphics can include logos, fun quotes, or symbols that resonate with guests. For corporate events, branding is key.
Using tools like PicMonkey, one can easily overlay images and edit them to fit the design.
It’s also helpful to create a focal point. This could be a large graphic or a series of smaller images that draw the eye.
Balancing images with empty space prevents the design from looking cluttered. A clean look often works best for great photos.
Customizing with Text and Effects
Customizing a photo booth backdrop in PicMonkey is a fun way to make it unique. Adding text elements and applying filters can enhance the design and express the theme of the event.
Incorporating Text Elements
Adding text to a backdrop can help convey a message or highlight an event’s theme. PicMonkey offers various font styles to choose from.
Steps to Add Text:
- Select the Text Tool: Click on the text option in the toolbar.
- Choose a Font: Browse through the fonts available. Choose one that fits the event’s vibe.
- Customize Size and Color: Adjust the size using the corner handles. Pick colors that contrast well with the backdrop.
- Position the Text: Drag the text box to where it looks best on the design. Make sure it’s easy to read.
She can also adjust the opacity and alignment to ensure it stands out.
Applying Filters and Textures
Filters and textures can transform a simple backdrop into something extraordinary. PicMonkey provides numerous options to customize the look.
Using Filters:
- Go to the Effects Panel: Select the filters section to see available options.
- Choose a Filter: Select one that suits the event’s mood, like “Vintage” or “Modern.”
- Adjust Intensity: Use the slider to increase or decrease the effect’s strength.
Adding Textures:
Textures can add depth and interest. She can choose from various textures, like fabric or nature-inspired looks.
To Add Texture:
- Select an Image Layer: Click on the background and choose a texture.
- Blend Mode: Use blend modes to integrate the texture smoothly into the backdrop.
- Opacity Control: Adjust the opacity to achieve the desired look without overwhelming the design.
These customizations will create an eye-catching backdrop for photos.
Saving and Printing Your Backdrop
Once the design is complete, it’s crucial to save it properly for printing. The right export settings and printing tips can ensure the backdrop looks great at the event.
Exporting Your Design
When exporting a backdrop from PicMonkey, choosing the right format is important. Designers should save their work as a high-resolution PNG or JPG. These formats are widely accepted and will keep the colors and details sharp.
It’s essential to select an appropriate size. For most backdrops, a dimension of at least 300 DPI (dots per inch) is recommended. This ensures the design remains clear, even when printed at large sizes.
Before hitting that export button, double-check the layout and elements. Make sure everything is aligned and looks just right, as any last-minute tweaks can greatly enhance the final output.
Tips for Printing Large Formats
Printing a large backdrop requires careful consideration. First, it’s best to work with a professional printing service that can handle big formats.
Research local shops or online options that specialize in banner printing or large format prints.
When submitting the file, specify the desired size and material. Options can include fabric, vinyl, or paper.
Each material has its benefits; fabric might be easier to transport, while vinyl could be more durable.
Lastly, ask about proofing. A printed proof can help spot any issues before producing the final product.
This small step can save time and money in the long run while ensuring the finished backdrop meets expectations.