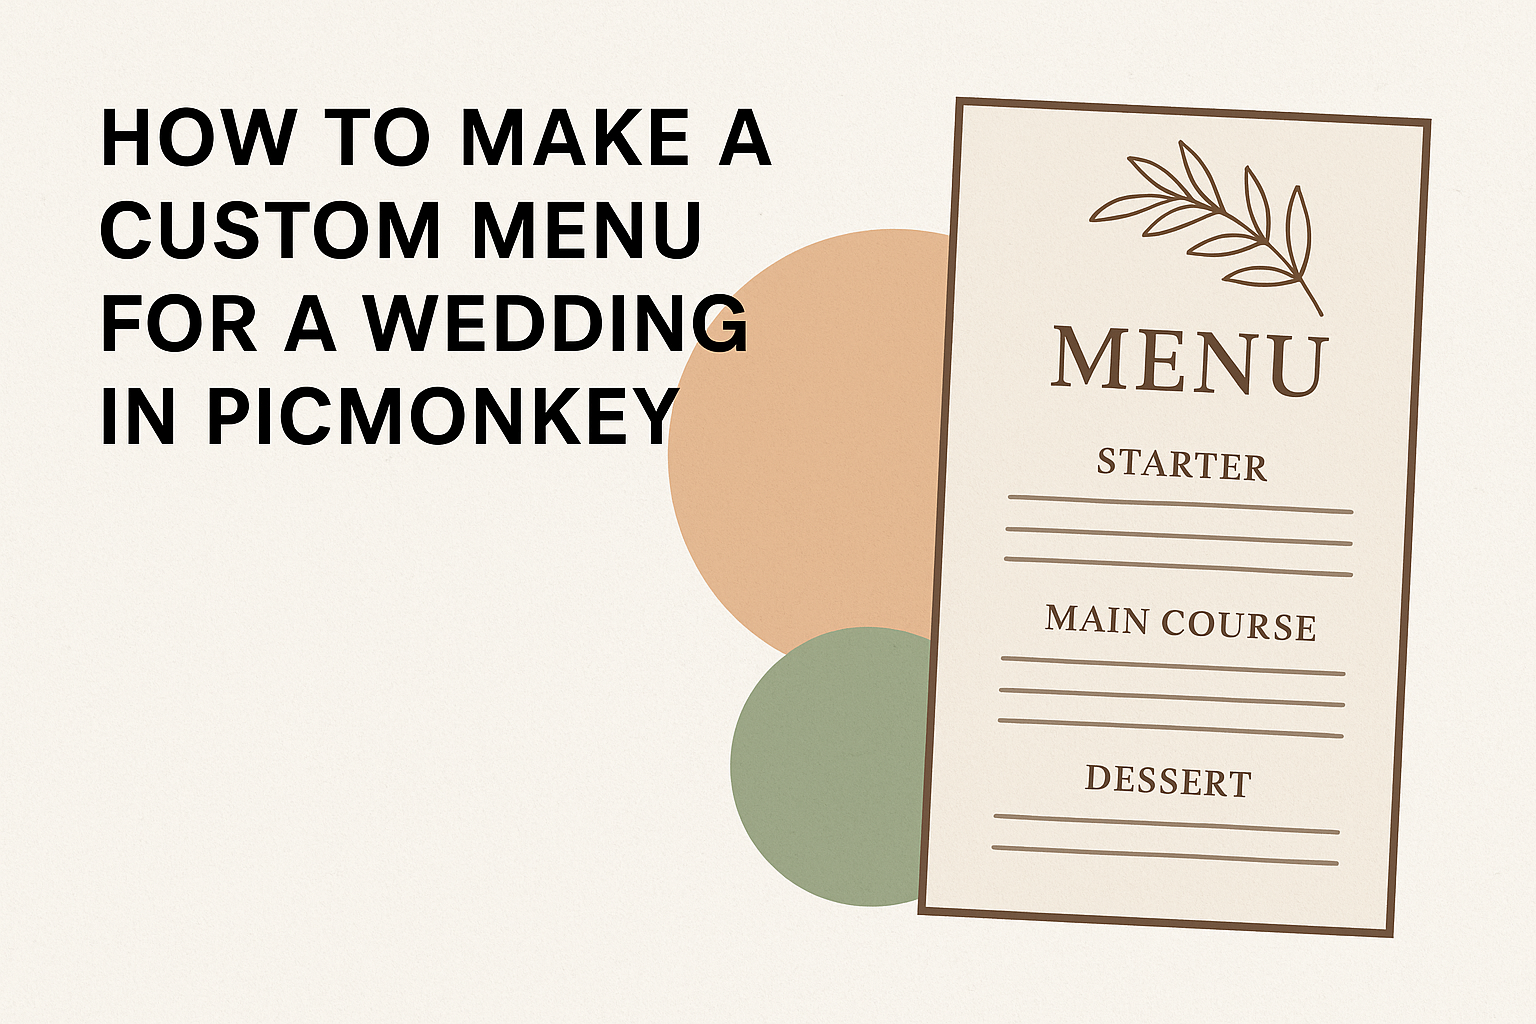
Creating a custom menu for a wedding can be an exciting part of the planning process. It allows couples to showcase their unique style and culinary preferences while making their special day even more memorable.
Using PicMonkey, anyone can design a stunning wedding menu that reflects their personality and complements their wedding theme.
PicMonkey offers user-friendly tools to help couples bring their vision to life. From choosing the perfect layout to adding personal touches like photos or illustrations, the design process can be both fun and straightforward.
With just a few simple steps, anyone can craft a menu that guests will love.
A well-designed menu not only enhances the dining experience but also serves as a beautiful keepsake for the couple and their guests. Learning to create a custom menu in PicMonkey can transform a simple idea into a cherished detail of the wedding day.
Getting Started with PicMonkey
To create a custom wedding menu in PicMonkey, it’s essential to first set up an account and familiarize oneself with the interface.
This section covers how to create an account and navigate the tools available.
Create Your Account
To begin using PicMonkey, one needs to create an account. Visit the PicMonkey website.
Click on the “Sign Up” button, which is usually located at the top right corner of the homepage. Users can choose between a free trial or a paid subscription for added features.
After selecting a plan, fill out the registration form with basic information like name, email, and password.
Once everything is complete, check your email for a verification link. Clicking the link will activate the account, and users can then log in to start designing.
Navigating the Interface
Upon logging into PicMonkey, users will find a user-friendly interface. The main dashboard displays various design options, including templates, photos, and graphics.
On the left side, the toolbar gives access to tools like text, images, and backgrounds.
Users can easily browse wedding menu templates and choose one that suits their theme.
The editing area is in the center, where customizations happen. Users can drag and drop elements, adjust sizes, and edit text.
This layout makes it simple to see changes in real-time, which is perfect for getting that wedding menu just right.
Designing Your Wedding Menu
Creating a custom wedding menu allows couples to showcase their unique style and taste. By thoughtfully selecting a template, customizing text, and adding personal graphics, they can make a menu that truly reflects their special day.
Selecting a Template
Choosing the right template is the first step in designing a wedding menu. PicMonkey offers a variety of templates that cater to different wedding themes.
Couples can browse options by typing keywords in the search bar, such as “wedding menu.”
It’s important to consider the layout and overall design. Select a template that matches the wedding’s color scheme and atmosphere. For example, a rustic wedding might benefit from a kraft paper-style template.
Once a favorite is chosen, it can be opened for customization.
Customizing Text
After selecting a template, the next step is customizing the text. This includes adding the wedding title, menu items, and any special notes.
Couples should select fonts that match their wedding’s vibe. For instance, elegant cursive fonts work well for formal events, while playful fonts suit more casual environments.
Using clear and concise language is essential for menu items. Descriptions should highlight the ingredients and preparation style. Incorporating special dietary notes, like vegetarian or gluten-free options, is considerate for guests.
Ensure the text is easy to read against the chosen background.
Adding Personal Flair with Graphics
To make the menu stand out, incorporating graphics adds a personal touch. PicMonkey allows users to upload images or use stock graphics.
Couples might consider floral designs, decorative borders, or icons that match the theme.
Mixing graphics with text can enhance readability and visual appeal. For example, placing a small floral illustration next to a menu item creates an inviting look.
It’s also a good idea to maintain balance on the page, ensuring that graphics do not overwhelm the text.
Overall, adding these creative elements will make the wedding menu more memorable for guests.
Finalizing Your Design
As the design process nears completion, it’s crucial to make final adjustments to ensure the menu looks polished and professional. Attention to layout, alignment, and the finishing touches can make all the difference.
Adjusting Layout and Alignment
Ensuring proper layout and alignment is key to a balanced menu design.
Begin by checking the spacing between text and images. Consistent margins help create a clean look.
Using tools in PicMonkey, she can easily align text boxes and images. The grid feature can assist in positioning items symmetrically. If needed, adjustments to font sizes and styles can enhance readability.
He should also consider the flow of the menu items. Grouping similar items together—like appetizers, main courses, and desserts—helps guests navigate the menu smoothly.
A well-structured layout will not only please the eye but also make it easier for guests to pick their dishes.
Applying Final Edits
After setting up the layout, it’s time for final edits. This step includes double-checking spelling and grammar. A menu with errors can distract from the dining experience.
She should review color choices, ensuring they match the wedding theme. Adjusting saturation or brightness can enhance the visual appeal.
Ensure high contrast between text and background for easy reading.
Adding small details, like icons or borders, can elevate the design. An elegant touch, like a decorative border, can frame the menu content beautifully.
Finally, make sure to preview the design in print format to ensure everything appears ‘just right’ before finalizing.
Printing and Sharing Your Menu
After creating a custom menu in PicMonkey, the next steps are exporting the design and preparing it for printing. The way the menu looks and how it is shared with guests can enhance the overall wedding experience.
Exporting Your Design
To begin, the user should export the finalized menu design. In PicMonkey, click on the “Download” button found in the upper right corner.
The recommended file format for printing is PNG or PDF, as both offer high-quality resolution.
Users can choose specific dimensions to fit their chosen printing style. It’s important to consider size, particularly if the menu is to be displayed at each table setting or as part of a larger display.
Saving the file with a clear name will help locate it easily later.
Printing Tips
When it comes to printing, several factors will affect the final product.
First, selecting the right paper is crucial. Options like card stock or matte paper often provide a more professional look.
Next, she should consider the printing method.
For a budget-friendly option, using a home printer may work, but visiting a local print shop can yield better results. Print shops often have advanced equipment that can enhance the final quality.
Finally, it’s wise to print a test copy. This step allows for any adjustments in design before printing multiple copies.
Balancing quality and budget will help create a perfect menu for the special day.