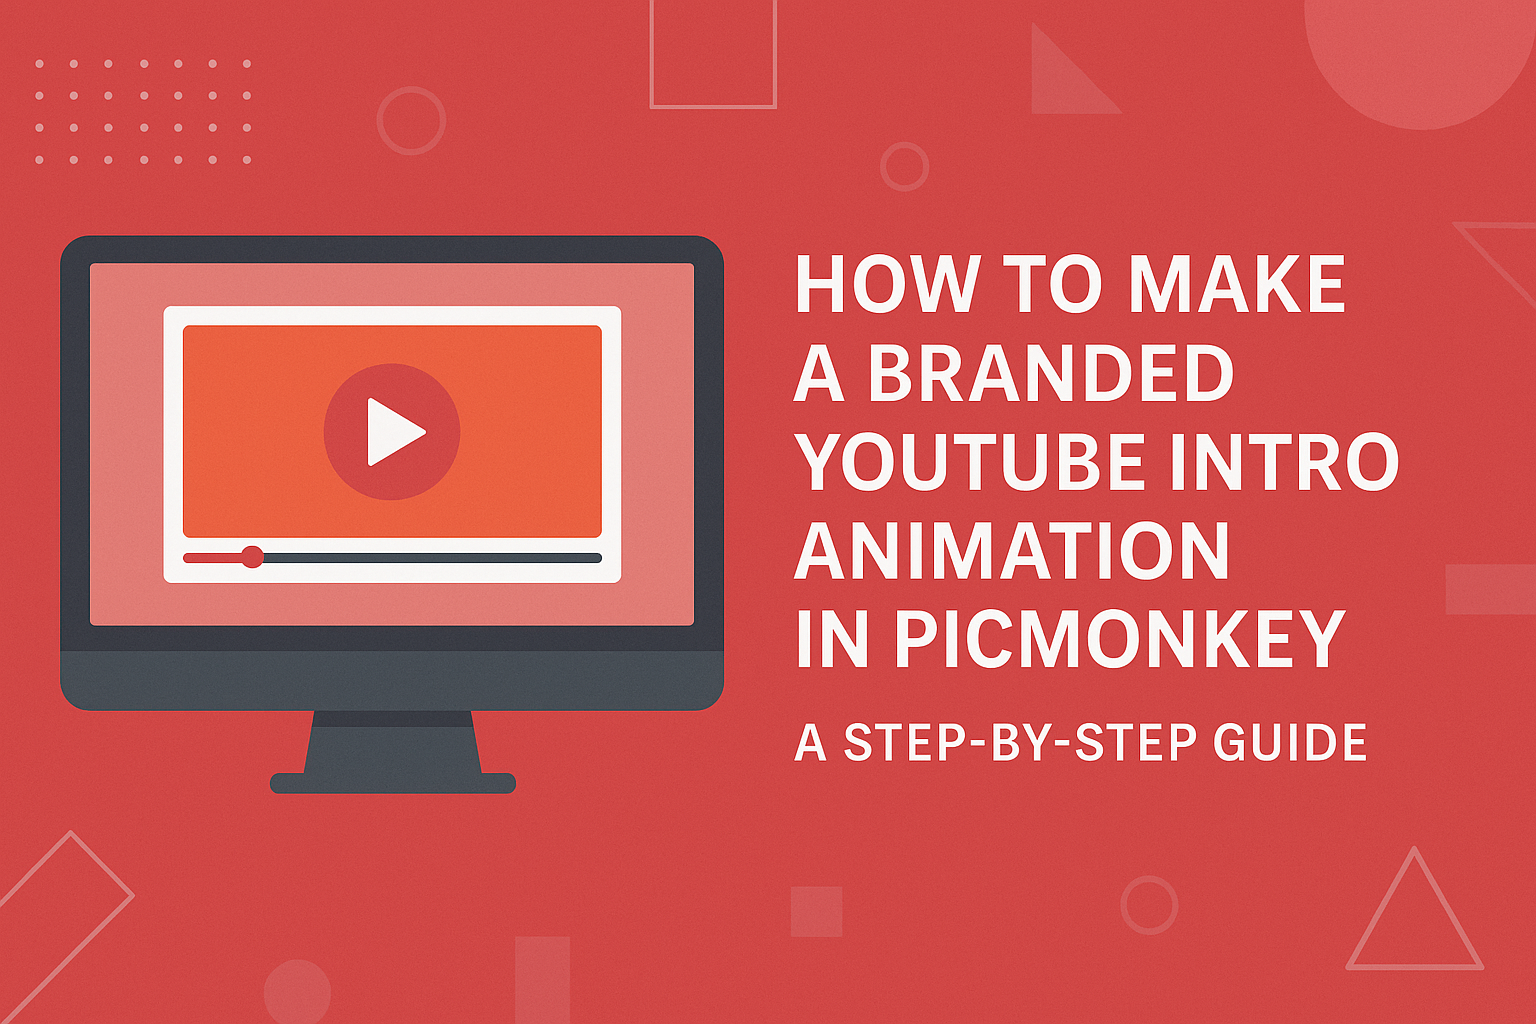
Creating a branded YouTube intro animation can greatly enhance a channel’s identity and attract viewers.
Using PicMonkey, anyone can easily design a professional-looking intro that showcases their unique style and message. This tool offers a range of templates and customization options to suit different themes and personal brands.
By exploring PicMonkey’s user-friendly features, creators can incorporate graphics, fonts, and colors that reflect their content. This not only grabs attention but also sets the tone for what viewers can expect from the videos.
With a few simple steps, he or she can make an intro that stands out in the crowded world of YouTube.
Engaging viewers right from the start is crucial in maintaining their interest. A well-crafted intro serves as a powerful introduction, making it more likely for viewers to stick around for the rest of the video.
Creating this intro in PicMonkey is a fun and creative way to enhance any YouTube channel.
Getting Started with PicMonkey
PicMonkey offers tools that make creating a branded YouTube intro easy.
Users can design custom graphics and animations with its user-friendly features, which are perfect for beginners and experienced creators alike.
Creating an Account on PicMonkey
To start using PicMonkey, individuals first need to create an account. This process is quick and straightforward.
They can sign up with an email address or use social media accounts for faster access.
After signing up, users can choose from a free trial or various subscription plans. The free trial allows exploration of all features. This means users can test the tools before committing to a plan.
Overview of PicMonkey’s Interface
PicMonkey’s interface is designed for ease of use. Once logged in, users are greeted with a clean workspace.
Tools are clearly labeled, making navigation simple.
At the top, there are options for designing graphics, editing photos, or creating videos. The left sidebar contains templates, backgrounds, and elements users can drag and drop into their projects.
Helpful tutorials are available, guiding users on how to utilize different features. This support makes learning quick and enjoyable.
Importance of a Branded YouTube Intro
A branded YouTube intro adds professionalism to videos. It helps in creating a unique identity that viewers can recognize.
Consistency in branding enhances recall and builds a loyal audience.
Using custom graphics in intros makes videos stand out. It also sets the tone for the content. An engaging intro keeps viewers interested from the start.
Incorporating brand colors and logos into the intro strengthens brand presence. This reinforces the image the creator wants to project to their audience.
Designing Your Intro Animation
Creating a stunning intro animation starts with choosing the right template. Customization can transform a basic design into something unique. Including a logo adds a personal touch that makes the intro stand out.
Selecting a Template
Choosing a template is the first step in creating an eye-catching intro animation. PicMonkey offers a variety of templates designed specifically for videos.
Users can browse through categories that fit their channel’s style and theme.
Consider the mood you want – whether it’s fun, professional, or artistic. Selecting a template that captures this mood is essential. Templates often come with built-in animations and effects, making it easier to start the design process.
Make sure to select one that supports your video’s content. A good template sets the foundation for a polished look.
Customizing the Template Elements
Once a template is selected, customization allows for personal expression. PicMonkey provides options to adjust colors, fonts, and animations.
Users can change the background color to match their brand identity. They can also swap out fonts to ensure messaging aligns with their channel’s voice. Adding animations can enhance the dynamic feel of the intro, making it more engaging.
Adjusting timing and effects will create a smoother flow. Simple changes can make a big difference, so experimenting is encouraged. This is where creativity shines.
Adding Your Logo
The logo is one of the most important elements of an intro. It represents the brand and creates recognition.
Users can upload their logo easily into PicMonkey.
Placement is key; positioning the logo where it catches the viewer’s eye is important. It should be visible but not overpowering.
Adjusting the size ensures it fits well into the design. Adding effects like fades or slide-ins can give the logo a professional touch. A well-integrated logo makes the brand memorable and enhances the overall aesthetics of the intro animation.
Animating the Elements
Animating elements in PicMonkey adds life and excitement to a YouTube intro. It allows users to create engaging visuals that capture audience attention. Here’s how to effectively utilize PicMonkey’s animation features.
Using PicMonkey’s Animation Tools
PicMonkey offers a variety of animation tools to enhance your intro.
First, users can select an element, like text or graphics, and click on the “Animate” button. This will bring up several animation options.
Users can choose different styles such as fade, slide, or grow. By selecting various animations for different elements, they can create a dynamic and flowing design. It’s helpful to preview each animation to see how it looks in action.
Additionally, layering elements with different animations can give a professional touch. This way, elements do not appear all at once, creating a more polished look. Users can experiment with combinations to find the best fit for their brand.
Setting Animation Timings
After selecting animations, adjusting timings is crucial for smooth transitions.
PicMonkey allows users to set how long each animation lasts. This is done by clicking on the “Duration” option after selecting an animation.
It is important to match the timing with the overall feel of the intro. Short durations can create a fast-paced effect, while longer ones can give a relaxed vibe. Users should aim for a balance that fits the brand.
Also, consider the delay feature. This allows users to set when each element begins its animation. This staggered effect can help guide the viewer’s eye through the intro smoothly. Adjusting these settings can make the intro more engaging and professional.
Exporting Your YouTube Intro
When it’s time to export the YouTube intro, selecting the right file format and optimizing it for YouTube is crucial. These steps ensure the intro looks great and loads smoothly on the platform.
Choosing the Right File Format
Selecting the file format can impact the quality and compatibility of the video. The most recommended formats for YouTube are MP4 and MOV.
- MP4 is widely supported and provides a good balance between quality and file size. It’s ideal for most users, especially for fast uploads.
- MOV offers high quality but can result in larger file sizes, which may slow down uploads.
It’s important to check if the selected format meets YouTube’s upload guidelines.
Keeping the video’s resolution high can enhance the visual appeal, making the intro more engaging for viewers.
Optimizing for YouTube
To ensure the YouTube intro looks its best, consider a few optimization tips.
-
Resolution: Aim for a resolution of 1920 x 1080 pixels (Full HD). This format maintains clarity on different devices.
-
Length: Keep the intro short and snappy, ideally between 5-10 seconds. This allows viewers to engage quickly before the main content.
Lastly, check the file size. YouTube allows uploads of up to 128 GB, but smaller files will upload faster and be easier to manage. These practices help create a polished and professional-looking intro animation.