Designing a custom album cover can be a fun and rewarding experience for any musician.
With PicMonkey’s user-friendly tools, anyone can create a stunning cover in just a few clicks.
Whether an artist wants to showcase their style or convey the mood of their music, PicMonkey offers templates and graphics that make the process simple and enjoyable.
Exploring the design options available is key to making a unique cover.
PicMonkey allows users to experiment with colors, shapes, and fonts, giving each album a personal touch. This flexibility ensures that every artist can reflect their individual creativity and vision through their cover art.
In today’s digital world, a captivating album cover can make a significant impact. An eye-catching design helps grab attention and can draw listeners in. Creating a custom cover in PicMonkey not only enhances an artist’s brand but also adds a professional flair to their music.
Getting to Know PicMonkey
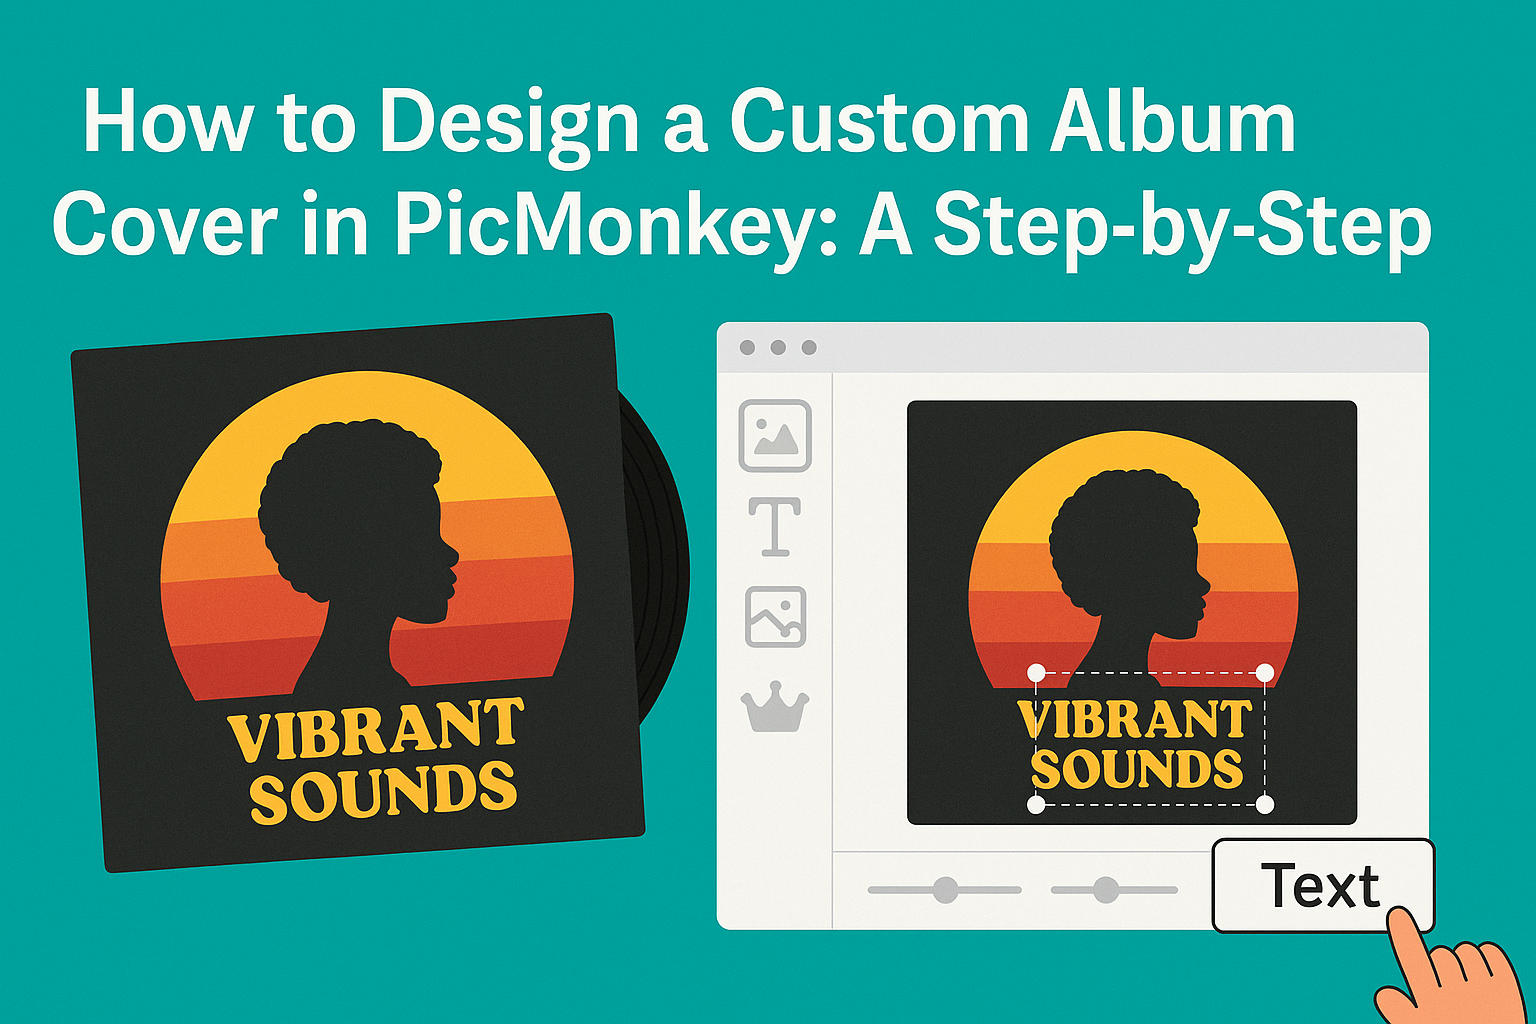
PicMonkey offers a user-friendly platform for creating album covers that sparks creativity. Understanding its interface and tools is essential for making the design process smooth and enjoyable.
Navigating the Interface
When users first open PicMonkey, they are greeted with a clean and straightforward layout. The main dashboard features a navigation bar at the top, where they can access options like “Templates,” “Photos,” and “Graphics.”
On the right side, users will find their work area, where they can drag and drop elements onto their canvas.
The left sidebar provides quick access to editing tools such as text, images, and frames.
With these organized sections, users can easily switch between tasks, create custom designs, and keep their workspace tidy. Familiarizing oneself with the layout makes the design experience more efficient.
Understanding the Tools and Features
PicMonkey is packed with features designed to help users craft stunning album covers. Key tools include:
- Templates: These provide a solid starting point for designs. Users can choose from various styles and genres.
- Graphics and Text: Users can add images and text with adjustable fonts, colors, and sizes. This makes it easy to personalize any design.
- Photo Effects: Various filters and effects enhance images, allowing users to apply professional touches effortlessly.
Additionally, PicMonkey allows for easy exporting and sharing of finished designs. Whether users want print-ready files or social media formats, they have multiple options available. By exploring these tools, users can maximize their creative potential.
Starting Your Album Cover
Designing an album cover can be an exciting process. The first steps involve making crucial choices about dimensions and selecting the right template. These decisions set the foundation for a visually appealing album cover.
Choosing the Right Dimensions
When creating an album cover, dimensions matter a lot. Standard album covers are typically 12 inches by 12 inches. This square shape fits well both physically for vinyl records and digitally for online platforms.
Before starting, he should decide whether the cover will be for physical or digital use.
For digital covers, he can consider different sizes like 1400 x 1400 pixels for streaming services. Ensuring that the dimensions fit the platform will prevent awkward cropping or distortion later on.
If unsure, it is a good idea to check the specific requirements of the service where the album will be released. Most platforms provide guidelines that make the process smoother.
Selecting a Template
Choosing a template can simplify the design process. PicMonkey offers a variety of album cover templates tailored to different styles and genres. He can browse these templates and pick one that aligns with his musical vision.
After selecting a template, customization becomes easy. He can change colors, adjust layouts, and add his images or graphics. This flexibility allows for a personal touch while saving time on the design process.
It’s helpful to explore various categories and find a template that resonates with the intended message of the album. This ensures the cover not only looks good but also communicates the essence of the music effectively.
Customizing Your Design
Customizing a design in PicMonkey allows users to bring their creative vision to life. By carefully selecting images, text, and effects, they can create an eye-catching album cover that reflects their style.
Adding Images and Graphics
To start, users can add images and graphics that enhance their design. PicMonkey offers a large library of free stock photos and graphics. Users can also upload their images easily.
When choosing images, consider how they fit the theme of the album. It’s essential to maintain clarity and relevance.
Adding overlays, such as shapes or icons, can create a unique look, helping to draw attention to key elements.
Users can adjust the size and placement of images. This can be done by clicking and dragging the corners. Experimenting with different layers makes the design more dynamic.
Experimenting with Text and Fonts
Text plays a crucial role in any album cover. In PicMonkey, users can choose from a variety of fonts to find the perfect match for their music style.
Mixing and matching fonts creates interest. For example, bold headers can grab attention, while smaller text provides additional details.
Users should ensure the text is readable against the background.
Color is also important. Choosing colors that contrast well with the background makes the text stand out.
Additionally, adding effects such as shadows or outlines can enhance visibility.
Using Filters and Effects
Filters and effects add a professional touch to album covers. PicMonkey offers numerous options for enhancing images quickly.
Users can apply filters to change the mood and vibe of their cover.
For added creativity, experimenting with textures or overlays can give the cover a distinct look.
Adjustments like brightness, contrast, and saturation help to perfect the overall appearance.
Finally, subtle effects such as blurring or fading can create focus on specific areas. This technique guides the viewer’s eye, making the design more engaging.
By using these elements thoughtfully, users can achieve a polished and eye-catching result.
Finalizing Your Album Art
Once the design is complete, it’s important to make sure it is saved properly and prepared for printing. The following steps will help ensure the album art looks great in any format.
Saving and Exporting Your Design
When saving the album cover in PicMonkey, users should choose the right file format. For online use, PNG or JPEG are ideal. Both formats allow clear images with manageable file sizes.
For print, users should consider saving as a TIFF or high-resolution PDF. These formats maintain quality for physical copies.
Before exporting, check the dimensions to ensure they meet standard album cover sizes, usually 12×12 inches for vinyl. Always select the highest resolution available, preferably 300 dpi, to keep artwork crisp.
Tips for Print-Ready Designs
To create print-ready designs, attention to color settings is essential.
Using CMYK mode rather than RGB helps in achieving colors that match print outputs. Also, ensure that any text is legible.
Bold fonts work well for album titles. Additionally, images should extend beyond the album cover edges to avoid blank spaces after trimming.
It is wise to keep a margin around the edges, typically around 0.125 inches. This practice ensures that no important details are lost when cutting the finalized piece.
Finally, reviewing the design on different screens can help gauge its clarity and impact before the final print process.