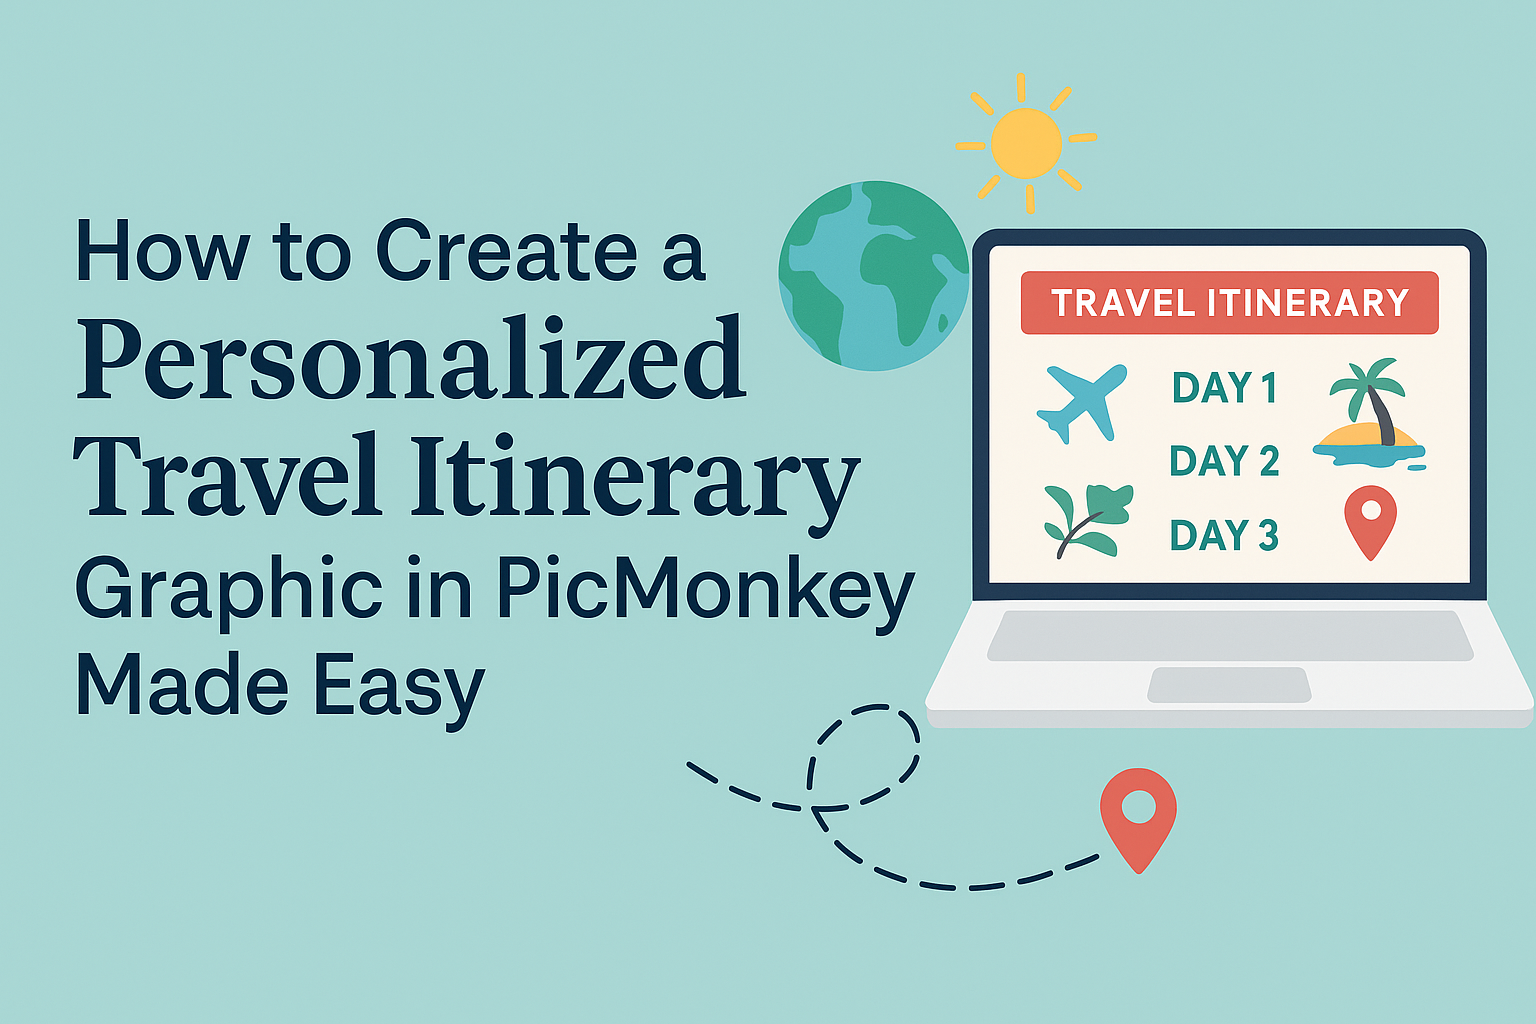
Creating a personalized travel itinerary graphic can make planning trips much more enjoyable and organized.
With PicMonkey, anyone can design a unique and visually appealing itinerary that fits their travel style and needs. This easy-to-use tool allows travelers to express their creativity while keeping all essential details in one place.
As trips can often become overwhelming, having a well-structured itinerary makes it easier to stay on track and remember important activities. Customized graphics can also serve as an exciting keepsake from the journey.
By following simple steps, anyone can transform their travel plans into an attractive, shareable graphic.
Getting Started with PicMonkey
Getting started with PicMonkey is simple and fun. Users can easily set up their accounts and explore the interface to create beautiful designs quickly.
Below are the essential steps to begin creating a personalized travel itinerary graphic.
Setting Up Your PicMonkey Account
To create with PicMonkey, the first step is to set up an account.
Users can sign up by visiting the PicMonkey website. They can choose to register with an email or use existing accounts like Google or Facebook.
Once registered, users can select a plan that suits their needs. PicMonkey offers a free trial, which allows users to explore features before committing.
After signing up, users can customize their profiles and save their preferences. This process helps in managing projects efficiently.
Understanding the PicMonkey Interface
After signing up, users will see the PicMonkey interface. The main areas include the top toolbar, the design area, and a sidebar for tools.
In the top toolbar, users can find options for opening projects and accessing templates. The sidebar shows features like photos, graphics, and text options.
To create a travel itinerary, users can start by selecting a template. This saves time and provides a framework for their designs.
Experimenting with different tools and features in the interface will help users understand how to customize their projects effectively.
Designing Your Itinerary
Creating an eye-catching itinerary is an important part of trip planning. It helps travelers stay organized and excited about their upcoming adventures.
The following sections cover how to choose a template, customize the layout, and add essential destination details effectively.
Choosing a Template
Picking the right template is the first step in designing an itinerary. PicMonkey offers various templates tailored for travel planning.
When selecting a template, travelers should consider the style that fits their journey. For instance, some templates might be more colorful and fun, while others are clean and professional.
It’s often helpful to start with a layout that already has sections for dates, locations, and activities. This way, it saves time and simplifies the customization process.
Customizing the Layout
After selecting a template, customizing the layout is next. Users can change colors and fonts to match their personal style. Adding images can also enhance the visual appeal of the itinerary.
Tables can be useful for organizing information clearly. For example:
| Day | Activity | Time | Location |
|---|---|---|---|
| Day 1 | Arrive | 10:00 AM | Hotel |
| Day 2 | City Tour | 09:00 AM | Downtown |
This layout helps keep details easy to find at a glance. Keeping sections balanced and ensuring there’s not too much text can also help make the itinerary more user-friendly.
Adding Destination Details
Filling in destination details is crucial for a personalized itinerary. Travelers should include important information such as hotel names, check-in times, and local attractions.
It can also be beneficial to add notes about local cuisine or must-visit spots. Travelers may want to highlight key activities in bold or use bullet points for quick reading.
For example:
- Visit the Eiffel Tower
- Try local pastries
- Attend a cultural show
This approach not only adds a personal touch but also ensures travelers have all the necessary information they need for a smooth trip.
Personalizing Your Graphic
Creating a unique travel itinerary graphic can make planning more engaging and enjoyable. By incorporating images, customizing fonts, and adding personal touches, one can create a graphic that truly represents their travel style and preferences.
Inserting Images and Graphics
Images are essential for a vibrant itinerary graphic. They help convey the destination’s feel and excitement.
Start by collecting high-quality images that resonate with the places on the itinerary. Use PicMonkey’s image uploader to easily add these visuals.
Once imported, they can be resized and adjusted to fit the layout. Consider using overlays or shapes to highlight specific images, making them pop on the page.
Incorporate icons or graphics relevant to travel, like airplanes, suitcases, or landmarks. These elements enhance the design and make it visually compelling. A cohesive color scheme for these graphics will also tie the elements together nicely.
Playing with Fonts and Colors
Font choice and color play a significant role in setting the graphic’s tone. PicMonkey offers various font styles that can match the vibe of the trip, whether it is adventurous or relaxing.
Using a mix of bold headers and easy-to-read body text can guide the viewer’s eye through the graphic. Ensure that the fonts chosen are legible, even at smaller sizes.
Colors can evoke different emotions, so choosing a palette that reflects the destination is key. For example, bright colors may work well for tropical vacations, while muted tones could suit a mountain retreat.
Create contrast by pairing light text against darker backgrounds or vice versa. This ensures clarity and makes the graphic more appealing.
Adding Personal Touches
Personalization adds unique flair to the travel itinerary.
Start by including personal touches like handwritten notes or doodles.
PicMonkey allows adding text boxes where these can be created virtually.
Use custom color blocks for special activities or highlight memorable experiences planned for the trip.
This could include marking birthdays or anniversaries.
Incorporating maps or routes is another great way to make the graphic special.
It provides a visual representation of travel plans, making them easier to follow.
Lastly, sharing the itinerary with friends or family will invite their input.
Their thoughts may inspire further personalization, adding even more joy to the trip planning process.