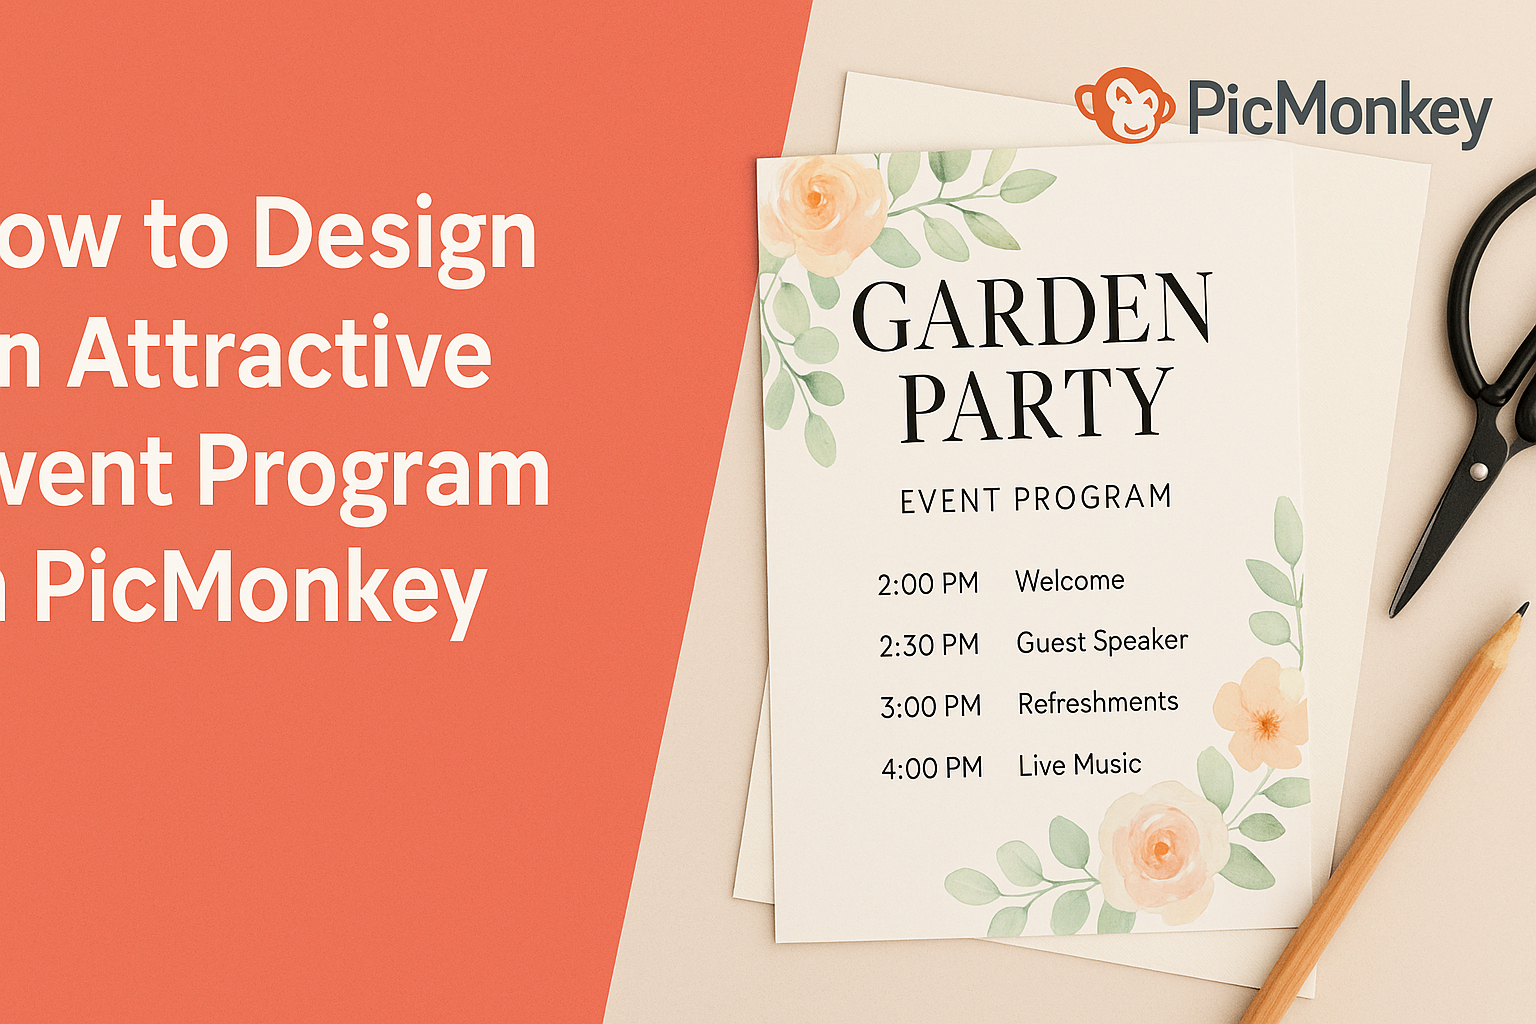
Designing an attractive event program can set the tone and engage attendees right from the start. Using PicMonkey allows anyone to create a visually appealing program quickly and easily, making it a great tool for event planners.
With its user-friendly features, individuals can customize their designs to fit their event’s theme and style.
Whether hosting a wedding, corporate meeting, or community festival, an eye-catching program can enhance the overall experience. Readers will discover how to utilize templates, graphics, and layout options to capture their audience’s attention.
By understanding the design basics, they can produce a professional-looking program that reflects the event’s spirit.
In this blog post, helpful tips and practical insights show how to make the most of PicMonkey. From selecting the perfect colors to incorporating engaging images, there’s something for everyone looking to impress their guests.
Designing an event program has never been easier or more fun!
Getting Started with PicMonkey
PicMonkey is a user-friendly tool for designing eye-catching event programs. Whether it’s creating stunning graphics or editing photos, understanding the basics is essential for maximizing the platform’s features.
Creating Your Account
To start using PicMonkey, the first step is to create an account.
Users can visit the PicMonkey website and click on the “Sign Up” button. They can register with an email address or sign up using Google or Facebook for convenience.
Once the account is created, users can select a subscription plan. There are free trials available, which allow them to explore premium features for a limited time.
After confirming their account through email, users will have access to the PicMonkey dashboard.
Navigating the Interface
Navigating the PicMonkey interface is straightforward.
Upon logging in, users will see the main dashboard, which displays various options. The top menu includes buttons for creating a new design, accessing templates, and viewing past projects.
The left sidebar is where users can find the main tools needed for editing. Options for adding text, images, and graphics are readily available here.
Users can also easily adjust colors, layers, and effects through simple drag-and-drop actions.
Choosing the Right Template
Selecting an appropriate template is crucial for creating an attractive event program.
PicMonkey offers thousands of pre-designed templates sorted by category. Users can find options specifically tailored for events, such as invitations, flyers, and programs.
When choosing a template, it’s important to consider the event’s theme and color scheme. Users should look for templates that reflect the mood of their event.
After selecting a template, they can customize it with their own text, images, and branding elements to make it uniquely theirs.
Designing Your Event Program
Creating an engaging event program is crucial for keeping attendees informed and excited. This includes careful attention to the layout, the text used, and the images incorporated into the design. Each of these elements plays a vital role in the effectiveness of the program.
Setting Up the Layout
The layout of the event program should be clear and visually appealing.
It is important to choose a template that matches the theme of the event. A well-organized layout helps the reader quickly find information.
Using columns can increase readability. For instance, dividing the program into sections like schedule, speakers, and venue information can guide the attendee. Keeping ample white space also prevents a cluttered look and makes the program more inviting.
Adding Text and Typography Tips
Text selection and typography significantly impact how the information is perceived.
Choosing fonts that are easy to read is essential. Sans-serif fonts often work well for digital formats, while serif fonts can add a touch of elegance for print.
Font size should vary to create a hierarchy of information. For example, headings can be larger and bolder, while the body text can be smaller. Key details like dates and times can be highlighted in bold to catch the reader’s attention.
Incorporating Images and Graphics
Images and graphics can enhance the program’s design and convey information effectively.
Using high-quality images related to the event theme can create visual interest. Event logos, speaker photos, or even venue shots can add a personal touch.
Graphics can be used to separate sections or highlight important information. Icons next to headings can provide visual cues. It is important to balance images with text, ensuring neither overpowers the other, to maintain readability.
Customizing and Branding
Creating a visually appealing event program involves careful customization and branding. This process helps to reflect the theme of the event and engages the audience effectively. Key aspects include selecting appropriate colors, applying visual effects, and incorporating branding elements like logos and sponsors.
Color Schemes and Palette Selection
Choosing the right color scheme is essential for making the event program eye-catching. A well-defined palette should align with the event’s theme and evoke the desired emotions.
Steps for selecting colors:
- Identify the Theme: Determine the main theme of the event.
- Choose a Base Color: Pick a primary color that represents the core message.
- Add Complementary Colors: Select two to three additional colors that work well together.
Using tools in PicMonkey, designers can easily create visual harmony within their programs. They can explore different color palettes and adjust shades as needed to achieve a cohesive look for the entire document.
Applying Filters and Effects
Filters and effects can enhance the visual appeal of the event program. They add depth and creativity, ensuring the program stands out.
Tips for using filters:
- Use Sparingly: Apply filters carefully to avoid overwhelming the design.
- Enhance Images: Use effects on photos to maintain their quality while adding visual interest.
- Maintain Consistency: Ensure that any filters used fit the overall brand image and theme.
In PicMonkey, users can preview filters before applying them, allowing for smooth adjustments. This helps make the design process efficient and enjoyable.
Inserting Logos and Sponsors
Including logos and sponsor branding is vital for recognition and sponsorship visibility. This element connects the event with its partners and adds professionalism to the program.
Best practices for inserting logos:
- Use High-Resolution Images: Ensure logos are clear and visually appealing by using high-quality files.
- Position Strategically: Place logos where they are visible but do not dominate the design.
- Maintain Proportions: Resize logos without stretching to keep them looking professional.
PicMonkey provides easy tools to upload and adjust logos, helping to integrate them seamlessly into the program design. This enhances brand visibility while maintaining an attractive layout.
Final Touches and Preparation
It is crucial to finalize an event program with attention to detail. This ensures that the design is polished and ready for printing or digital distribution. Focusing on proofreading, exporting, and printing considerations will enhance the program’s quality.
Proofreading and Editing
Careful proofreading is essential. Mistakes can distract from the event’s message.
- Check for Typos: A quick read-through can catch spelling or grammatical errors.
- Validate Information: Ensure all dates, times, and locations are correct.
- Consistency: Look for consistent font sizes, colors, and styles.
Having another set of eyes can also be beneficial. Inviting a colleague to review the program can uncover errors that one might miss.
It’s best to take your time with this step to present a professional-looking program.
Exporting Your Design
Once the proofreading is complete, it’s time to export the design. PicMonkey offers several file formats for this purpose.
- File Types: Choose between JPEG for images or PDF for documents.
- Resolution: Opt for a high-resolution setting if printing. This ensures clarity and sharpness.
- Quality Settings: Adjust the quality settings to strike a balance between file size and visual quality.
Always save a copy of the editable file. This enables future changes or updates without starting from scratch.
Printing Considerations
Printing is the final step in bringing the program to life.
Handling this stage properly will ensure a great outcome.
- Paper Selection: Choose high-quality paper for a professional feel. Glossy or matte finishes may enhance the design’s appearance.
- Test Print: Conduct a test print to check colors and layout.
This prevents surprises in the final version.
- Print Quantity: Consider how many copies will be needed based on the attendance and distribution plan.