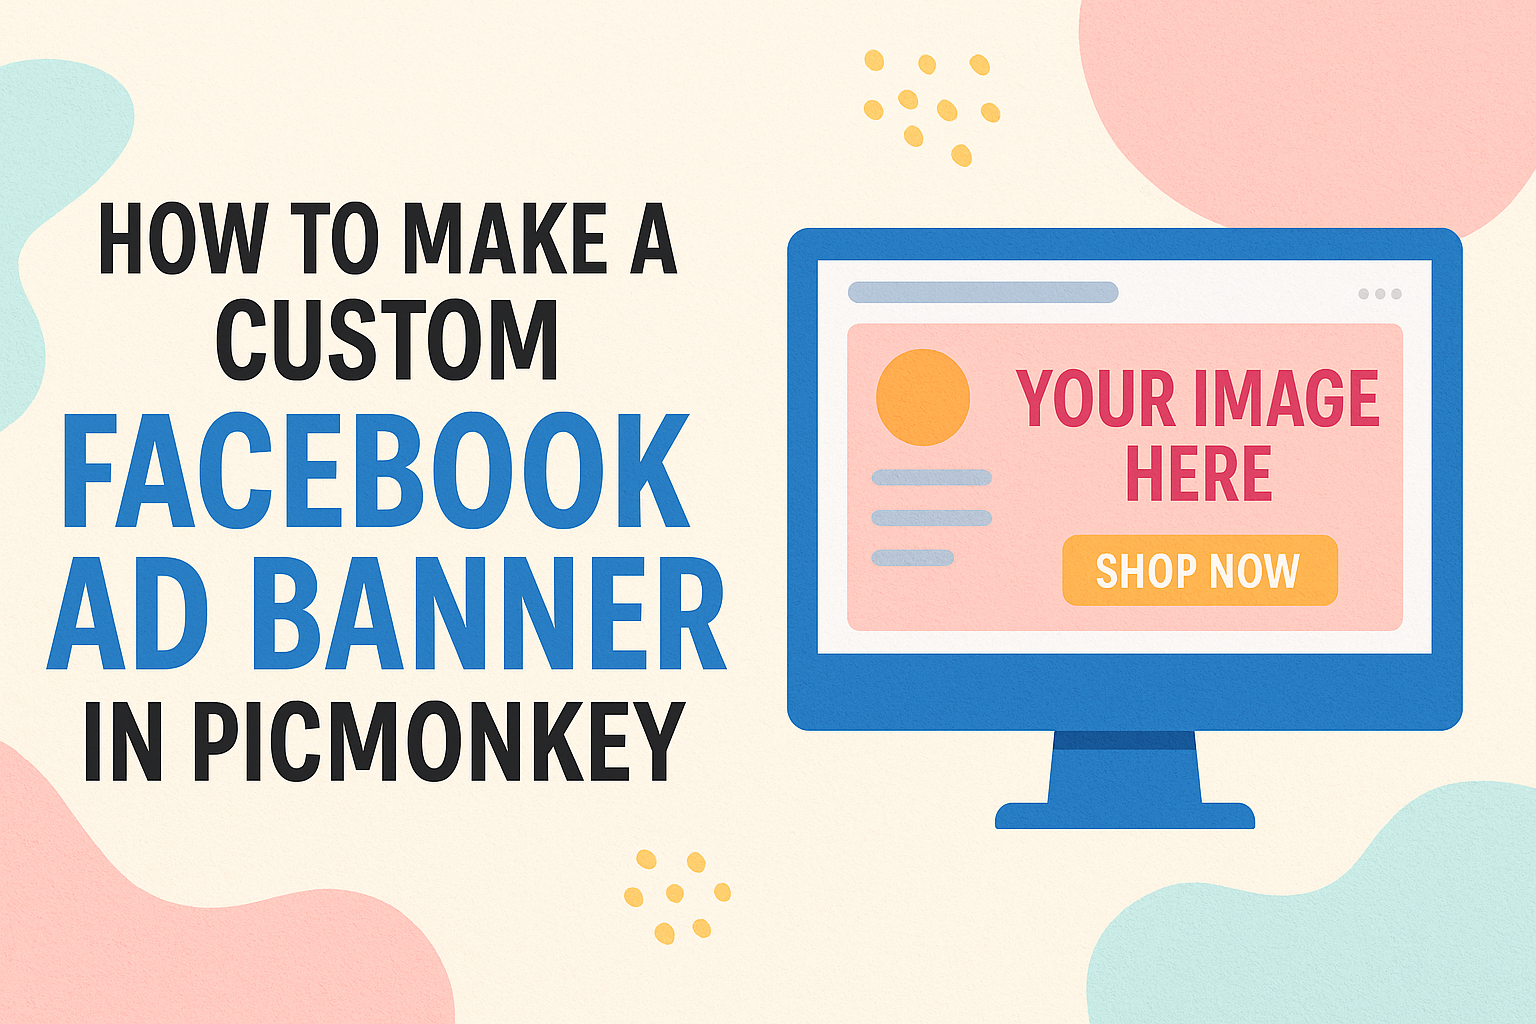
Creating eye-catching ad banners is important for any business looking to stand out on Facebook.
Using PicMonkey, anyone can easily design a custom Facebook ad banner that reflects their brand and captures attention. With user-friendly tools and templates, this platform allows creatives of all skill levels to produce professional-looking graphics in no time.
In this guide, readers will discover simple steps to make their own banners that showcase products, services, or special promotions. By following these tips, they can learn to use various features in PicMonkey to enhance their ad campaigns and engage their audience effectively.
Whether for a small business or a personal project, a well-designed banner can make all the difference in online advertising.
Getting Started with PicMonkey
To begin creating a custom Facebook ad banner, users first need to set up their account.
After that, they will navigate the dashboard to find the tools they need. PicMonkey offers an easy way to access the Ad Maker tool and start designing.
Create an Account or Log In
The first step in using PicMonkey is to create an account. Users can sign up using their email address or connect through Google or Facebook for convenience. After creating an account, they must verify their email to activate it.
For those who already have an account, logging in is straightforward.
Once logged in, users can choose between different subscription plans to access various features. The free version provides plenty of options, but upgrading to a paid plan unlocks premium tools and assets.
Navigating the Dashboard
Once logged in, users will find themselves on the PicMonkey dashboard. This is the control center for all design activities. The layout is user-friendly, featuring clear sections for design projects, templates, and tutorials.
On the left side, a menu lists different design types, including social media graphics and ads. Users can search for specific templates by typing keywords into the search bar.
The center area showcases recent projects, making it easy to find work in progress.
Accessing the Ad Maker Tool
To create a Facebook ad, users should select the Ad Maker tool from the dashboard. This tool provides a variety of customizable templates specifically designed for Facebook promotions. Users can browse through templates, which are categorized for easy access.
After choosing a template, users can edit text, images, and colors. The editing tools are found on the right side of the screen, allowing for a smooth design experience. Once satisfied, users can save their ad or continue to adjust it. PicMonkey ensures that creating high-quality ads is quick and enjoyable.
Designing Your Banner
Creating a custom Facebook ad banner requires careful attention to detail. Choosing the right template, customizing layout and background, adding text, and incorporating branding elements are all important steps in the design process.
Choosing the Right Template
Selecting the right template sets the foundation for the entire banner. PicMonkey offers various templates specifically designed for Facebook ads. Users can browse categories or search for specific styles that match their vision.
When choosing a template, consider the message and feel of the brand. For instance, a sleek and modern template fits tech companies, while a colorful, playful layout may suit a children’s brand.
Ensure the template is adaptable to custom fonts and colors to further personalize the banner.
Customizing Layout and Background
After selecting a template, it’s time to focus on the layout and background. Users can rearrange elements or remove them to better fit their content. This is key to creating a balanced design that attracts viewers’ attention.
The background color or image plays a crucial role as well. Users can opt for solid colors, gradients, or images that align with their branding.
It’s important to ensure that the background does not overload the design. Simple backgrounds often enhance the overall impact of the banner.
Adding Text and Fine-Tuning Typography
Text is a vital element that communicates the message directly. When adding text, it’s essential to type clear and concise phrases.
Use a maximum of two or three different font styles to maintain readability.
Fine-tuning typography includes adjusting font size, spacing, and alignment. This step helps create visual harmony across the banner.
Bold or italicized text can highlight important points or offers. The key is to ensure that the text remains easy to read, even on smaller screens.
Incorporating Branding Elements
Incorporating branding elements is crucial for recognition. This includes adding the company logo and using brand colors consistently throughout the banner. Such details reinforce the brand identity and create a cohesive look.
Users can also add unique graphics or icons that reflect the brand’s personality. These elements should complement the overall design without overwhelming it.
Consistency in branding helps audiences connect and relate to the banner on a personal level.
Enhancing Your Ad with Graphics and Effects
To make a Facebook ad banner stand out, using graphics and effects is essential. Adding visual elements can grab attention and reinforce the message. Here are some effective ways to enhance the design.
Utilizing Stock Photos and Illustrations
Stock photos and illustrations can significantly improve the appeal of an ad. PicMonkey offers a range of high-quality images that users can access easily. Choosing images that relate directly to the ad’s message is key.
It’s important to consider the emotions that photos evoke. A warm, inviting image can create a sense of comfort, while vibrant visuals may convey excitement.
Users should browse PicMonkey’s library to find illustrations that fit their brand style.
Don’t forget to adjust the brightness, contrast, and saturation to make the selected images pop. Integrating the right visuals can create a strong connection with the audience.
Applying Filters and Textures
Filters and textures add depth to graphics in an ad. PicMonkey provides a variety of filters that can change the mood of an image quickly. For example, a vintage filter can give a warm, nostalgic feel.
Textures can also add interest to a flat image. Users can layer textures over their backgrounds to create a unique look.
Using textures that match the brand’s aesthetic enhances the ad’s identity.
Care should be taken not to overdo it. A subtle touch is often more effective than a heavy hand. Combining filters with textures can result in a polished design.
Adding Icons and Shapes
Icons and shapes serve as visual cues that can guide thoughts and actions. They are helpful for highlighting important information or calls to action. PicMonkey allows users to easily add icons from its library.
When selecting icons, users should look for ones that align with their message. For example, a shopping cart icon is ideal for sales promotions.
Shapes can also be employed to create emphasis around text.
Color choice and placement matter greatly. Contrasting colors can draw attention to key points, while balanced placement keeps the design harmonious.
Smart use of icons and shapes can enhance clarity and visual storytelling.
Final Touches and Exporting
Before finalizing a Facebook ad banner in PicMonkey, it’s important to take a moment to review the design, ensure everything looks good, and save it properly. This section covers how to preview changes, save for future edits, and export the final product for Facebook.
Previewing and Adjusting Your Design
Previewing the design is crucial. PicMonkey provides a preview option that allows users to see how their banner will look on Facebook. By tapping the preview button, designers can check for any mistakes or misalignments.
If adjustments are necessary, they can easily be made in the editing interface.
It is helpful to zoom in on specific areas to ensure details are correct.
Using the alignment tools helps in positioning elements evenly. Consider adjusting colors or fonts to ensure they are vibrant and clear.
Saving the Banner for Future Edits
Once satisfied with the design, they should save it within PicMonkey. This allows for easy access later on if changes are needed.
To save, click on the “File” menu and select “Save As.” It’s a good idea to give the banner a clear name.
For users wanting to revisit the design, saving in the correct format is essential. Users can choose from various file formats like PNG or JPG, depending on their preferences.
Exporting and Uploading to Facebook
When ready to export, go to the “Download” option. This allows users to select the appropriate dimensions for Facebook banners.
It is important to ensure the file size meets Facebook’s requirements. Typically, a recommended size is 820 pixels by 312 pixels for banners.
After downloading, they can easily upload the banner to their Facebook business page. Just navigate to the page, click on the existing cover photo, and select the new banner to upload.