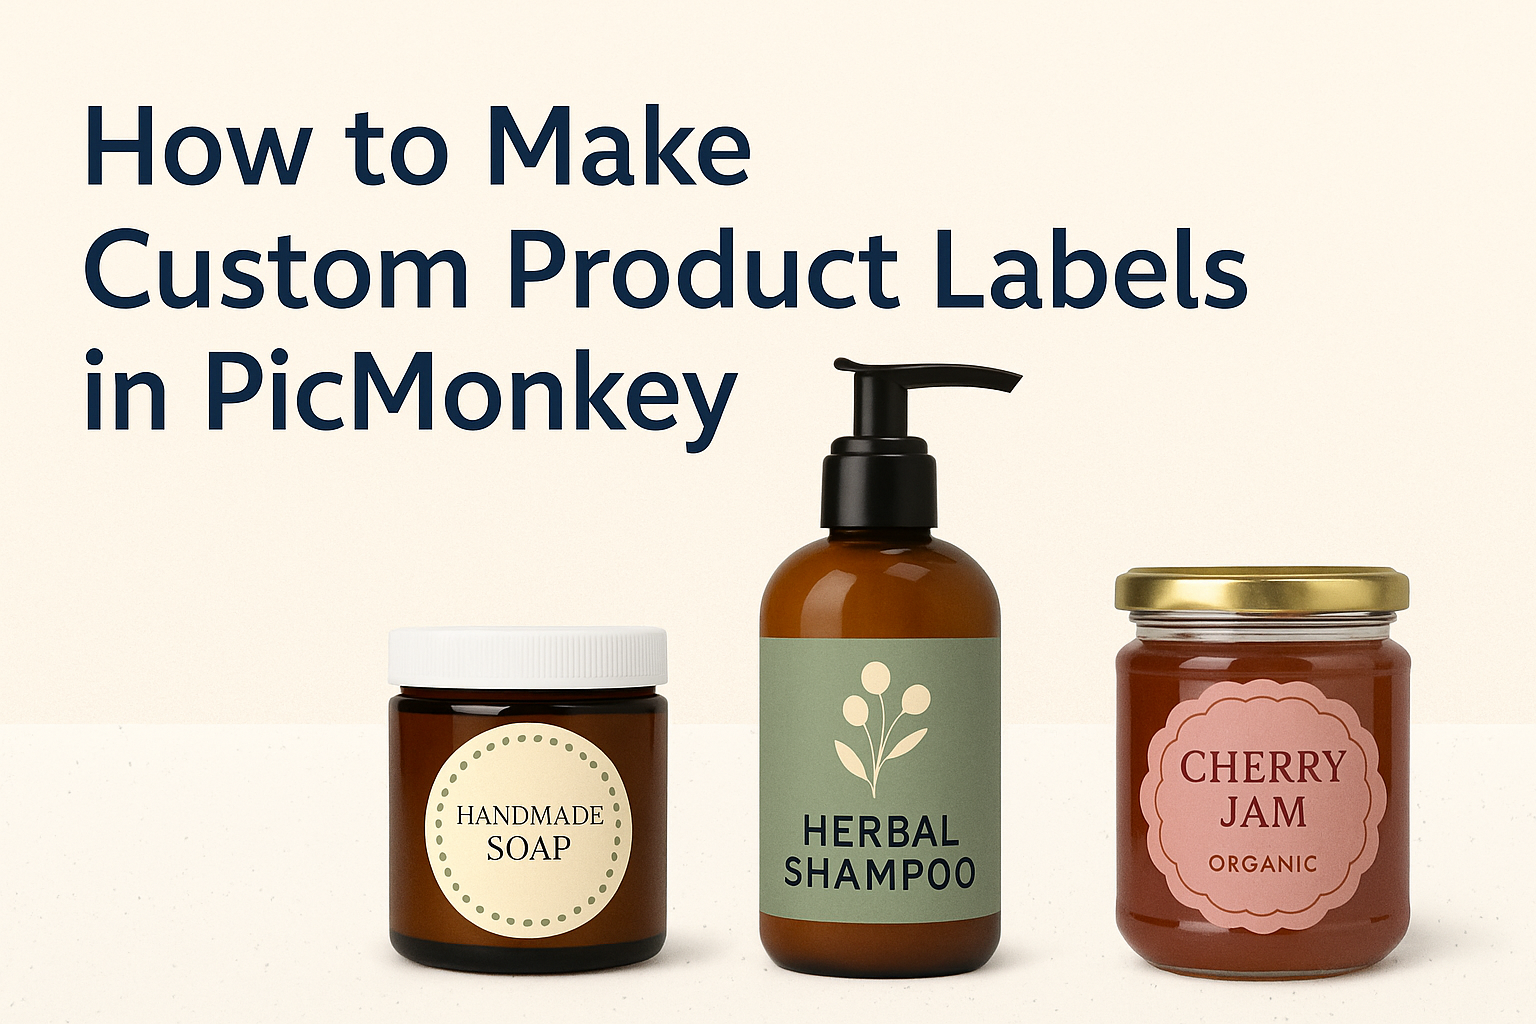
Making custom product labels can be a fun and rewarding project. With PicMonkey, anyone can create eye-catching labels quickly and easily.
This guide will show how to use PicMonkey’s tools and templates to design unique and professional labels that stand out.
Whether it’s for homemade gifts, a small business, or personal use, custom labels add a special touch. PicMonkey offers a range of features that allow for complete customization.
From choosing colors to adding text and graphics, the possibilities are endless.
By the end of this article, readers will feel confident in creating their own product labels. With simple steps and helpful tips, they will turn their ideas into reality. PicMonkey makes the design process enjoyable and accessible to everyone.
Getting Started with PicMonkey
To create custom product labels, users need to first set up their PicMonkey account. Understanding the key features will help them navigate the platform effectively.
Signing Up for an Account
Getting started with PicMonkey is easy.
Users can visit the PicMonkey website and click on the “Sign Up” button. They will be prompted to enter their email address, create a password, and choose a plan.
There’s a free trial option available that allows users to explore most features. After confirming their email, users can start designing right away.
It’s helpful to note that upgrading to a paid plan offers more tools, including premium graphics and templates.
Once registered, users can log in and access their dashboard to begin their design journey.
Overview of PicMonkey Features
PicMonkey offers a variety of features that are great for creating product labels. The platform includes a range of templates that can be customized to fit any brand style. Users can choose from different layouts and adjust sizes easily.
Key features include:
- Graphic Library: A vast collection of images and icons.
- Text Tools: Options for adding and styling text, including various fonts.
- Collage Maker: Ideal for combining multiple images in one design.
- Photo Editing Tools: Essential for enhancing images directly in the design.
These features make it straightforward for anyone to design eye-catching labels for their products.
Designing Your Product Label
Creating a product label involves several key choices that significantly affect the final design. Selecting the right canvas size, choosing a template, and customizing design elements are crucial steps in this creative process.
Selecting the Right Canvas Size
Choosing the right canvas size is essential for a successful label design.
Start by determining where the label will be placed, whether on a bottle, box, or another product. Measure the area accurately to ensure the label fits well.
Most label makers, like PicMonkey, offer standard sizes or custom dimensions. Stick to common label sizes for products like jars or bottles to simplify printing.
Tips for measurement:
- Use a ruler or measuring tape.
- Consider added space for cutting if printing at home.
- Allow extra room if the label is bending around a curve.
Choosing a Template
Templates can simplify the design process significantly. PicMonkey provides a range of template options suited for various products.
Selecting a template that resonates with the brand’s style can save time and inspire creativity.
When browsing templates, consider the theme of the product. For instance, a rustic template works well for homemade goods, while a sleek design may fit modern items better.
Users can also customize templates by changing colors, text, and images to achieve a unique look that represents the brand truthfully.
Customizing Your Design Elements
Customization helps make the label stand out. Once a template is selected, it’s time to tweak it.
PicMonkey allows users to modify graphics, colors, and fonts easily.
She can add graphics that represent the product or brand. Selecting fonts that are easy to read is crucial, especially from a distance.
Here are some customization ideas:
- Colors: Choose colors that align with the brand identity.
- Fonts: Mix fonts for the product name and information, but avoid using too many different ones.
- Images: Upload logos or personal images to enhance branding.
With these tools, she can create a product label that is not only beautiful but also functional and informative.
Adding Text and Graphics
Custom product labels become more appealing with the right text and graphics. Carefully selecting fonts and images can enhance the brand identity and make labels stand out.
Working with Text Tools
When using PicMonkey, the text tools are essential for adding a personal touch.
First, users can click on the ‘Text’ tab to access a variety of fonts.
They can choose from pre-matched text layouts that pair complementary fonts, making design easier.
Users should think about the message they want to convey and select a font that matches their brand style.
It’s also possible to customize font size, color, and effects. Text can be curved or shaped to fit specific designs, giving a unique look to the labels.
For best results, placing text strategically on the label can draw attention to important information like product names or ingredients.
Incorporating Graphics and Icons
Adding graphics and icons to a label can significantly enhance visual appeal. PicMonkey offers a large library of images, symbols, and icons for users to choose from.
These elements can highlight product features, making it easier for customers to find key details.
Users can also upload their own images to personalize labels according to specific needs.
When incorporating graphics, balance is important. Ensuring that images do not overshadow the text helps maintain clarity.
Size adjustments and positioning are simple with PicMonkey’s drag-and-drop functionality, allowing for precise placement. Users should consider using high-quality graphics to ensure professional-looking labels that effectively represent their brand.
Finalizing and Exporting Your Label
Before wrapping up the design process in PicMonkey, it’s essential to ensure that the label meets specific quality standards. This section covers checking resolution and alignment, exporting in different formats, and printing tips for optimal results.
Checking Resolution and Alignment
To make sure the label looks sharp and professional, it’s crucial to check the resolution.
The recommended resolution for printed labels is at least 300 DPI (dots per inch). This ensures that images and text appear clear without any pixelation.
Next, alignment plays a key role.
Users should zoom in closely to see if all elements are lined up correctly. Utilize grid lines if available, as they help in aligning text and graphics evenly.
It’s a good practice to test with a quick print on regular paper to see how everything fits. This step helps to catch any last-minute tweaks that may be needed.
Exporting in Different Formats
When it’s time to export the label, PicMonkey offers several formats. The most common formats are PNG, JPEG, and PDF. Each has its own advantages:
- PNG: Best for images with transparency. Great for stickers or labels with intricate designs.
- JPEG: Ideal for photographs or colorful labels. Just remember that this format does compress images.
- PDF: Perfect for printing labels at a professional print shop. It preserves quality and layout.
Selecting the right format depends on the intended use. Always save a copy in the original format for future edits. PicMonkey provides easy options for exporting, guiding users through the process with simple prompts.
Printing Tips for Labels
Before printing, there are a few tips to keep in mind.
First, always use high-quality label paper designed for printers. This type of paper ensures better adhesion and color vibrancy.
Additionally, make sure the printer settings match the paper type.
If using a home printer, select the “best quality” option.
Print a test page first to check colors and layout. Adjust settings if necessary.
Lastly, let the printed labels dry for a few minutes before handling. This prevents smudging and ensures a clean finish.