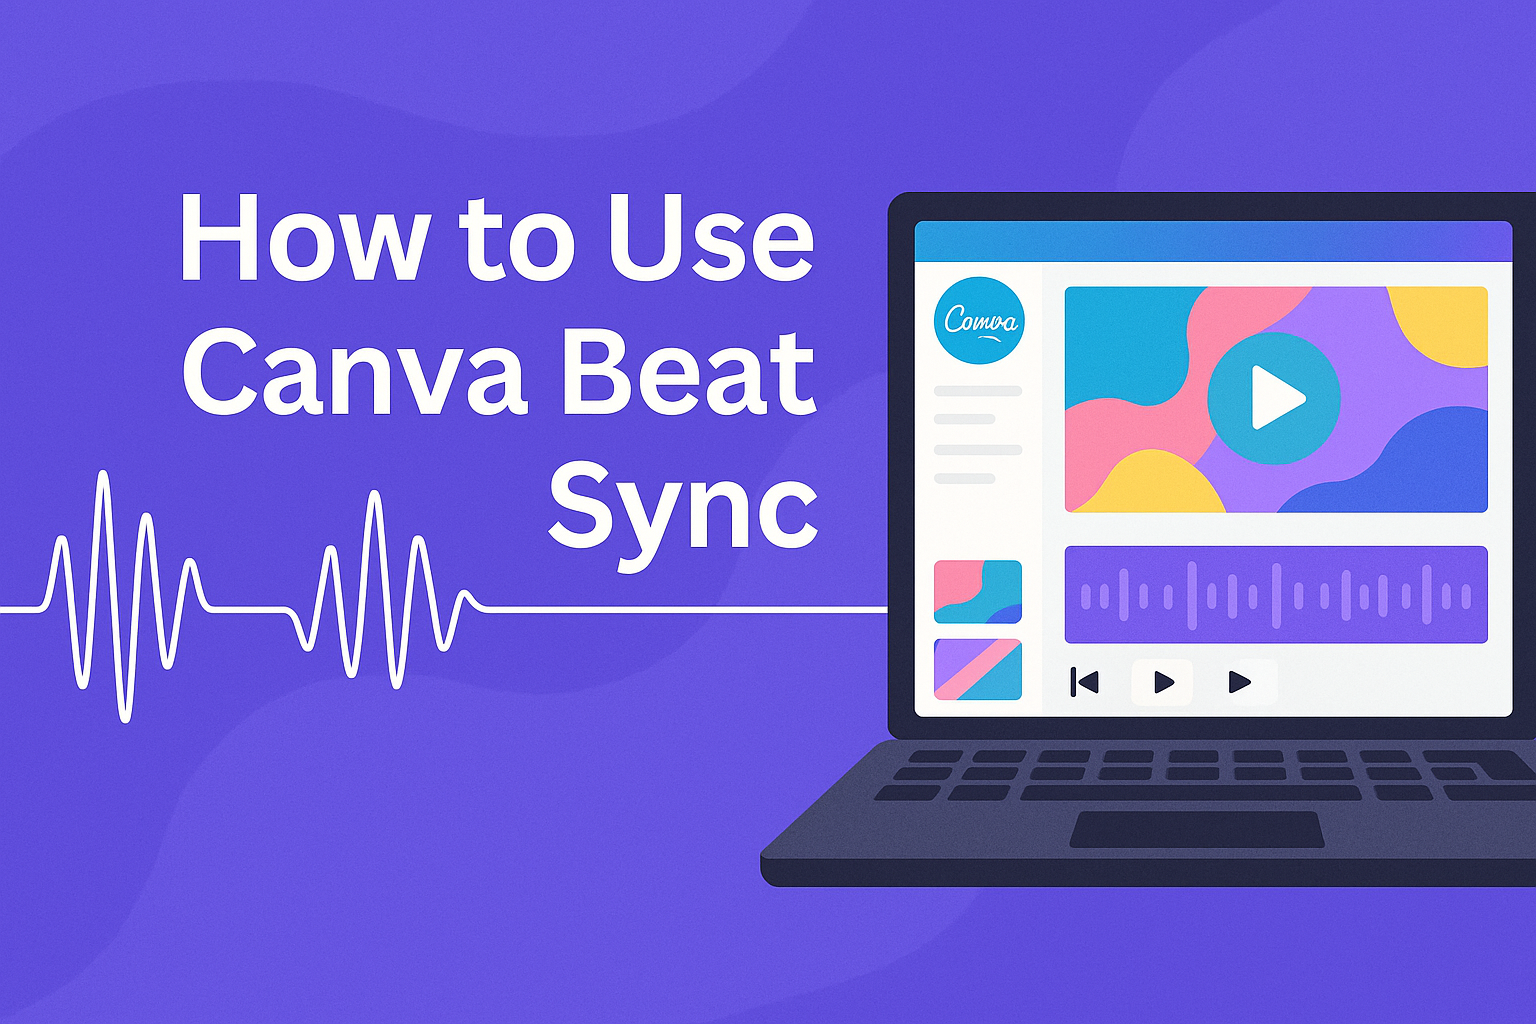
Canva has made video editing easier with its Beat Sync feature. This feature allows users to match their audio with video clips effortlessly.
Using Beat Sync, one can automatically time music with video footage. This makes projects more engaging for platforms like Instagram and TikTok. This tool is perfect for anyone looking to create vibrant videos without spending too much time on manual syncing.
With just a few clicks, users can upload their video and audio. Then, they can activate the Beat Sync feature to align them seamlessly. Many find this feature not only saves time but also enhances the overall quality of their videos.
Getting Started with Canva Beat Sync
Canva Beat Sync helps users easily match audio with video for a polished final product. Getting started involves creating a new project and selecting an appropriate template to best utilize this feature.
Creating a New Canva Project
To begin using Canva Beat Sync, the first step is to create a new project. A user can do this by logging into their Canva account and clicking on the “Create a design” button.
Users can then choose the format for their video, like Instagram Reels or TikTok. These formats often have specific dimensions that can enhance the experience when synced with music.
After deciding on a format, the editor opens, providing options to add video clips and other elements. This is the perfect time to upload any footage that needs syncing with the audio track.
A clean and organized workspace makes it easier for users to navigate and find their files later.
Selecting the Right Template for Beat Sync
Choosing the right template is crucial for effective Beat Sync. Canva offers a variety of templates tailored for different social media platforms.
Users should browse the template collection and select one that fits their video style and audience. Templates can save time and provide a consistent look.
Once a template is selected, it can be easily customized. Users can change colors, fonts, and layouts to match their brand or personal style. Crafting something unique will make the video stand out.
After customizing, it is simple to add audio and start utilizing the Beat Sync feature to create a synchronized, engaging video.
Adding Music to Your Design
Adding music to a design can enhance its impact and make it more engaging. Whether a user wants to upload their own audio or use songs from Canva’s library, it’s simple to get started.
Uploading Your Own Audio
To upload personal audio, the user needs to create or open a design in Canva. With the design open, they can locate the “Audio” option on the left panel. By clicking it, a menu will appear allowing them to select “Upload audio.”
Users can then choose files from their device, including popular formats like MP3 or WAV.
After uploading, the audio clip appears in the project. Users can drag and drop this clip into their timeline. This feature offers flexibility, allowing for custom soundtracks tailored to specific projects, like presentations or social media videos.
Using Canva’s Music Library
Canva provides a vast music library filled with various genres and styles. To access it, users can click on the “Audio” button from the left-side panel.
Within the music library, they can browse different categories or use the search bar for specific tracks.
Each track has a preview button to listen before adding it to the design. Once they find the perfect piece, clicking the “+” icon allows it to be added directly to the design. The seamless integration of this music can uplift videos and presentations, ensuring a polished final product.
Synchronizing Beats to Visual Elements
Canva’s Beat Sync feature helps users create engaging videos by perfectly matching video cuts to the music beat. By adjusting the settings and previewing synchronizations, creators can enhance their projects significantly.
Adjusting Beat Sync Settings
To begin synchronizing, users first need to select the audio file in Canva. They can then access the Beat Sync settings. This feature allows adjustments such as timing and synchronization speed.
Users should pay attention to the beat alignment option, which lets them choose specific beats for finer control. It’s also helpful to drag video clips closely to the markers that appear with the beats. This can create a seamless flow between the visuals and audio. Experimenting with these settings can lead to an impactful end result.
Previewing Beat Synchronization
After setting the beats, previewing is essential to check for any adjustments needed. Users can play the video and watch how the audio aligns with the visuals.
This step helps catch any missed beats or timing issues. If something looks off, it’s easy to go back and modify the timing. Canva allows quick edits, making it user-friendly.
She can also tweak volumes and fades in this preview mode to improve the overall impact. Making these adjustments early can save time before finalizing the video project.
Exporting Your Beat-Synced Project
After creating a video with Canva’s Beat Sync feature, it is important to export the project correctly. This ensures that the synced audio and visuals work seamlessly in your final product. Here are the steps to export a beat-synced project.
Choosing the Right File Format
Canva offers several file formats for exporting designs. The best choice depends on how the user intends to use the video.
-
MP4: Ideal for videos, this format maintains high quality and is compatible with most platforms. It is perfect for sharing on social media like Instagram or TikTok.
-
GIF: This format is more suitable for short animations but lacks sound. It’s great for quick visual snippets that don’t need audio.
-
JPEG or PNG: These formats are for static images, not videos. Use them if your project includes stills from the video.
Selecting the correct format ensures the project plays as intended across different devices and platforms.
Downloading and Sharing Your Design
After selecting the format, the next step is downloading the design. Canva makes this easy for users.
-
Click on the “Download” button located at the top right of the screen.
-
A menu will appear where the user can choose the preferred format from the list.
-
After making a selection, click the “Download” button again.
-
The project will then process, and the file will be saved to the user’s device.
To share, users can upload directly to platforms like YouTube or social media directly from Canva, or they may choose to share via a link for collaboration or feedback. This flexibility allows for easy distribution of beat-synced videos.