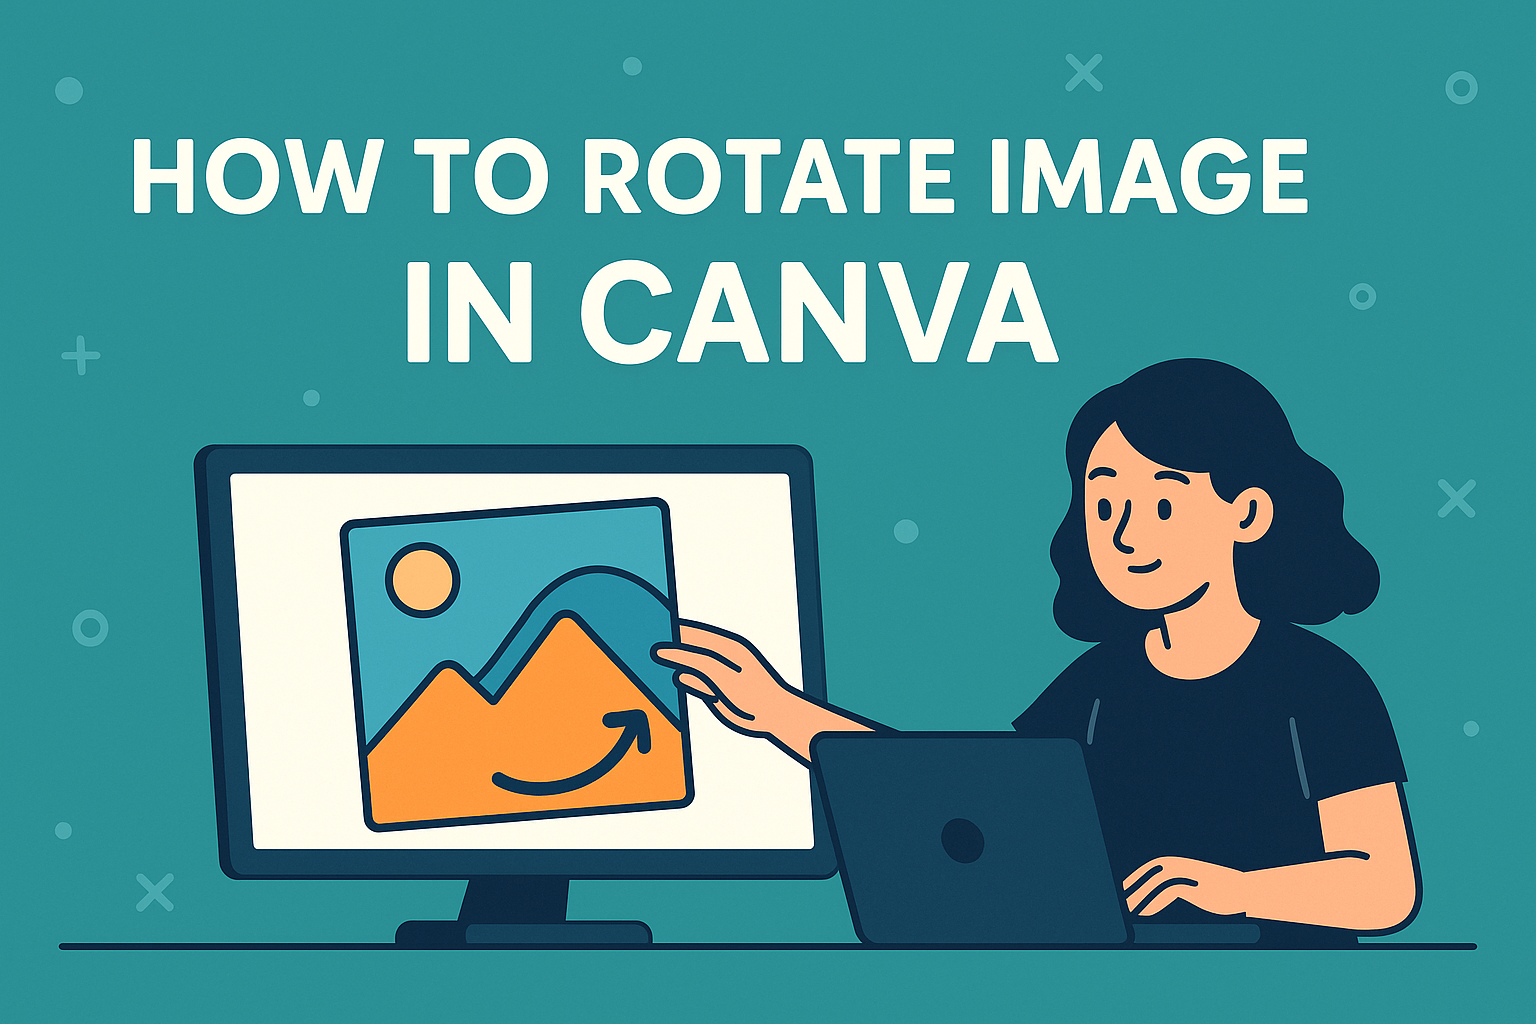
Canva is a popular design tool that makes it easy for anyone to create stunning visuals.
To rotate an image in Canva, users can simply select the image and use the rotation handles to adjust the angle. This simple action can add a dynamic touch to graphics, helping designers express their creativity.
Whether it’s for a social media post or a presentation, knowing how to rotate an image can enhance the overall look. Canva offers various options for rotating images, making it user-friendly for both beginners and experienced designers. Discovering these features can transform ordinary designs into eye-catching artwork.
Getting Started with Canva
Canva is a user-friendly graphic design tool that helps anyone create beautiful designs. By setting up a new design and exploring the interface, users can quickly get started on their projects.
Creating a New Design
To begin, the user needs to log into Canva.
Once logged in, they will see a button labeled “Create a design” in the upper-right corner.
Clicking this button opens a menu where users can choose from various design types, such as social media posts, presentations, or custom dimensions.
After selecting a design type, a new workspace will open. This space is where users can add images, text, and other design elements. By starting with a template, users can save time and create more polished designs quickly.
Navigating the Canva Interface
The Canva interface is split into several sections, making it easy to find tools.
On the left side, there is a panel with options like “Templates,” “Elements,” and “Uploads.”
The top toolbar has features for changing font styles, colors, and more. Users can easily drag and drop elements from the side panel into their design area.
At the bottom, there’s an option to zoom in or out for finer adjustments. Familiarizing oneself with these tools helps make the design process smooth and enjoyable.
Basic Image Editing in Canva
Canva offers simple tools for editing images, making it easy for users to enhance their designs. Two key areas include adding images and adjusting their transparency and filters.
Adding Images to Your Design
To start adding images, users can simply click on the “Uploads” tab in the left sidebar.
From there, they can upload their own photos or choose from Canva’s vast library of stock images.
Users can drag and drop images directly onto their design canvas. Clicking on the image allows for resizing by dragging the corners, ensuring the right fit. Holding Shift while resizing maintains the image’s original proportions.
It’s also possible to layer multiple images. By selecting an image and using the “Position” button, users can move images forward or backward on the canvas, controlling what appears in front.
Adjusting Image Transparency and Filters
Adjusting the transparency of an image helps blend it into the design.
Users can select an image and find the transparency option in the toolbar. By moving the slider, they can make the image more or less transparent, achieving the desired effect.
Canva also provides various filters to enhance images. After selecting an image, clicking on the “Effects” option gives access to a range of filters.
Users can apply these filters to alter the mood and style of their images, making them pop while fitting the overall design theme.
Experimenting with different transparency levels and filters allows for creative freedom in designing visually appealing graphics.
Rotating Images in Canva
Canva offers several simple ways to rotate images, allowing users to adjust their designs easily. This section will explore using the rotation handle, setting the rotation degree, and flipping images.
Using the Rotation Handle
To rotate an image in Canva, the user can start by selecting the desired image.
Once selected, a bounding box with a circular arrow icon appears. This circular arrow is the rotation handle.
By clicking and dragging this handle left or right, the user can rotate the image freely. It’s important to note the rotation direction; dragging left turns the image counterclockwise, while dragging right turns it clockwise.
This method is straightforward and great for quick adjustments, making it easy for anyone to modify their images intuitively.
Setting the Rotation Degree
For precise rotations, Canva allows users to enter a specific degree of rotation.
After selecting the image, the user should look for the “Position” option on the top toolbar.
In this area, there’s a “Rotate” section where users can input the exact angle they want. This feature is useful for achieving specific design requirements, such as rotating an image by 90 degrees for landscape orientation.
Entering negative degrees can also help with counterclockwise adjustments. This precision ensures that the image fits perfectly within any layout.
Flipping Images
Flipping images is another helpful feature in Canva.
Users can flip images horizontally or vertically to create mirrored effects. To do this, select the image and look for the “Flip” option in the toolbar.
Choosing “Flip Horizontal” will create a mirror image from left to right, while “Flip Vertical” does the same from top to bottom. This is perfect for creating symmetrical designs or adjusting the composition of a design.
Flipping images helps add variety and interest, making a project feel fresh and dynamic.
Fine-Tuning Your Design
To create a polished look in Canva, it’s vital to align images with other elements and resize them properly. These steps can improve the overall appearance and ensure that the design feels cohesive.
Aligning Images with Other Elements
Aligning images is essential for a balanced design. Canva offers alignment tools that make this process simple.
- Select the Image: Click on the image you want to align.
- Use the Alignment Guides: As the image is moved, guides will appear. These show when an image is centered or aligned with other elements.
- Group Elements: If there are multiple images or text boxes, group them. This keeps everything in line when moving them around.
- Check Spacing: Ensure that the space between images and other elements is even. Use the ruler or grid to assist with this.
Following these steps will help keep the design neat and organized.
Resizing Images Proportionally
Resizing images correctly maintains their quality and appearance.
Canva allows users to adjust image size easily.
- Select the Image: Click on the image that needs resizing.
- Drag the Corners: To resize, click and drag the corners of the image. This method keeps the proportions intact.
- Use the Size Tool: Look for the size tool in the toolbar. Enter specific dimensions if needed.
- Aspect Ratio Lock: Ensure the aspect ratio is locked, so images do not stretch or appear distorted.
Proper resizing will enhance the design while preserving the original image’s clarity.