Adjusting the rotation of images and elements in Canva can be a simple yet powerful way to enhance visual designs.
To rotate images or shapes precisely, a user can select the element and enter the desired angle in the rotation panel. This feature allows for greater creativity and can give designs a unique touch.
For those who want to dive deeper into the editing process, this blog post will guide readers through the steps to achieve exact rotations. With a bit of practice, users can learn to manipulate their designs effortlessly.
Whether adjusting a frame, image, or shape, mastering rotation can elevate any project. Get ready to unlock new design possibilities in Canva!
Getting Started with Canva
To begin using Canva effectively, it is important to know how to access the image editor and select the desired items for your design. This will make the process smoother and more enjoyable.
Accessing the Image Editor
To get started, the user needs to visit the Canva website or app and log into their account.
If they do not have an account yet, creating one is quick and free. Once logged in, the user can either open an existing design from their recent projects or create a new design by clicking the “Create a Design” button.
Choosing the right dimensions for the design is crucial, as it sets the stage for the work to come.
When the image editor opens, users will see various tools and menus at their disposal. This is where they will spend most of their time adjusting images, text, and other elements.
Selecting Images, Elements, Frames, or Shapes
Selecting items in Canva is simple and straightforward.
Users can choose images, elements, or shapes by clicking on them directly within their design. To add a new image or element, the user can select from Canva’s expansive library, which is filled with free and premium options. They can use the search bar to find specific items quickly.
For further adjustments, holding the Shift key while clicking allows for multiple selections at once. This is helpful when working with groups of elements, making it easier to adjust them all together.
Once selected, the user can resize and reposition the items by clicking and dragging. Instructions for rotating or flipping elements will come in handy later on.
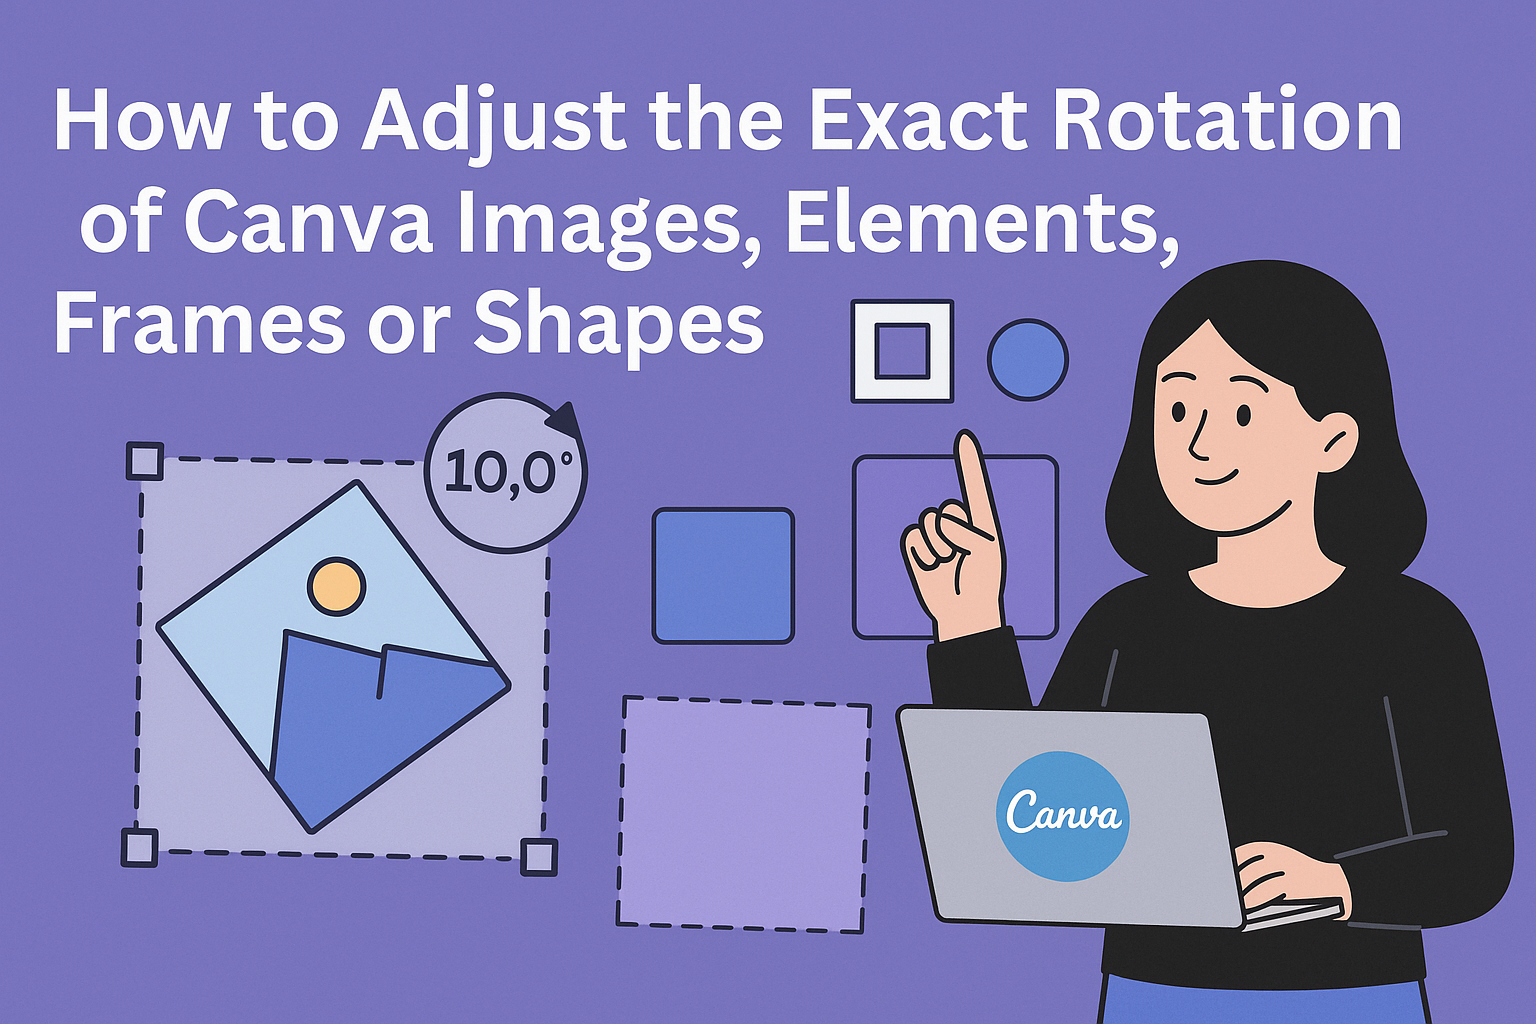
Adjusting Image Rotation
Adjusting the rotation of images in Canva can enhance the overall look of designs. By using the rotation handle, entering exact values, or resetting to default, anyone can manage image orientation effectively.
Using the Rotation Handle
To rotate an image in Canva, users can utilize the rotation handle. This handle appears as a circular arrow above the selected image.
By clicking and dragging the handle left or right, individuals can easily adjust the angle of their image. If more precision is needed, they can keep an eye on the angle indicator to see the exact degree of rotation.
This method is perfect for quick adjustments when an image needs just a slight turn.
Entering Exact Rotation Values
For those who want precise adjustments, entering specific rotation values is an excellent option.
After selecting the image, users should look for the rotation panel in the top editor bar. He or she can type the desired angle, such as 90 degrees or -45 degrees, to achieve the exact look. This feature is helpful for maintaining consistency across multiple elements in a design.
Resetting to Default Orientation
If the rotation goes wrong, resetting to the default orientation is easy.
Users can click on the image and find the reset option in the rotation panel. Choosing this option will return the image to its original position, allowing for fresh adjustments. This can save time if a design goes off track and ensures that the user can start again without hassle.
Fine-Tuning Your Design
Refining a design in Canva is about precision. Aligning elements and using grids and guides can make a significant difference in visual appeal. These techniques help create a polished, professional look.
Aligning Elements
Proper alignment enhances the balance of a design.
In Canva, users can select multiple elements by holding Shift and clicking on them. Once selected, the alignment options appear on the toolbar.
Alignments include left, center, right, top, middle, and bottom. This keeps objects visually organized. For instance, centering elements can create a harmonious layout, while uneven spacing can feel chaotic.
Users can also distribute space evenly between selected items. This feature helps maintain consistency. Using these simple tools makes it easier to achieve a well-structured design.
Using Grids and Guides
Grids and guides are powerful tools in Canva. They help users place elements accurately.
By enabling the grid under “File,” a user gets a visual layout that ensures everything is positioned correctly.
Guides are also beneficial. Users can drag lines from the rulers on the top and left sides of the screen. This creates invisible barriers that help maintain spacing between elements.
Both grids and guides allow for precise adjustments. When designs are organized, they look more appealing.
They help achieve a cleaner and more professional end product. Using these tools can dramatically improve the quality of a design.